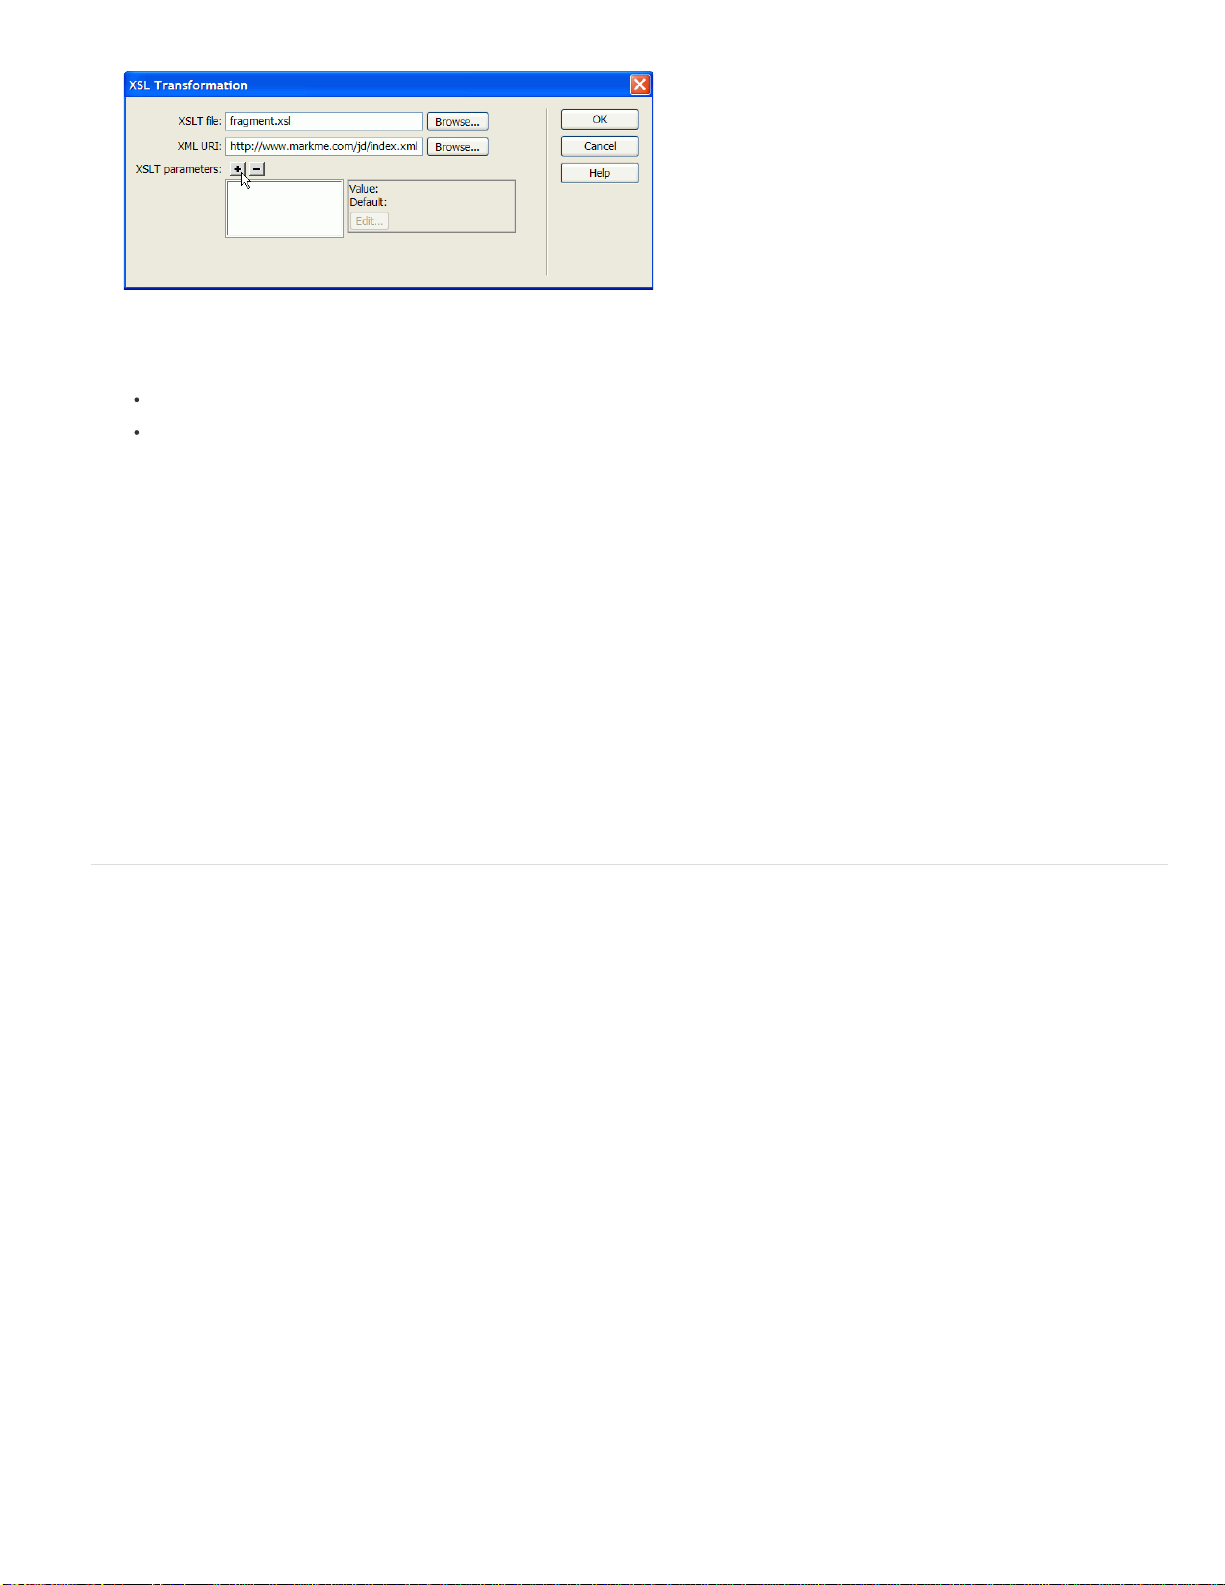
2. In the XSL Transformation dialog box, click the Plus (+) button next to XSLT Parameters.
3. In the Add Parameters dialog box, enter a name for the parameter in the Name box. The name can only contain alphanumeric
characters. It cannot contain spaces.
4. Do one of the following:
If you want to use a static value, enter it in the Value box.
If you want to use a dynamic value, click the dynamic icon next to the Value box, complete the Dynamic Data dialog box,
and click OK. For more information, click the Help button in the Dynamic Data dialog box.
5. In the Default Value box, enter the value you want the parameter to use if the page receives no run-time value, and click OK.
Edit an XSLT parameter
1. Open the XSL Transformation dialog box. You can do this by double-clicking an XSL Transformation server behavior in the
Server Behaviors panel (Window > Server Behaviors), or by adding a new XSL Transformation server behavior.
2. Select a parameter from the XSLT parameters list.
3. Click the Edit button.
4. Make your changes and click OK.
Delete an XSLT parameter
1. Open the XSL Transformation dialog box. You can do this by double-clicking an XSL Transformation server behavior in the
Server Behaviors panel (Window > Server Behaviors), or by adding a new XSL Transformation server behavior.
2. Select a parameter from the XSLT parameters list.
3. Click the minus (-) button.
Create and edit conditional XSLT regions
You can create simple conditional regions or multiple conditional regions on an XSLT page. You can either select an element in Design view and
apply a conditional region to the selection, or you can insert a conditional region wherever the insertion point is in the document.
For example, if you wanted to display the word “Unavailable” next to the price of an item when the item is unavailable, you type the text
“Unavailable” on the page, select it, and then apply a conditional region to the selected text. Dreamweaver surrounds the selection with <xsl:if>
tags, and only displays the word “Unavailable” on the page when the data match the conditions of the conditional expression.
Apply a conditional XSLT region
You can write a simple conditional expression to insert into your XSLT page. If content is selected when you open the Conditional Region dialog
box, the content will be wrapped in an <xsl:if> block. If you rcontent is not selected, the <xsl:if> block is added at the insertion point on the page.
It’s a good idea to use the dialog box to get started and then customize the expression in Code view.
The <xsl:if> element is similar to the if statement in other languages. The element provides a way for you to test a condition and take a course of
action based on the result. The <xsl:if> element allows you to test an expression for a single true or false value.
1. Select Insert > XSLT Objects > Conditional Region or click the Conditional Region icon in the XLST category of the Insert
panel.
2. In the Conditional Region dialog box, enter the conditional expression to use for the region.
In the following example, you want to test to see if the context node’s @available attribute value is true.
Libble nimmt den Missbrauch seiner Dienste sehr ernst. Wir setzen uns dafür ein, derartige Missbrauchsfälle gemäß den Gesetzen Ihres Heimatlandes zu behandeln. Wenn Sie eine Meldung übermitteln, überprüfen wir Ihre Informationen und ergreifen entsprechende Maßnahmen. Wir melden uns nur dann wieder bei Ihnen, wenn wir weitere Einzelheiten wissen müssen oder weitere Informationen für Sie haben.
Art des Missbrauchs:
Forenregeln
Um zu sinnvolle Fragen zu kommen halten Sie sich bitte an folgende Spielregeln:
Lesen Sie zuerst die Anleitung;
Schauen Sie nach, ob die Frage bereits gestellt wurde;
Stellen Sie die Frage so deutlich wie nur einigermaßen möglich;
Erwähnen Sie was Sie bereits versucht haben um das Problem zu lösen;
Ist Ihr Problem von einem Besucher gelöst dann lassen Sie ihn / sie wissen in diesem Forum;
Falls Sie reagieren möchten, so verwenden Sie bitte das Antworten- Formular;
Da ihre Frage für alle Besucher sichtbar ist, sollten Sie lieber keine persönliche Daten erwähnen.
Neu registrieren
Registrieren auf E - Mails für Adobe Dreamweaver CS6 wenn:
neue Frage gestellt werden
neue Handbücher vorhanden sind
Sie erhalten eine E-Mail, um sich für eine oder beide Optionen anzumelden.
Das Handbuch wird per E-Mail gesendet. Überprüfen Sie ihre E-Mail.
Wenn Sie innerhalb von 15 Minuten keine E-Mail mit dem Handbuch erhalten haben, kann es sein, dass Sie eine falsche E-Mail-Adresse eingegeben haben oder dass Ihr ISP eine maximale Größe eingestellt hat, um E-Mails zu erhalten, die kleiner als die Größe des Handbuchs sind.
Ihre Frage wurde zu diesem Forum hinzugefügt
Möchten Sie eine E-Mail erhalten, wenn neue Antworten und Fragen veröffentlicht werden? Geben Sie bitte Ihre Email-Adresse ein.