9
General Description
The programmer provides timing control for both the
cooker and hot water system, letting you set ON and OFF
periods to suit your lifestyle.
With 7-day programming and up to 3 on/off periods per
day, every day can be set differently, and heating and
cooking can be set at different times from each other.
Features available on the programmer are OVERRIDE,
EXTRA HOUR, and MODE buttons.
A typical use of OVERRIDE feature is when you return
home unexpectedly for the rest of the day and the heating
is off. Just press the OVERRIDE button and the heating
will come on until the next programme time, at which point
it will follow the normal programme. The advantage is that
you do not have to remember to switch off because the
normal time programme does this for you.
A typical use of the EXTRA HOUR button would be if you
returned home for a short period when the heating and
cooking were off. Pressing the appropriate EXTRA HOUR
button gives 1, 2 or 3 hours of heating, exactly when you
need it. Another use is when the heating is already on and
you want it to stay on a little longer - just press EXTRA
HOUR and, for that day only, an hour will be added to the
end of the time at which heating normally goes off.
The MODE buttons allow you to select how you want to
operate heating and cooking independently. The most
obvious use is to switch heating OFF during the summer
months, but you may also use this feature if you take a
mid-week day off work, you can then set the MODE to
ONCE to keep the system ON during the day from the first
programmed ON time till the last programmed OFF time.
The programmer comes pre-set with default times.
However, the following will show you how you can modify
the settings to suit your lifestyle.
Step 1: Setting the Date and Time
Reset the date or time, or if the display shows the
message ‘SET DATE + TIME’ just follow the instructions
below. Otherwise, go to Step 2.
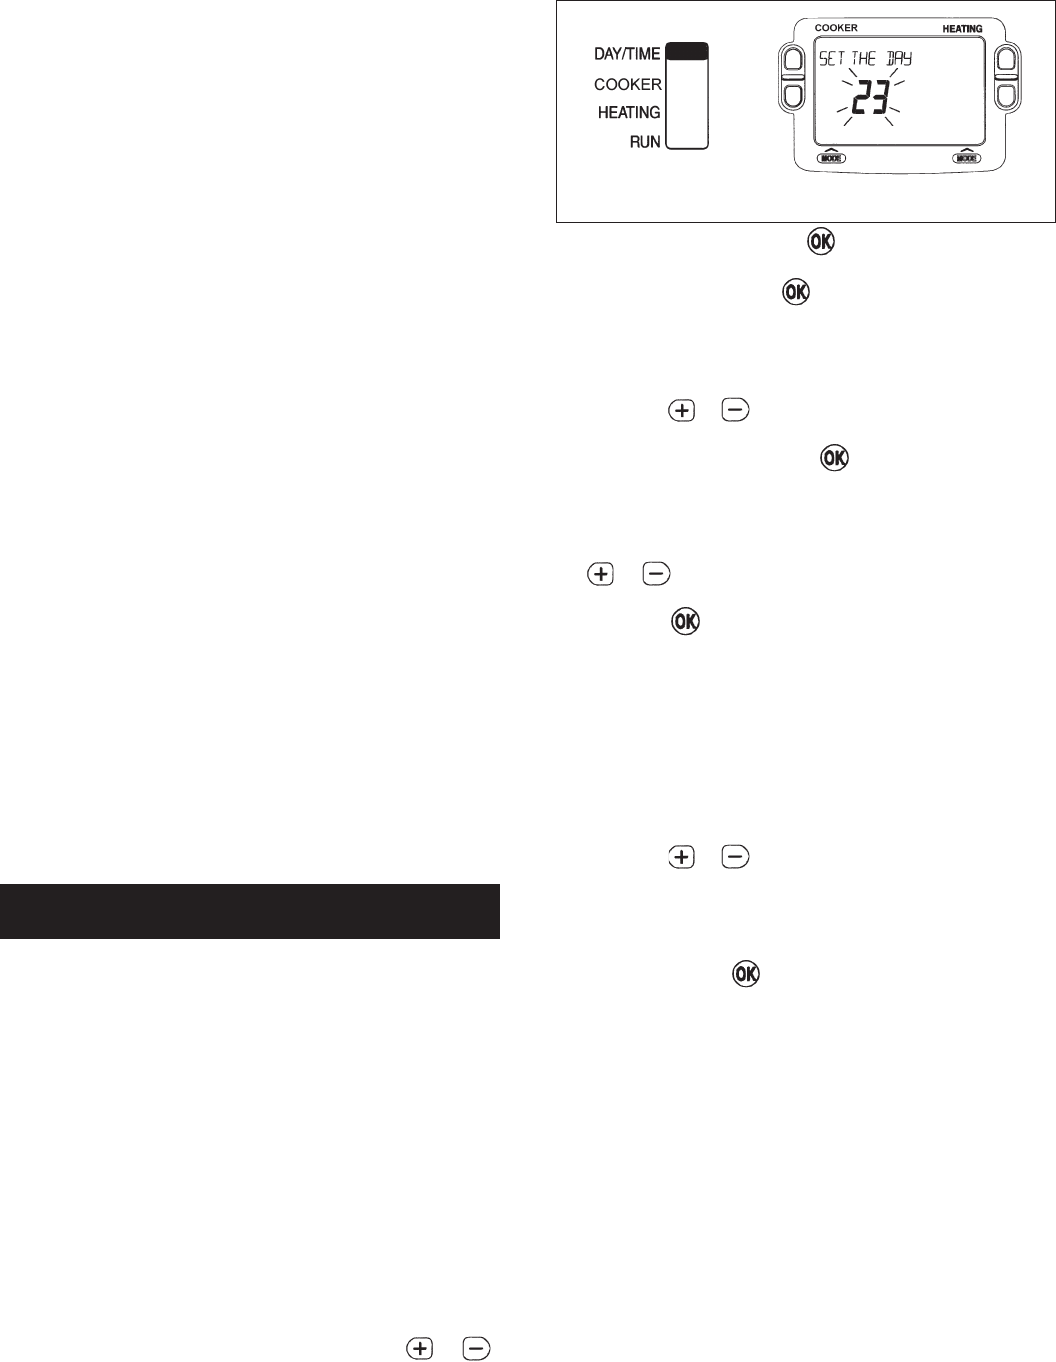
a. Move the slider to the DAY/TIME position. The
message ‘SET DATE + TIME’ will show briefly on the
screen, followed by ‘SET THE DAY’, and the day of the
month will now be flashing to indicate it can be
changed.
b. To change the day of the month, press the or
buttons until the correct day is shown. Each press
of the button will change the date by one day. As soon
as a change has been made, the message ‘IS DAY
OK?’ will be displayed. Once the correct day is
reached, press the green button to confirm, and
move to the next step. If you do not need to make a
change, just press the button immediately and this
will move you to the next step.
c. The month digits will now be flashing and ‘SET THE
MONTH’ will be displayed. To change the month,
press the or buttons until the correct month
is shown. The message ‘IS MONTH OK?’ will be
displayed. Press the green button to confirm the
month is correct, and move to the next step.
d. The year digits will now be flashing and ‘SET THE
YEAR’ will be displayed. To change the year press the
or buttons until the correct year is shown.
The message ‘IS YEAR OK?’ will be displayed. Press
the green button to confirm the year is correct. If
you have made a change, and the date is a valid date,
the message ‘DATE SAVED’ will show, and you can
move to the next step. If the date you set was not valid,
for example 31 September, the message ‘INVALID’
will show and you will be returned to the start of the
date setting operation.
e. The time will now be flashing and the message ‘SET
THE TIME’ will be displayed. To change the time,
press the or buttons until the correct time is
shown. Each press of the button will change the time
by one minute. Holding the button down for more than
a few seconds will change the time slowly at first, then
quickly. The message ‘IS TIME OK?’ will be displayed.
Press the green button to confirm the time is
correct. If you have made a change, the message
‘TIME SAVED’ will show, followed quickly by ‘DATE +
TIME COMPLETE’.
f. Move the slider to the RUN position, to complete
setting the date and time.
NOTE: If the slider is moved at any time before the date
and time have been set correctly, the message ‘DATE
UNCHANGED’ will be displayed briefly, and your changes
will not be saved.
Step 2: Running a Built-in Programme
With the date and time correct, the programmer will now
be operating to the built-in programme. These have been
designed to provide heating and cooking at typical times
throughout the day, but if you want to customise the
settings, please see the next section ‘CUSTOMISING
YOUR PROGRAMMER’ (Pages 10-14).
GETTING STARTED WITH THE
PROGRAMMER
Fig. 3 DESN 516076