USE INDUCTION COOKING ZONES setting
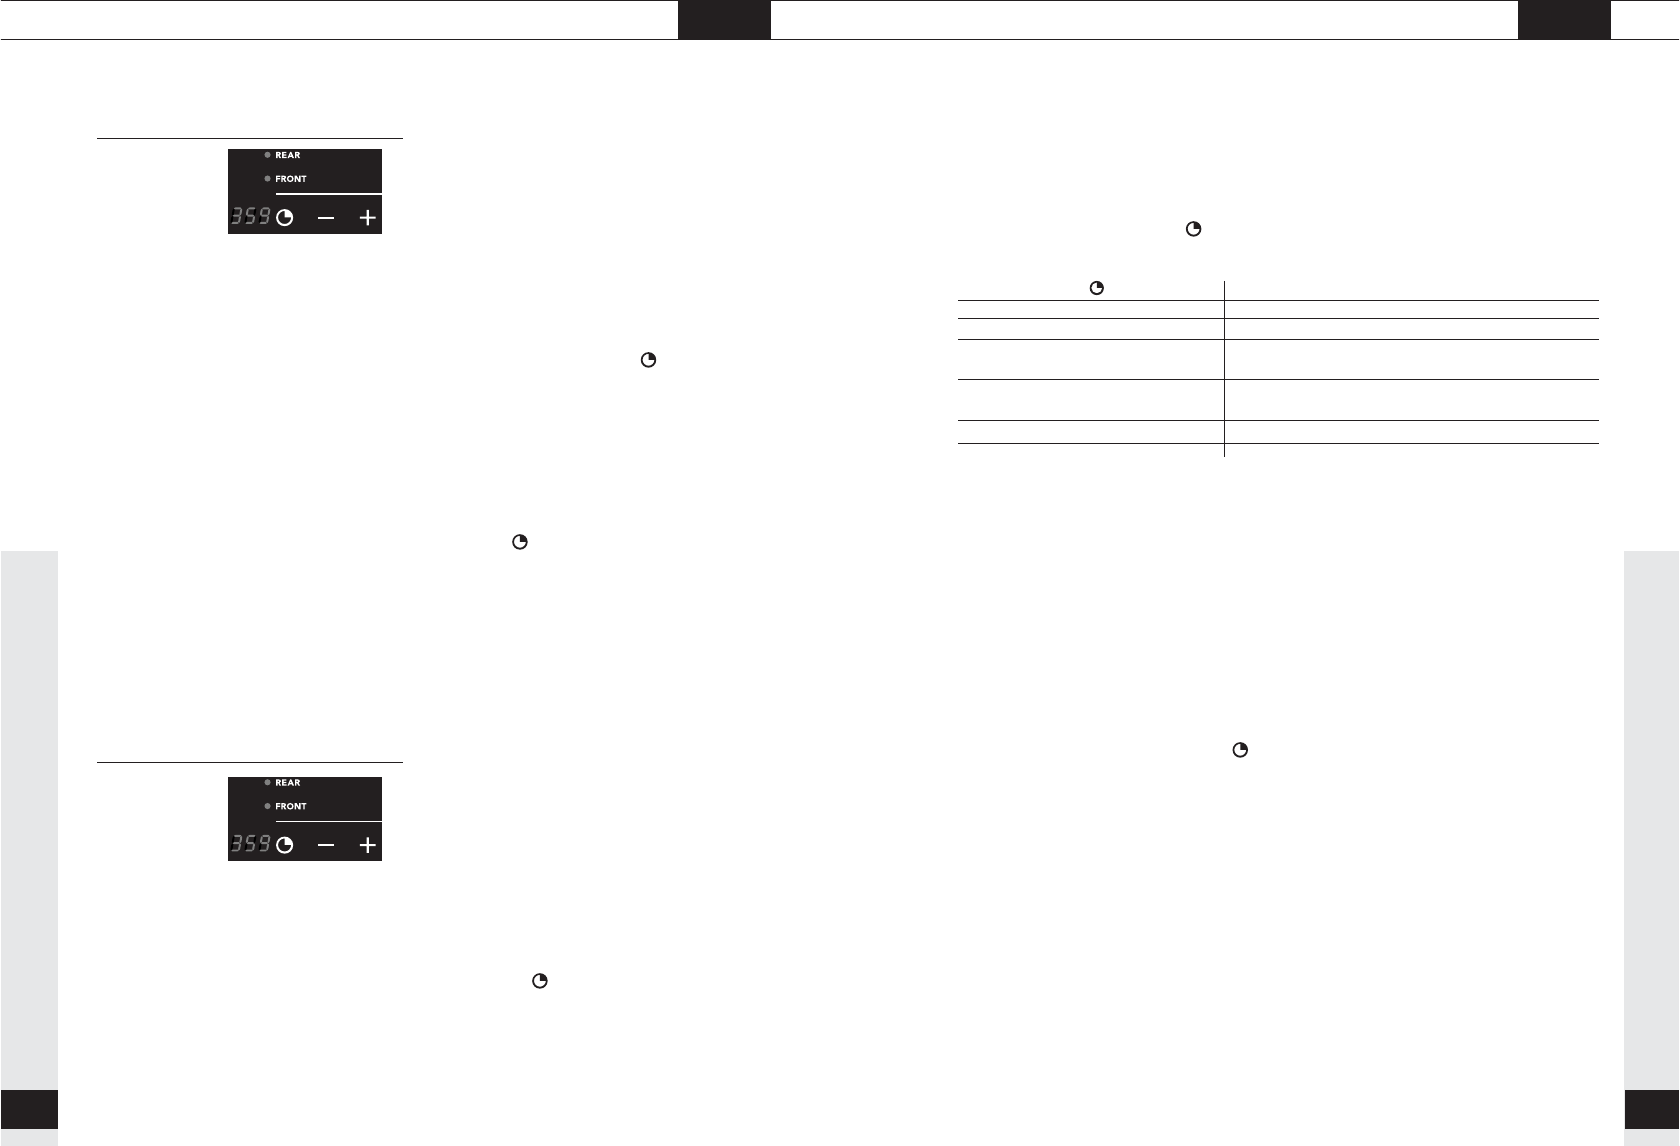
The lamp next to 'FRONT' (for the front zone) or 'REAR' (for the rear
zone) comes on. The cooking time is set using the + and – buttons (max.
3.59 hours). The number of minutes selected is shown in the display.
By pressing the button a certain number of times, you always get the
following series of reactions:
If a cooking zone has not been switched on, it cannot be selected in order
to be switched off by the cooking timer and it is skipped in the table
above.
If both left (or right) cooking zones have been switched on, the front or the
rear cooking zone can be selected by pressing the button again.
At the end of the cooking time, you hear a beep.
The zone switches off.
Switch the beep off at the end of the cooking time by pressing the
cooking timer button .
If you do not switch the beep off, it will stop automatically after
30 minutes.
Number of times is pressed Reaction
0 Clock is switched off; displays are dark
1 Clock as cooking timer
2 Clock switches the front zone off after the selected time
(if the zone has been switched on)
3 Clock switches the rear zone off after the selected time
(if the zone has been switched on)
4 Clock is switched off; displays are dark
and so on
Timer
The appliance is fitted with a clock that can be used as a cooking timer.
This cooking timer is then independent and has no effect on the settings
of the cooking zones.
1. Switch to the cooking timer by pressing once on the button.
2. Select the desired time (max. 3.59 hours) by pressing the + and –
buttons. By keeping these buttons pressed longer, the time will
increase or decrease in larger and larger steps. The selected time is
shown in the display.
3. When the selected time has expired, the hob starts beeping. This beep
can be switched off by pressing the button. You can set a new time
again by pressing the + button again immediately. You do not have to
switch the timer off first.
You can have a cooking zone switched off by the cooking timer. The left
cooking timer operates both left cooking zones and the right cooking
timer operates both right cooking zones.
Timer function
1. Put a pan on a cooking zone.
2. Switch the cooking zone on.
The appliance starts to work.
3. Switch the cooking timer on with the button.
Press the button for the timer function again.
152 153
USE INDUCTION COOKING ZONES setting