Thebuildup of dust, dirt and other airborne particles will reduce the fixture’s light output. It will also prevent the fixture from cooling correctly, and this
will reduce the fixture’s lifetime. The rate of dirt buildup will vary depending on environmental factors such as airborne dust, use of smoke machines,
airflow from ventilation systems, etc. The fixture’s cooling fans will accelerate buildup, and any smoke particles that are present in the atmosphere will
increase the tendency for dirt to clog.
To get the best performance and lifetime from the fixture, inspect it regularly and clean it as soon as you see signs of dirt buildup.
Assess the operating environment each time you begin to use the fixture. In dusty or smoky conditions, inspect the fixture after a few hours and check
it frequently the fixture may attract dirt faster than you expect. Draw up a cleaning schedule that will make sure that dirt is removed before it can build
up.
Use the following guidelines:
•Disconnect the fixture from power and allow it to cool completely before cleaning.
•Do not use solvents, abrasives or any other aggressive product to clean the fixture.
•Vacuum or use low-pressure compressed air to remove dust and loose particles from surfaces and air vents. Prevent the blades of cooling fans
from turning before you aim a vacuum or air jet at the fan, or you may spin the fan too fast and damage it.
•Clean glass components by wiping gently with a soft, clean, lint-free cloth moistened with a weak detergent solution. Putthe solution on the
clothandnot on the surface to be cleaned. Avoid rubbing glass surfaces. If particles are stuck to the glass, try to lift them off by dabbing them
repeatedly with a cotton swab or moistened lint-free cloth.
•Dry the fixture with a soft, clean, lint-free cloth or low-pressure compressed air before reapplying power.
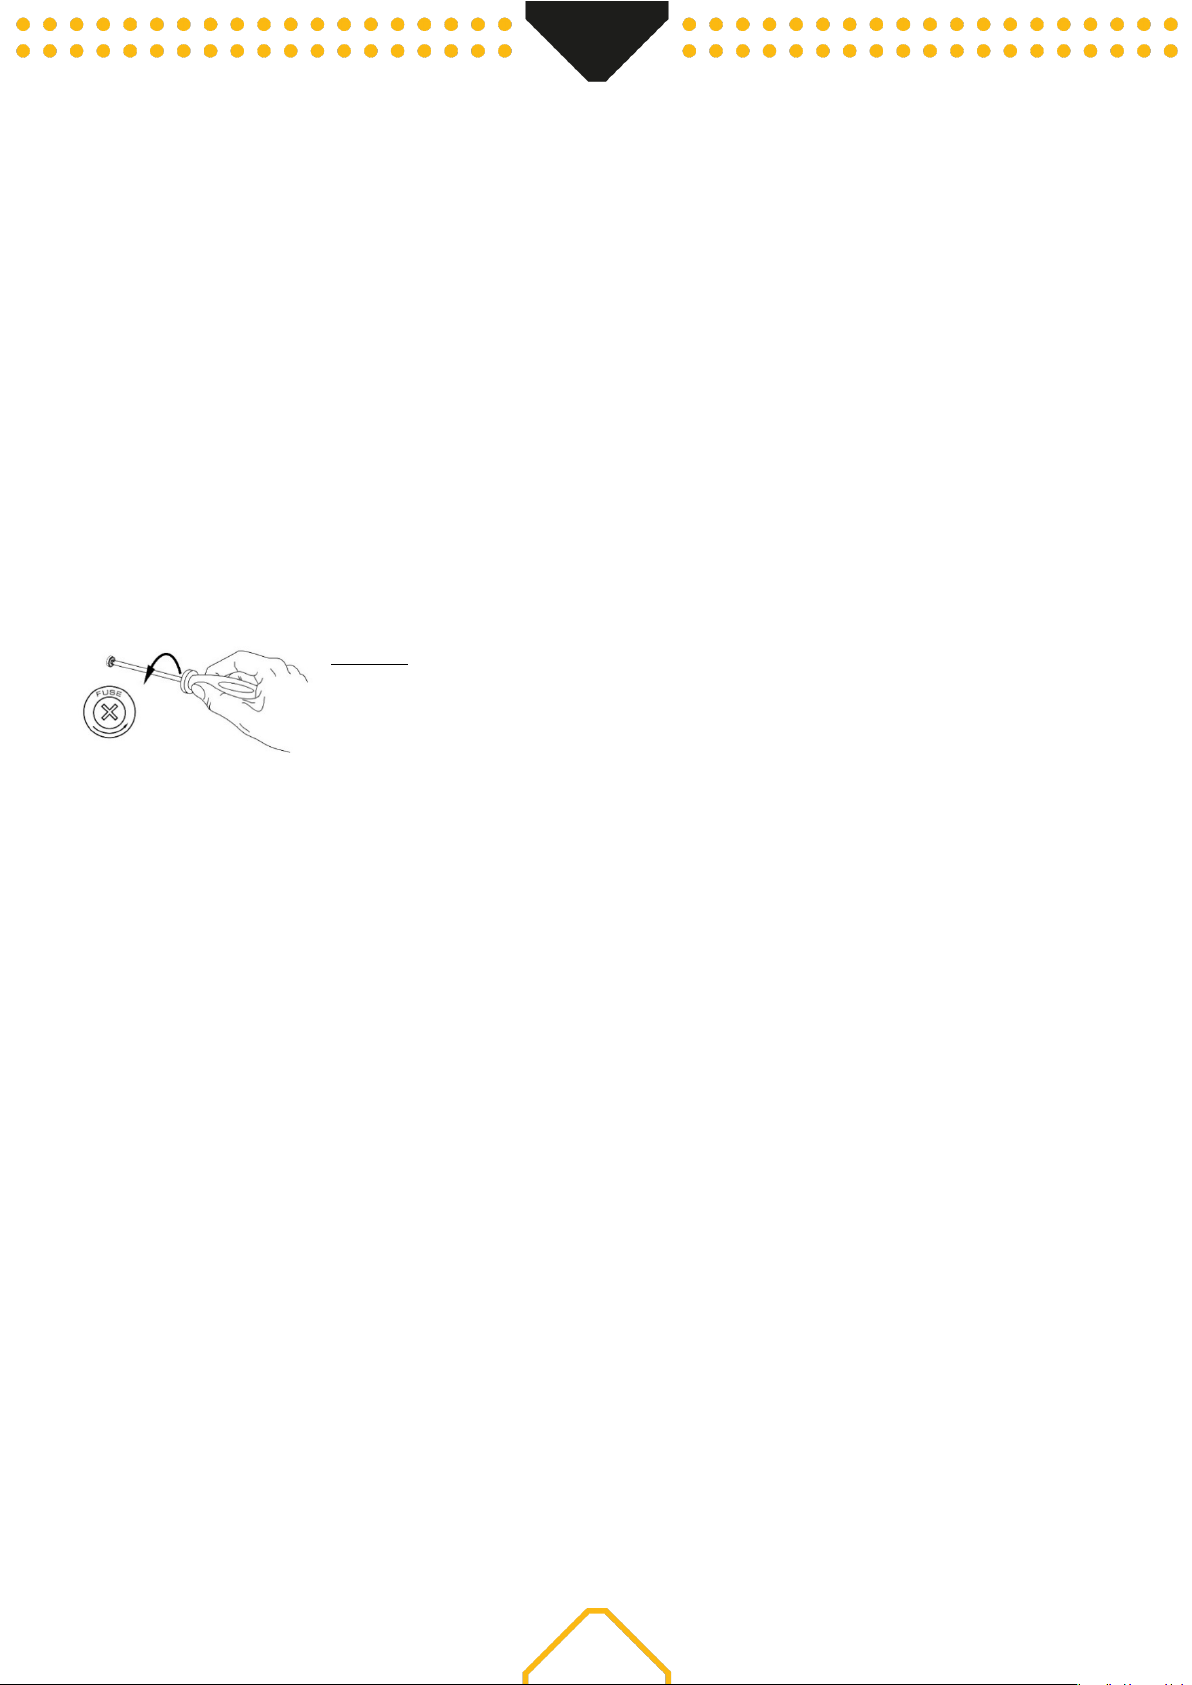
REPLACING THE FUSE
If the fuse is defective, replace the fuse with a fuse of the same type and value. Before replacing the fuse, unplug mains lead.
Procedure:
Step 1: Open the fuse holder on the rear panel with a fitting screwdriver.
Libble nimmt den Missbrauch seiner Dienste sehr ernst. Wir setzen uns dafür ein, derartige Missbrauchsfälle gemäß den Gesetzen Ihres Heimatlandes zu behandeln. Wenn Sie eine Meldung übermitteln, überprüfen wir Ihre Informationen und ergreifen entsprechende Maßnahmen. Wir melden uns nur dann wieder bei Ihnen, wenn wir weitere Einzelheiten wissen müssen oder weitere Informationen für Sie haben.
Art des Missbrauchs:
Forenregeln
Um zu sinnvolle Fragen zu kommen halten Sie sich bitte an folgende Spielregeln:
Lesen Sie zuerst die Anleitung;
Schauen Sie nach, ob die Frage bereits gestellt wurde;
Stellen Sie die Frage so deutlich wie nur einigermaßen möglich;
Erwähnen Sie was Sie bereits versucht haben um das Problem zu lösen;
Ist Ihr Problem von einem Besucher gelöst dann lassen Sie ihn / sie wissen in diesem Forum;
Falls Sie reagieren möchten, so verwenden Sie bitte das Antworten- Formular;
Da ihre Frage für alle Besucher sichtbar ist, sollten Sie lieber keine persönliche Daten erwähnen.
Neu registrieren
Registrieren auf E - Mails für BeamZ 150.384 - Fuze 75B Beam wenn:
neue Frage gestellt werden
neue Handbücher vorhanden sind
Sie erhalten eine E-Mail, um sich für eine oder beide Optionen anzumelden.
Das Handbuch wird per E-Mail gesendet. Überprüfen Sie ihre E-Mail.
Wenn Sie innerhalb von 15 Minuten keine E-Mail mit dem Handbuch erhalten haben, kann es sein, dass Sie eine falsche E-Mail-Adresse eingegeben haben oder dass Ihr ISP eine maximale Größe eingestellt hat, um E-Mails zu erhalten, die kleiner als die Größe des Handbuchs sind.
Ihre Frage wurde zu diesem Forum hinzugefügt
Möchten Sie eine E-Mail erhalten, wenn neue Antworten und Fragen veröffentlicht werden? Geben Sie bitte Ihre Email-Adresse ein.