1 Insert Bread Pan
• Insert bread pan into the unit and push down firmly
until it is secure in place.(G).
• Close the lid and plug the unit into an electrical outlet.
The unit beeps and program setting 1 (Basic) displays
as the default setting (H).
2 Select Settings
= Crust Color button
= Loaf Size button
= Start/Stop button
= Menu button
= Timer button
= Timer button
• Select the appropriate program setting according to recipe instructions.
Note: If you make a mistake in your selection, you will have to go through the
remaining program settings then start over to select the correct setting.
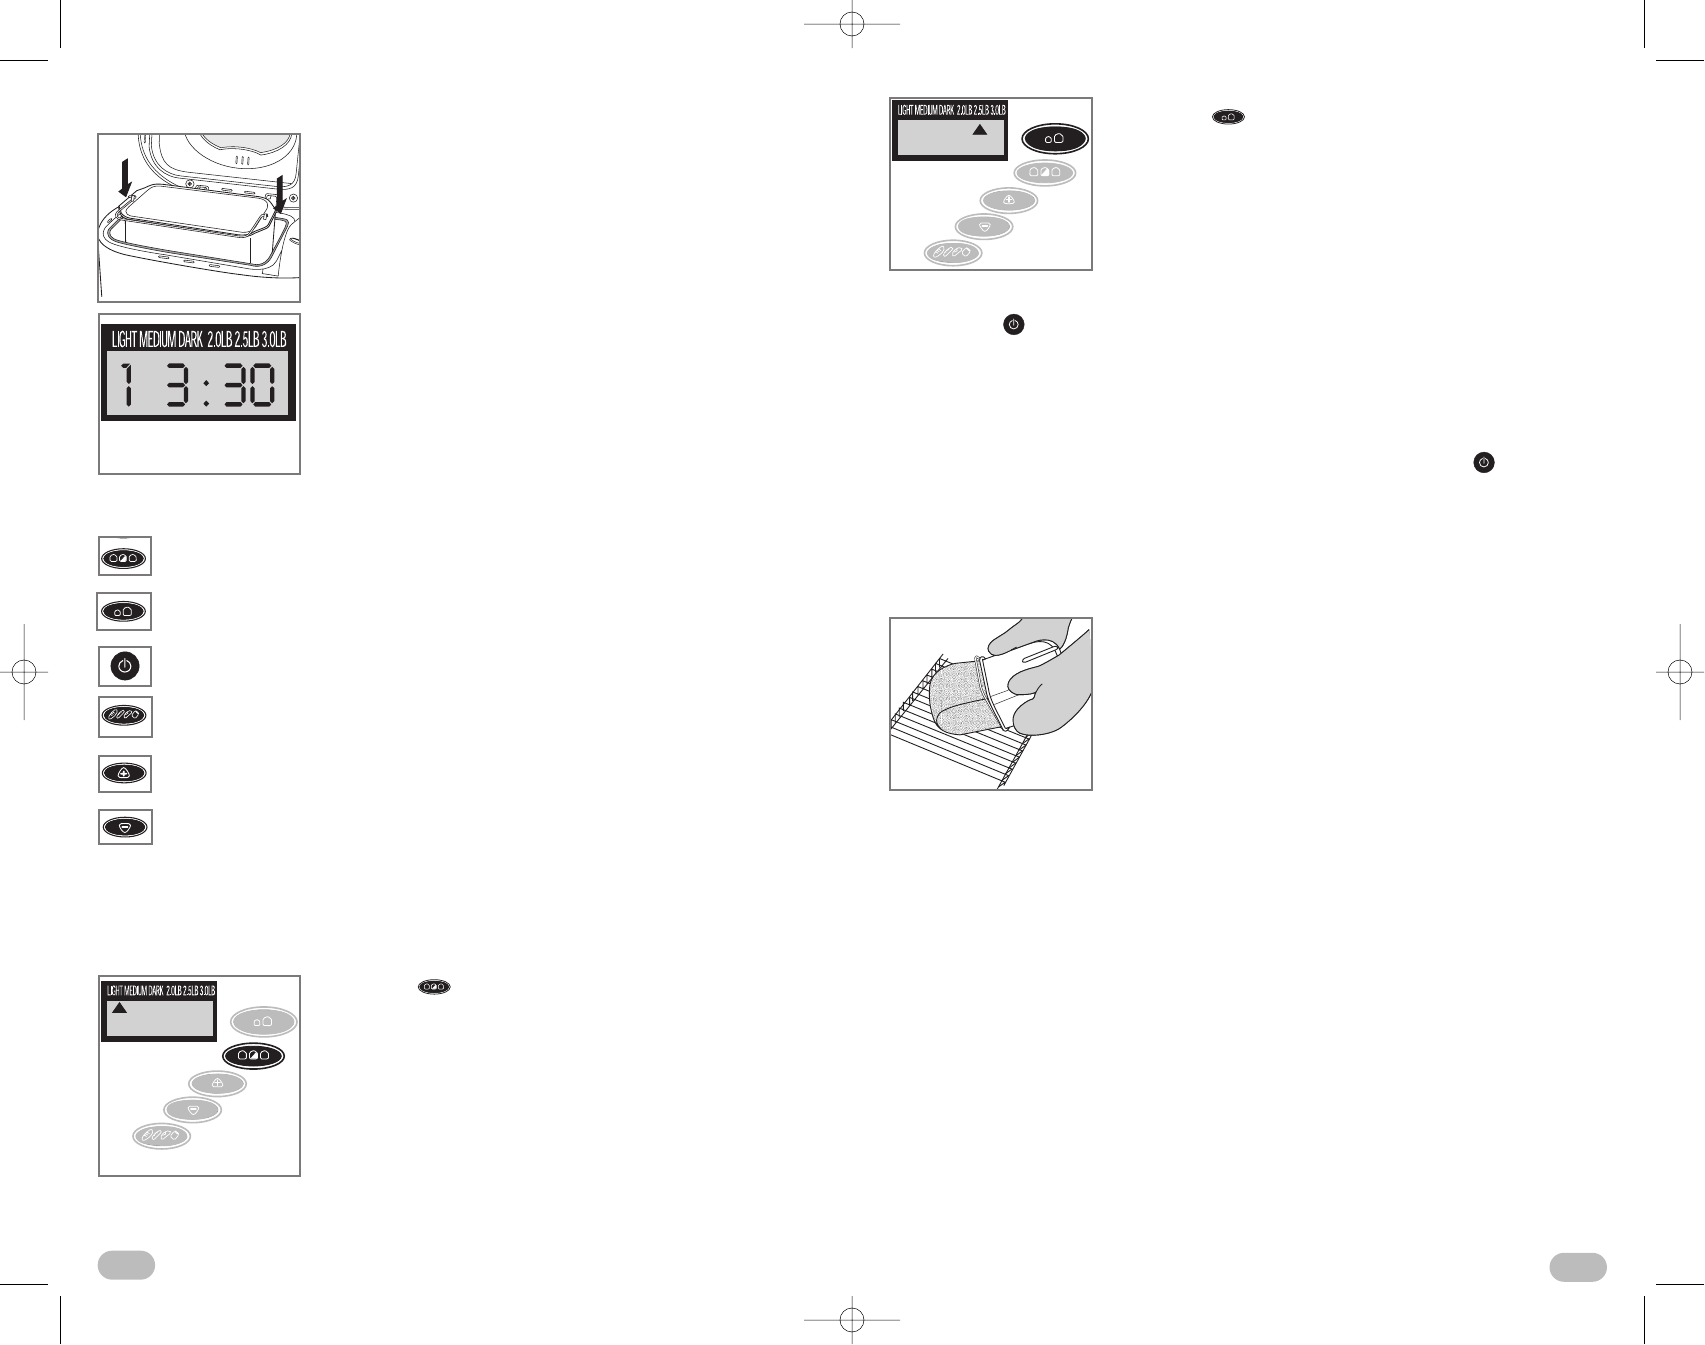
• Press the button to select desired crust (Light,
Medium or Dark). We recommend selecting the Light
setting the first time you bake bread. The arrow on the
screen moves to each selection every time you press
the key (J).
• Press the button to select the desired loaf size
(2.0 LB, 2.5 LB or 3.0 LB) (K).
3 Start Kneading/Baking Cycle
• Press the button. For most programs, there will be a 15-minute delay
before mixing cycle begins. The glass window lets you watch the process
of the bread as it is mixed, kneaded and baked.
Important: Do not open the lid during the baking process.
If additional ingredients are in the recipe, listen for the beep near the end
of the kneading cycle (about 30 minutes into the program).
• When the baking cycle is complete, you hear a beep. Press the button,
unplug the unit.
• Open the lid and using oven mitts, gently pull the pan straight up and out to
remove.
Caution: The pan is very hot. To avoid burning counter surfaces, make sure
to place it on a rack.
• Invert the bread pan over a wire rack and shake to
remove bread. If necessary, use a nonstick spatula,
gently inserted along the sides of the pan to loosen
the bread (L).
Important: Metal utensils might scratch the nonstick
surface.
• Turn bread right side up and let it cool for about
20 minutes before slicing.
Important: The breadmaker will not operate again until it has cooled down.
SPECIAL FUNCTIONS
Keep Warm Function
The keep warm function automatically begins when the baking cycle is
completed. Bread can be kept warm for up to one hour. After one hour, remove
the bread as instructed under section 3 Start Kneading/Baking Cycle. The crust
softens if the bread stays in the unit.
Delay-Bake Timer
You can set the timer to delay the completion of your bread for up to 13 hours.
To Set the Timer
• Add your recipe ingredients to the bread pan. Avoid perishable foods, such as
milk, eggs and cheese.
• Select your settings.
• Set the amount of time in which you want your bread to be ready.
For example, if you set the timer at 8:00 p.m. in the evening and you want
to wake up to fresh bread at 6:00 a.m., that is 10 hours.
H
J
K
L
G
12
11