2/4USER’S GUIDE (Basics)
Your Digital Piano
You can play with a sin
simultaneously (Layer)
to the high-ran
keyboards (Split).
■ To select a tone
1.
Use the bp^ button to cycle through settings until
the “^ TONE” indicator to the rig
lit.
The currently selecte
name will be shown on the display.
2.
Use TONE category buttons bq through cl to
select a tone category.
3.
Use the bk – and bl + buttons to select a tone.
■ To layer two tones
1.
Use the procedure under “To select
select the first tone (Upper1 tone).
2.
Use the bp^ button to cycle through settings until
the “^ CTRL” indicator to the right of the
lit.
3.
Touch cl LAYER to enable the layer function,
which is indicated by “LY” on the displ
4.
Use the bp^ button to cycle through settings until
the “^ TONE” indicator to the right of the bu
lit. Next, perform the oration under “To select a
tone” to select the Upper2 tone.
• To unlayer the keybobp^ button to cycle
through settings un^ CTRL” indicator to the
of the butcl LA so the “LY”
indicator disappears fro
Selecting a Tone
[
TO
]
PIA
T : 120
001 r t
[
TO
]
U2 S I N
T : 120 L
002 :
M
el lo
Layer enabled
“Upper2” ind
■ To split the keyboard b
tones
1.
Use the procedure under “To select a tone” to
select the f
2.
Use the bp^ button to cycle through settings until
the “^ CTRL” indicato
lit.
3.
Touch ck SPLIT to enable
is indicated by “SP” on the display.
4.
Use the bp^ button to cycle through settings until
the “^ TONE” indic
lit. Next, perform the operation under “To select a
tone” to select the Lower tone.
• To use split and l
procedure above and
4 under “To layer two t
• To unsplit the keyboard, use bp^ button to
through settings unt^ CTRL” indicator
of the buttock SPLIT so the “SP
indicator disappears fro
1.
Hold bp^
bn DEMO button starts to flash.
2.
Touch bn DEMO .
This causes the bn DEMO button light
indicator ndicat
At this time, the display will show “1: Demo Song”.
3.
To start demo play, touch 8a or bm ENTER .
• After this, you can
touching8a orbm ENTER .
4.
To exit demo play standby, touch bp EXIT .
[
TO
]
LO
T : 120 S
059 : t i c 1
Split enab
“Lower” indicator
Listening to Demo Play
Touch Response alter
keyboard pressure (speed). Thi
same expressivity you get on an
■ To change touch resp
1.
Hold down thebp^ button until “[FUNCTION]”
appears on the display.
2.
Use the bk U and bl I buttons to display
“KEYBOARD” and then touch bm ENTER .
3.
Use the bk U and bl I buttons to display “Touch
Response” and then touch bm ENTER .
4.
Use the bk – and bl + buttocm Knob (K1 ) to
change the setting.
5.
When the setting you want is selected, hold
bp EXIT until “[FUNCTIO
display.
Transpose lets you
Digital Piano in
raise or lower and to
that is moreou, or to
better matches a vocalist
■ To change the transpo
1.
Use the bp^ button to cycle through settings until
the “^ CTRL” indicator to the right of the button is
lit.
2.
Touch br TRANSPOSE .
The currently selected tr
shown on the display.
3.
Use the bk – and bl + buttons to change the
setting.
• You can ch
range of –12 t
Changing Keyboard Response
Touch Pressure (Touch
Response)
This setting
(displayed):
Does this:
Disabled (Off) Disables Touch Response.
Sound
of key press speed.
Light (Light2)
Makes production of a
sound easier, so touch
lighter than “Normal”.
(Light
Normal (Normal) Specifies normal sensitivity.
(Heavy1)
Makes production of a
sound more difficult, so
feels heavier than “Normal”.
Heavy (Heavy2)
[
F I O
]
–
No r
m
al
+
T R
p
on
Changing the Pitch in Semitone
Steps (Transpose)
You can bn SOUND to enable and di
effects described below.
● Hall Simulat
Hall Simulator and
reverberation
Hall Simulator: The hall simulator eff
clarity, unconstrained br
acoustic characteristiworld-famous concert
structures.
Reverb: Re
or hall.
● Surround
The Surround effect
from the speakers seem li
directions (virtual sur
outputting au
Piano’s speakers.
NOTE
• The Surround
Digital Piano’s co PHONES jacks or dk LIN ,
L/MONO jac
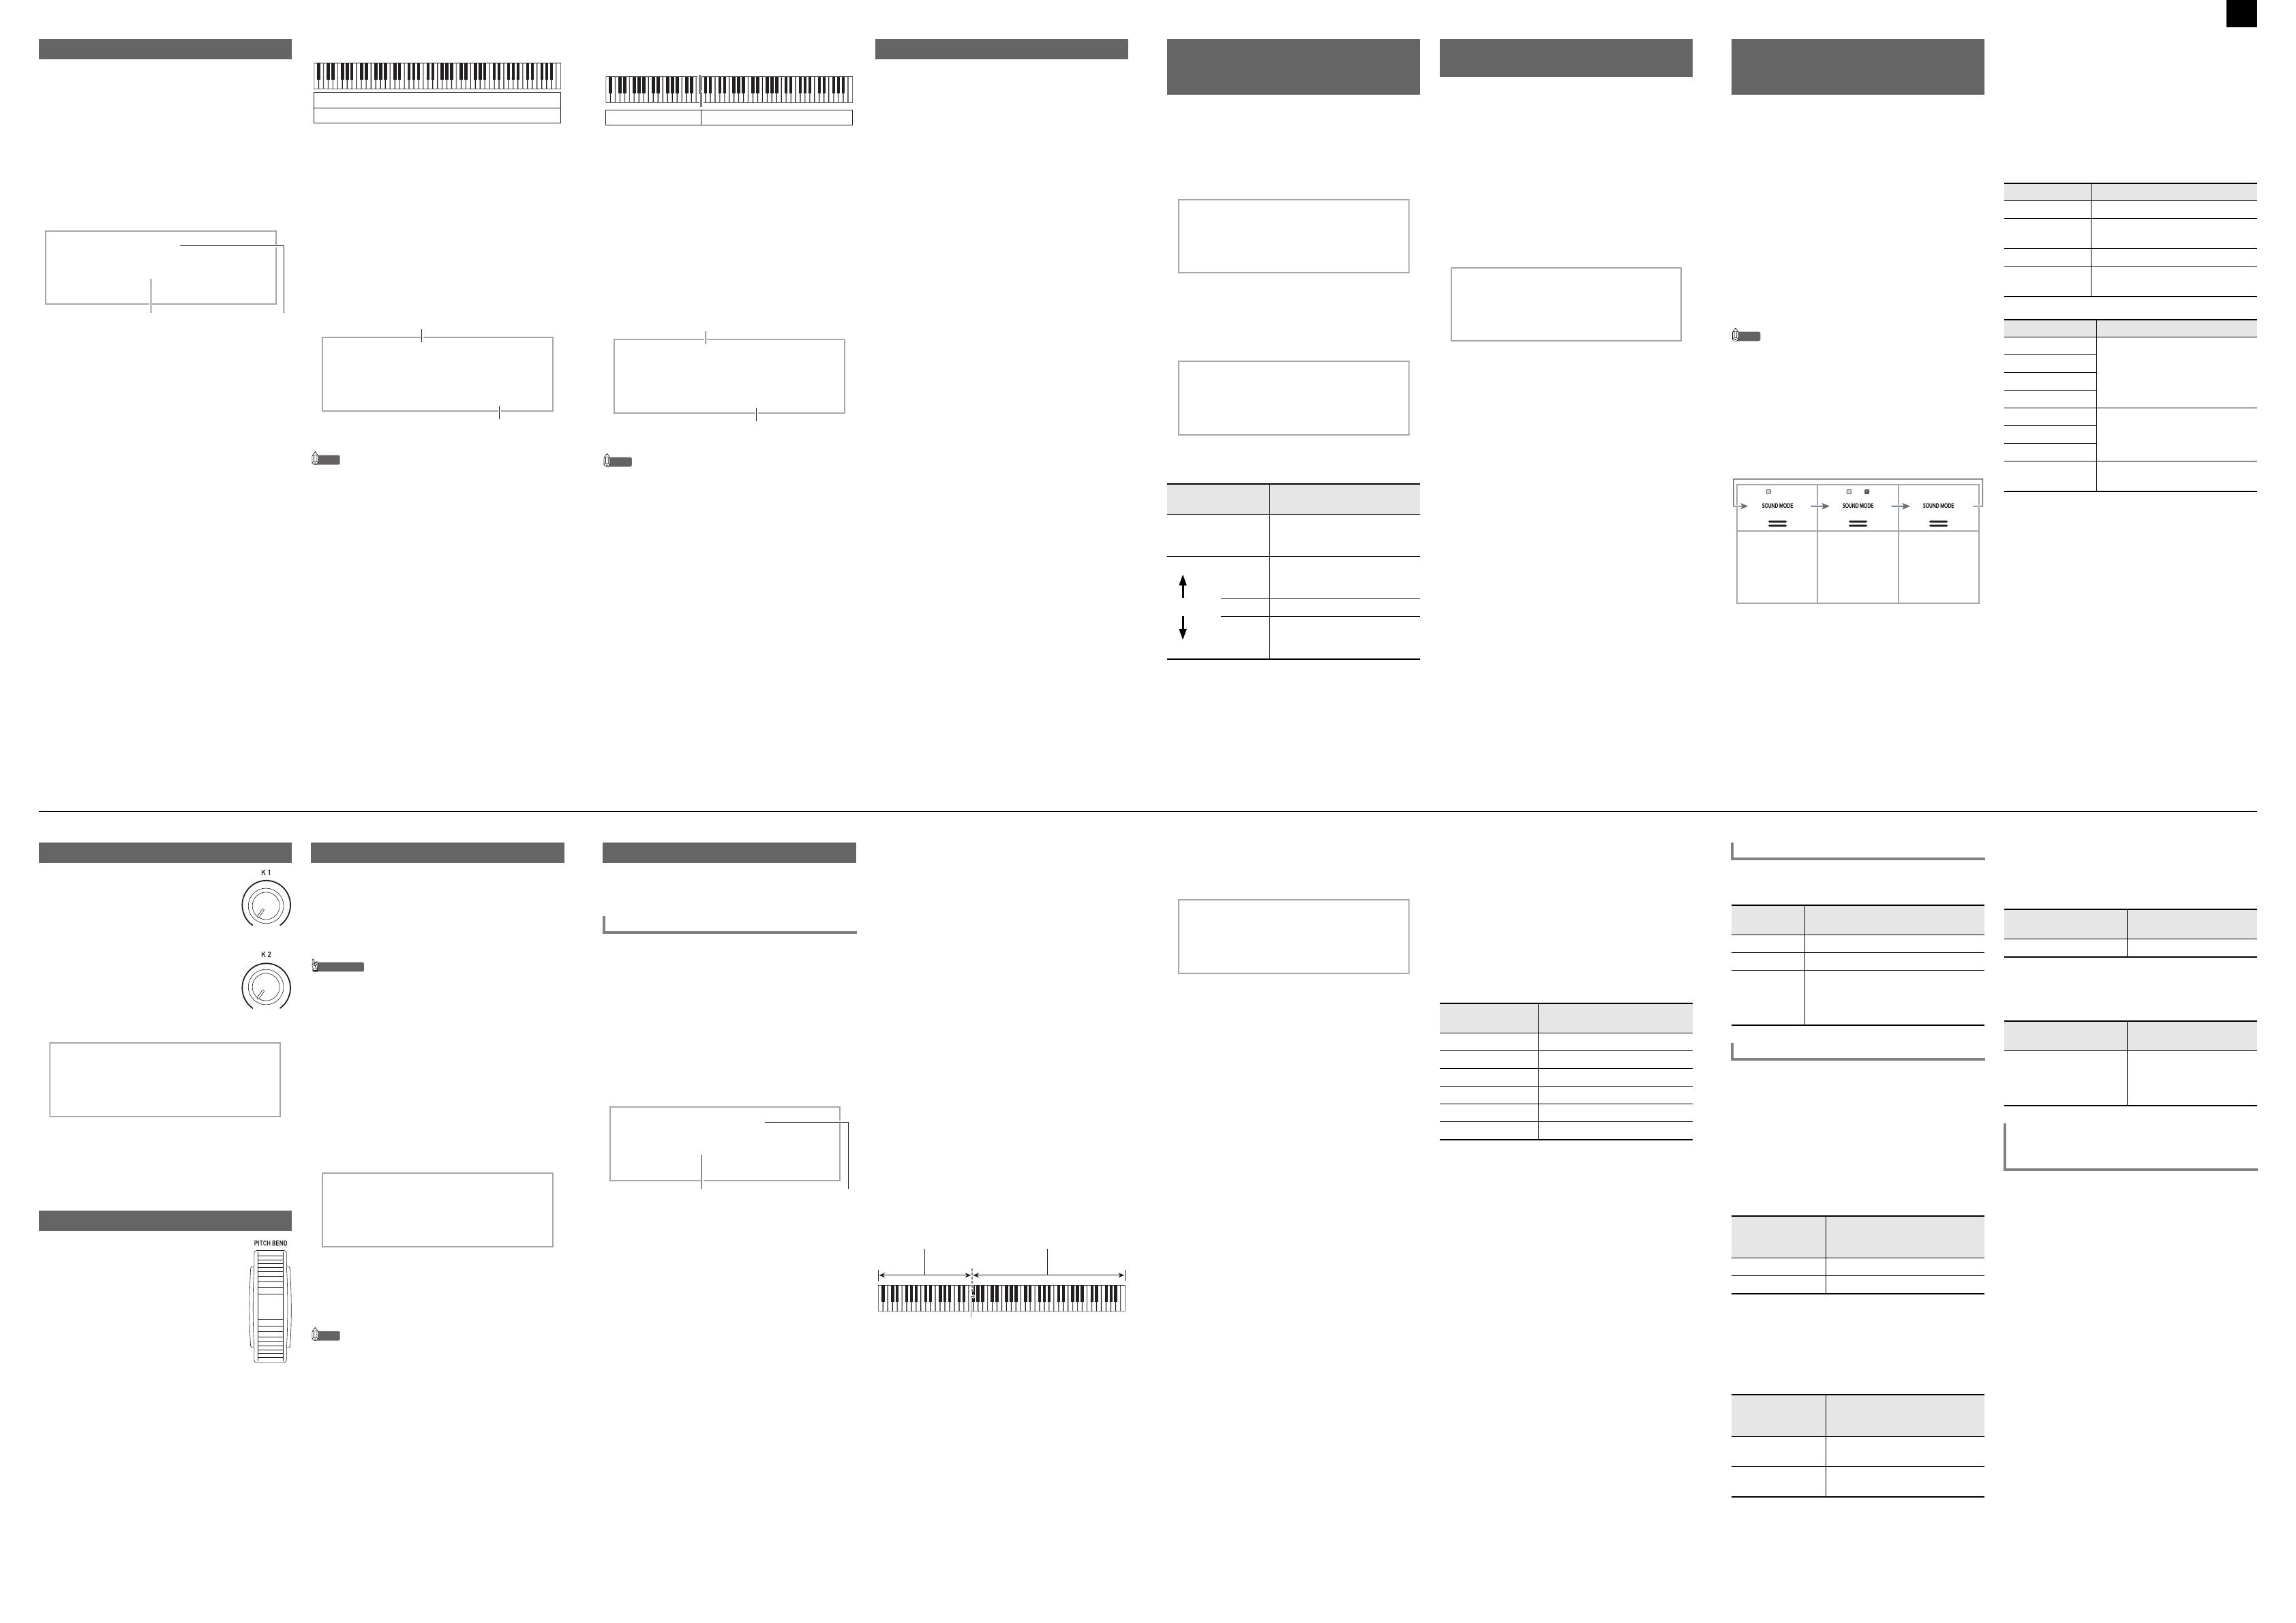
■ To enable
and Surround effects
1.
Touch bn SOUND MO .
• Each touch will cycle between the settings, and the
current setting is
shown bel
■ To specify the Hall Simulato
1.
Hold down bn SOUND MODE until “[SOUND
MODE]” appears on the displa
the button.
2.
After confirming t
touch bm ENTER .
3.
Use the bk – and bl + buttons to select the hall
simulator/reverb type.
● Hall Simu
● Reverb
4.
After the setting is the way you want, touch
bp EXIT as many times as required until “[SOUND
MODE]” disappears from the displ
■ To specify the Surroun
1.
Hold down bn SOUND MODE until “[SOUND
MODE]” appears on the displa
the button.
2.
Use the bk U and bl I buttons to display
“Surround Type” and then touch bm ENTER .
3.
Use the bk – and bl + buttons to select the
surround type (Type 1 or Type 2).
4.
After the setting is the way you want, touch
bp EXIT as many times as required until “[SOUND
MODE]” disappears from the displ
Using the Sound Mode Effects
(Hall Simulator/Reverb and
Surround)
Hall Simulator/
Reverb ena
Surround
(Initial default)
Hall Simulator/
Reverb ena
Surround
Hall Simulator/
Reverb disabled
Surround disabled
Type (displayed) Description
1. N.Y.Club Manhattan music
2. Opera Hall Uniquely shaped S
Hall
3. Berlin Hall Berlin arena type classic
4. BritishStadium Large outdoo
suburbs
Type (displayed) Description
5. Room 1
Simulates the reverber
room.
6. Room 2
7. Room 3
8. Large Room
9. Hall 1
Simulates the reverber
small hall.
10. Hall 2
11. Hall 3
12. Stadium Simulates the reverber
stadium.
The digital piano has two k
use to change th
parameter settings i
■ To select
assigned to the knob
1.
Use the bp^ button to cycle through
settings until the “^ CTRL” indicator
to the right of the button is lit.
2.
Touch bs KNOB .
The name of the
set will be shown on the display.
3.
Use the bk – and bl + buttons to select a knob set.
• For information cm
Knob K1 ) K2 )
the User’s Guide that
website.
You can use the pit
pitch of notes smooth
downwards.
reproduce saxophone and el
choking effects.
1.
While playing a note on the ke
rotate the cn PITCH BEN wheel on
the left of the keyboard upwar
downwards.
The amount the n
how much you rotate t
wheel.
• Do not touch t
With the arpeggiat
other phrases automat
keyboard. You can sele
arpeggio options,
playing various phra
■ To enable the arpeggiator
• If “AH” appears instead of “AR” when you
bt ARPEG. button in
you will need to change the functio
bt ARPEG. button. To do
FUNCTION parameter operation: “ARPEG./
A.HARMO.” 3 “Typ3 “Arpeggiator”.
information about FUNCTION parameter
“Configuring Function Settings (FUN
(page 4/4).
1.
Use the bp^ button to cycle through settings until
the “^ CTRL” indicator to the right of the
lit.
2.
To enable the arpeggiator, touch bt ARPEG. This
will cause “AR” to appear
• Playing a chord or single note on the keybo
play back the
3.
To disable the arpeggiator, toubt ARPEG. This
will cause “AR” to disappea
NOTE
• For informati
refer
Website. For det
separate “Built-i
Using the Knobs
Using the Pitch Bend Wheel
[
CTR
]
KN
T : 120
0 :F l ter
Using the Arpeggiator
[
CTR
]
KN
T : 120 A
0 :F l ter
After you select
automatically plays realistic a
chords you play.
The Auto Accompaniments of
“rhythm part” (
(various musical instrume
Accompaniment,
can sound both par
■ To select a rhythm
1.
Use the bp^ button to cycle through settings until
the “^ RHYTHM”
is lit.
The names of the currently s
and rhythm will be shown on
2.
Use RHYTHM category buttons bq through cl to
select a RHYTHM category.
3.
Use the bk – andbl + buttons to select a rhythm.
■ To play the rhythm part on
1.
Use the 3 mode selector button to cycle through
settings until the “RHYTHM” (RHYTHM Mode)
indicator is lit.
2.
Use the procedure under “To select a rhythm” to
select the rhythm you want.
3.
Touch 8 START/STOP .
This starts rhythm play.
• The yellow and 8 START/
STOP button will flash in time with the rhythm
(yellow for b
each measure).
4.
Play along with the rhythm.
5.
To stop 8 START/STOP a
■ To play Auto Accomp
1.
Use the 3 mode selector button to cycle through
settings until the “ACCOMP” (ACCOMP Mode)
indicator is lit.
2.
Start play of the rhythm part.
• For information
start playing
rhythm p
3.
Use the accompaniment keyboard
This will cause bass and
Accompaniment parts t
Example:
Pressing D-F{ -A-C on the a
4
Accompaniment for the{ -A-C chord (D7) sounds.
4.
Play other chords with left hand as you
melody with your righ
• You can use “CASIO Chord”
chord input mode
chord input mode”.
5.
To stop Auto Accompaniment, touch 8 START/
STOP.
Using Auto Accompaniment
Playing Accompan
[
RHY
M
]
PO
T : 120
0 :E.
p
Rhythm name Category name
Accompaniment ke Melody keyboard
Split point
■ To adjust the tempo
1.
Touch bm TEMPO .
The current tempo value will be shown on the display.
2.
Use the bk – and bl + butto
value.
• You can specify
255.
3.
To exit the setting screen, tbm TEMPO or
bp EXIT.
■ To select a chord input
1.
Hold down the bp^ button until “[FUNCTION]”
appears on the display.
This enters the FUNCTION mode.
2.
Use the bk U and bl I buttons to display
“ACCOMPANIMENT” and then touch bm ENTER .
3.
After confirming that “Chord Mode” is di
touch bm ENTER .
4.
Use the bk – and bl + buttons, or cm Knob (K1 ) to
change the setting.
• For information
the chord input mode
User’s Guide that i
Website.
5.
To exit the FUNCTION Mode, hold down bp EXIT
until “[FUNCTION]” disappears from the display.
This setting
(displayed):
Selects this chord input mode:
1. CASIO Chord CASIO CHORD
2. Fingered 1 FINGERED 1
3. Fingered 2 FINGERED 2
4. Fg On B FINGERED ON BASS
5. Fg As FINGE
6. Full Range FULL RANGE CH
The accompaniment patter
sounds
you finger a chor
Generally, the prog
intro, transitions to verses
interludes and other
theme before reaching
Accompaniment function
accompaniment pat
musical composition.
■ Normal and Variation
This is an accompanimentern that
verse or chorus of a p
from one measure
■ Fill-in
These
or two-measure fill-ins into a pto
play as soon as you
below). Accompaniment play
or variation pat
measure fill-in is comp
■ Intro
This is an accompanimen
beginning of a
will start after the measures of the intro accompaniment
pattern is complete.
■ Ending
This is an accompanimen
end of a pie
Auto Accomp
Use the procedure
start Auto Accomp you press a
keyboard key.
■ To trigger Auto Acco
chord keyboard input
1.
While Auto Accompaniment play is stopped, touch
7 SYNCHRO/END .
This enter
the LEDs above the 8 START/S button flashing
between yellow and
• To ex
7 SYNCHRO/ENDI .
2.
Finger a chord on the accompaniment
This starts Au
Metronome Accompaniment Patterns
This rhythm
number:
Selects this metronome sound:
BALLAD: 39 Sounds a click f
BALLAD: 40 Sounds a bel
BALLAD:
41 to 48
Two beats to nine
The first beat of each
sound, while the
clicks.
Auto Accompanattern Variations
To play this
accompaniment
pattern:
Do th
Normal Touch 5 NORMAL/F .
Variation Touch 6 VARIATION/FILL-IN .
To play this
accompaniment
pattern:
Do th
Normal Fill-in While a normal pattern i
touch 5 NORMAL/FILL-IN .
Variation Fill-in While a variation pattern is playing,
touch 6 VARIATION/FILL-IN .
To play this
accompaniment pattern:
Do this:
Intro Touch 4 INTRO .
To play this
accompaniment pattern:
Do this:
Ending While an Auto
Accompaniment is playing,
touch 7 SYNCHRO/
ENDING.
Triggering
Accompaniment
Start)
Continued on sheet 3/4
[Continued below left]
PXS3000_A2_EN.fm 2