23
English
22
23
<Figure 6.2.4>
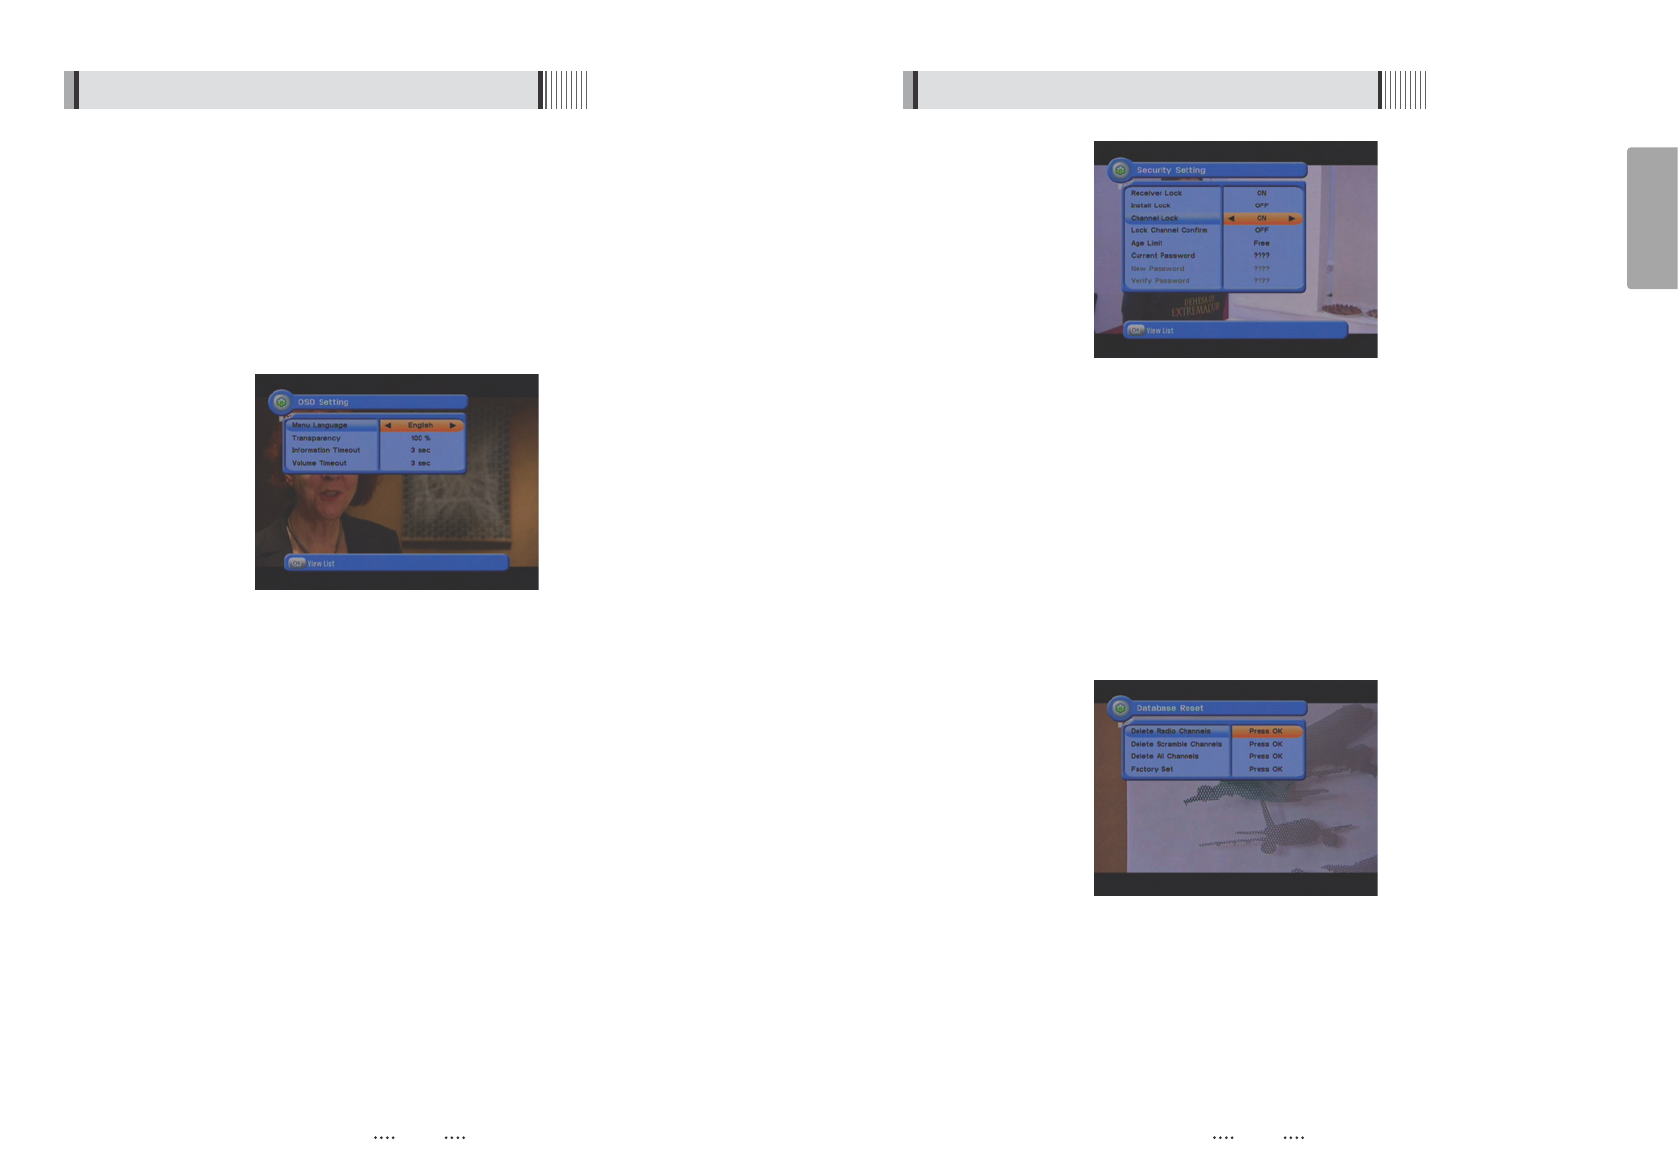
This submenu allows you to restore the factory set values (useful when encountering problems
after changing settings). <Figure 6.2.5>
- Delete Radio Channels : Erase all radio channels in the database.
- Delete Scramble Channels : Erase all scramble channels in the database.
- Delete All Channels : Erase all channels.
- Factory Set : Erase all channels and restore the factory default settings.
5) Database Reset
<Figure 6.2.5>
6.2 System Setting
22
This submenu allows you to set password options and to lock or unlock access to menus (Note:
PIN code and password are the same). <Figure 6.2.4>
- Receiver Lock : Set ON to require entering a PIN code at powering on.
- Install Lock : Set ON to require entering a PIN code to access the installation menu.
- Channel Lock : Set ON to require entering a PIN code to access the channels menu.
- Lock Channel Confirm : Set ON to require entering a PIN code to access a locked channel.
- Age Limit : Set to prevent children or unauthorized people from watching programs. Select
among (Free / 8 above / 12 above / 15 above / 18 above). When program
information (age limit) is available from broadcaster and this age limit exceeds
the selection, a PIN code is required to access the channel/program.
- Current Password : To change your password, first enter your current password.
- New Password : Enter the new password that you want to set.
- Verify Password : Enter the new password again for confirmation.
ҫ
Note : The default password is ‘0000’.
4) Security Settings
6.2 System Setting
This submenu allows you to set the menu language, OSD transparency and Information and
Volume timeouts. <Figure 6.2.3>
- Menu Language : Select the desired language for the menu.
- Transparency : Set the OSD transparency of the menu. (1%
~
100%)
- Information Timeout : Select the display duration of the information banner. (1, 2, 3, 5 or 10
seconds)
- Volume Timeout : Select the display duration of the volume box. (1, 2, 3, 5 or 10 seconds)
3) OSD Settings
<Figure 6.2.3>