Using the Appliance
1. Unwind the length of cable you require.
CAUTION:
• Pull out the cable up to the maximum length indicated
with the yellow mark.
• Never pull the cable out up to the red mark as the
cable winding can be damaged.
NOTE:
If the red mark is visible, pull in the cable with the help of
the cable winding button back to the yellow mark.
2. Insert the mains plug into a correctly installed 230 V, 50 Hz
power socket. Turn the vacuum cleaner on by pressing the
on/off switch down with your foot.
3. Set the vacuum power with the vacuum power regulator
(MIN to MAX).
4. Vacuum at a steady speed. There is no need to exert pres-
sure.
CAUTION:
Pay attention to the range that can be covered with the cable
length!
Vacuum power regulator
Low vacuum power: For curtains and delicate fabrics.
Medium vacuum power: For long-pile velour carpets and textile
ooring.
High vacuum power: For sturdy rugs and oors.
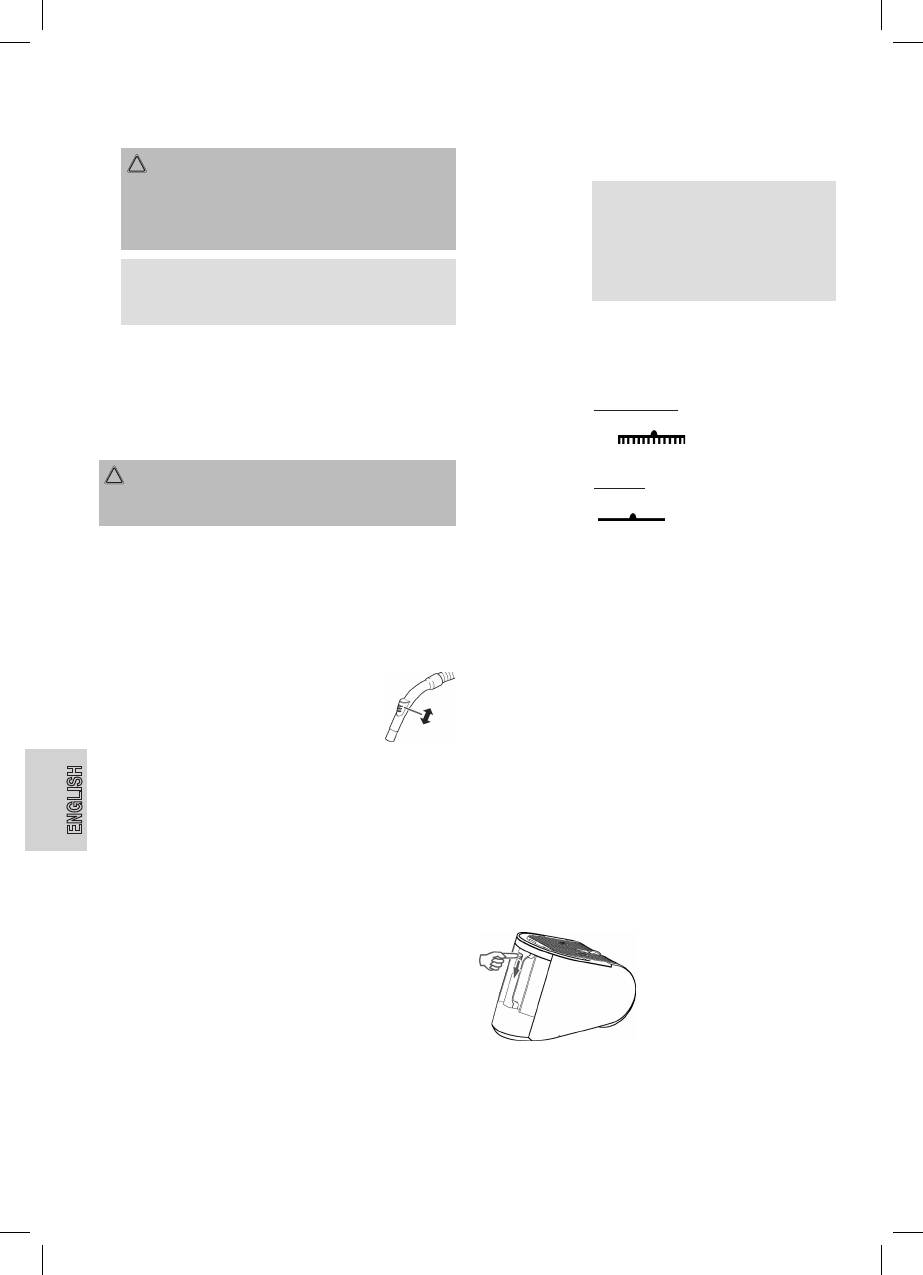
Air Slide
Open the air slide on the hose handle in order to
regulate the airow or to clear any particles sticking
to the nozzle.
Switching off and Winding up the Mains Lead
1. Turn the vacuum cleaner off by the on/off switch and remove
the plug from the socket.
2. Keep the plug in your hand.
3. Press the cable winding button and guide the cable. Hold
the cable to avoid wrapping.
Nozzle Attachment
Crevice and
jointed nozzle: For vacuuming upholstery, curtains and in
corners and crevices etc.
NOTE: „2-in-1“ nozzle:
When this is folded together it can be
used as a groove nozzle. If you would like
to use the brush nozzle, pull the brush
section in the direction of the arrow until it
locks in place.
Upholstery nozzle: For cleaning upholstery, curtains etc.
Floor nozzle:
The oor nozzle is tted with rollers for
improved manoeuvrability. To clean carpets
or smooth surfaces.
Smooth oors:
Press down the lever with the brush sym-
bol „ “ with your foot. The brush
is now visible..
Carpets:
Move the lever with your foot to the
„ “symbol. The brushes are now
retracted.
Parquet brush: The parquet brush is tted with rollers for
improved manoeuvrability. For large areas
such as parquet, laminate or tiles etc.
Releasing the
nozzles:
Maintenance
Filter
Your machine has three lter systems. The traditional dust bag
system has been replaced by a transparent dust container. In
this, coarse dirt particles and tiny particles oating in the air are
swirled out of the suction air by the high speed of the air current.
It is therefore unnecessary to buy dust bags.
Electronic change indicator for the dust bag
Hold the hose up into air. If the change dust bag indicator lights
up, please proceed as follows:
Ill. 1
Emptying the Dust Container
• Remove the mains plug from
the socket.
• Push the button for releasing
the dust bag downwards and
remove the dust bag (see
Fig. 1).