82 83
EN
VR3100 VR3100
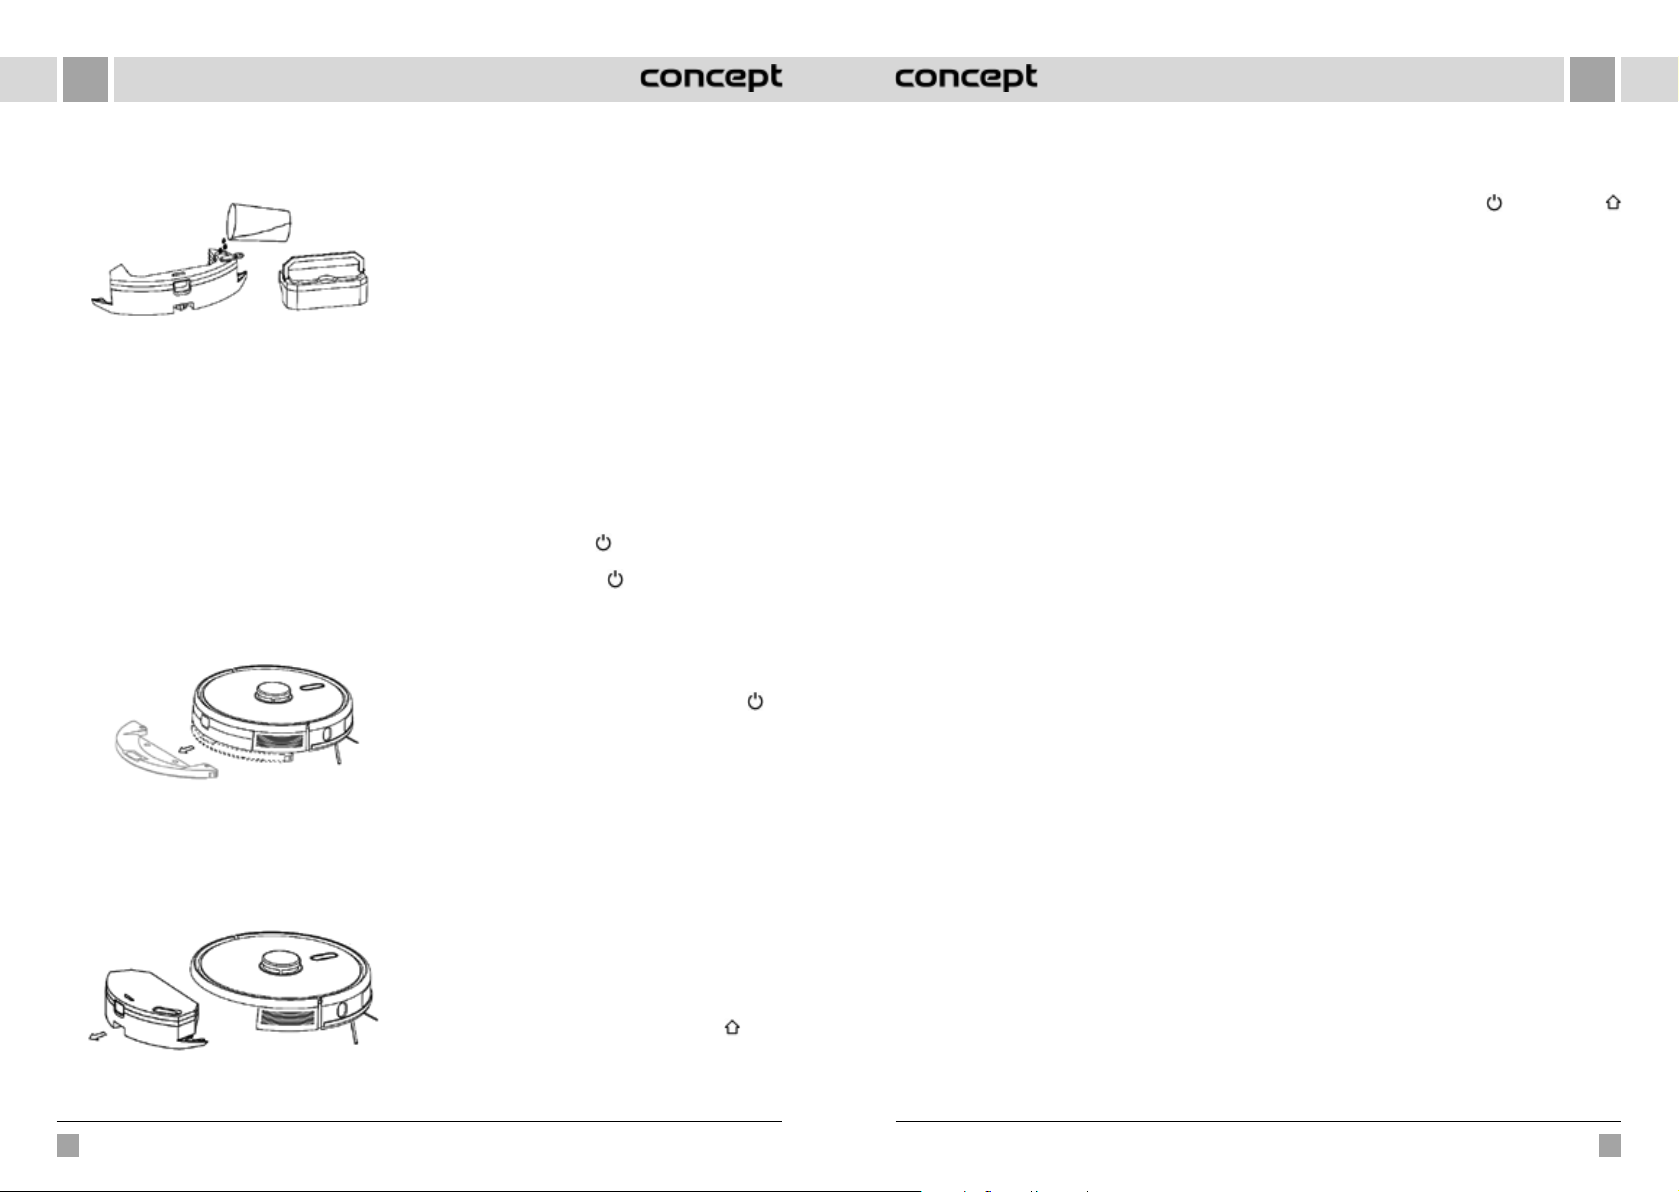
Before filling with wat
using the handle (
Model VR3120 - Electrically operat
c) Install the module:
Model
horizontally along the back of the robot.
is installed in place when you hear a
Model
water tank and insert the handle into the slot.
press and hold the button in the centr
and push it horizontally along the back of the robot.
The module is installed in place when you hear
a
9. Removing the wiping module
Model
its work, press the latches on both sides
wiping module backwards, empty the water fr
water tank and clean the cloth (do not mov
robot during cleaning).
Model VR3100,
Model
work, press the button in the middle of the wat
remove the wiping module backwar
water from the w
move or flip the robot during cleaning).
Model VR3120 - Electrically operat
10. Instruc
• Do not use the wiping module unless supervised.
• For saf
when charging or when not in use.
• Do not attempt to wipe the carpet.
• For a bett
be used after sweeping or vacuuming the floor three
times.
• T
is operating, pause it
module as described in steps 8 and 9. Do not move or
flip the appliance to av
loss.
• The wiping function of the appliance is designed for
wiping and aids deep cleaning. How
effectively remov
human power
USE
ON/OFF
Press and hold the butt for 3 seconds, the indicator
light comes on and the appliance starts.
Press and hold the button for 3 seconds while the
appliance is in standby mode, the indica
and the appliance switches off
NOTE:
being charged.
CLEANING/P
After starting the appliance, briefly press the button on
the appliance or start the appliance using the mobile app
(press any button t
Note:
• The robotic vacuum cleaner cannot be used t
fluids.
• If the battery charge level is less than 15 %, the
appliance cannot operate
• If the battery charge level is less than 15 %, the
appliance automatically returns t
• Before use, r
docking station power cord) fr
outages and damage to objects or wires when the
robot catches these wir
CHARGING
Automatic mode:
the docking station after work.
Manual mode: briefly
to start charging or you can use your mobile app to
charge the appliance.
appliance is fully charged.
Note: If the appliance does not find the docking station,
it will automatically return to its orig
case, place the device manually int
COMPLETE A
Once the robot is on, it performs a search, generates
a
the areas one after the other properly
thoroughly along the wall and plans a curved / S-shaped
cleaning path. After cleaning, the r
returns to the charg
Note: Do not move the robot arbitr
cleaning. After moving
position.
a position itself
will follow the planned path and con
positioning fails, the robot cancels the pr
creates a map
a charging base.
L
When a local area needs more thor
will identify a point on the map in the app
automatically move close t
the centre
L
If you cannot control the r
move the robot manually t
up. P
perform double cleaning in the area of 2 x 2 m with the
centre in its starting position.
ZONE CLEANING
Use the mobile app to set the size and loca
you want to clean up
robot will clean in the areas y
RESTRICTED ZONE
Use the mobile app to set up one or more r
The robot will not clean in these restricted ar
clean in others.
Note:
positioning errors, sensor err
• A permanently restricted zone may be in
to a significant change in position of the charging base
and furniture.
otherwise inter
• The permanently restricted area will be r
soon as the map is restored
CLEANING PLANNING
Y
The appliance will automatically start cleaning at the
specified time and will return to the docking station when
completed.
WI-FI RESET
If the mobile phone cannot connect to the appliance
due to a change in router and passw
or other reasons, pr and the button
for 3 seconds at the same time until y
has been reset”
turns on blue-violet and flashes slowly.
SILENT MODE
Robot voice messages and planned cleaning will be
suppressed (inactive) during the set time.
CARPET TURBO
When the carpet is detected, the suction force
automatically increases tW
the carpet is correctly detected only with the Carpet
brush.
SETTING THE SUCTION POWER
Y
level using the mobile app
When the carpet is detected, the suction force
automatically increases to the highest lev
- the carpet is correctly detected only with the Carpet
brush.
SETTING THE WA (only for electrically
operated wat
Y
using the mobile app.
USING THE REMO
1. Cleaning planning
2. Moving forward
3. T
4. Local TURBO
5. Star
6. Automatic cleaning / pause
7. Cleaning/pause
8. T
9. Find the robot
10. Setting suc
Note:
you must point the remot
robotic vacuum cleaner from close pr