19
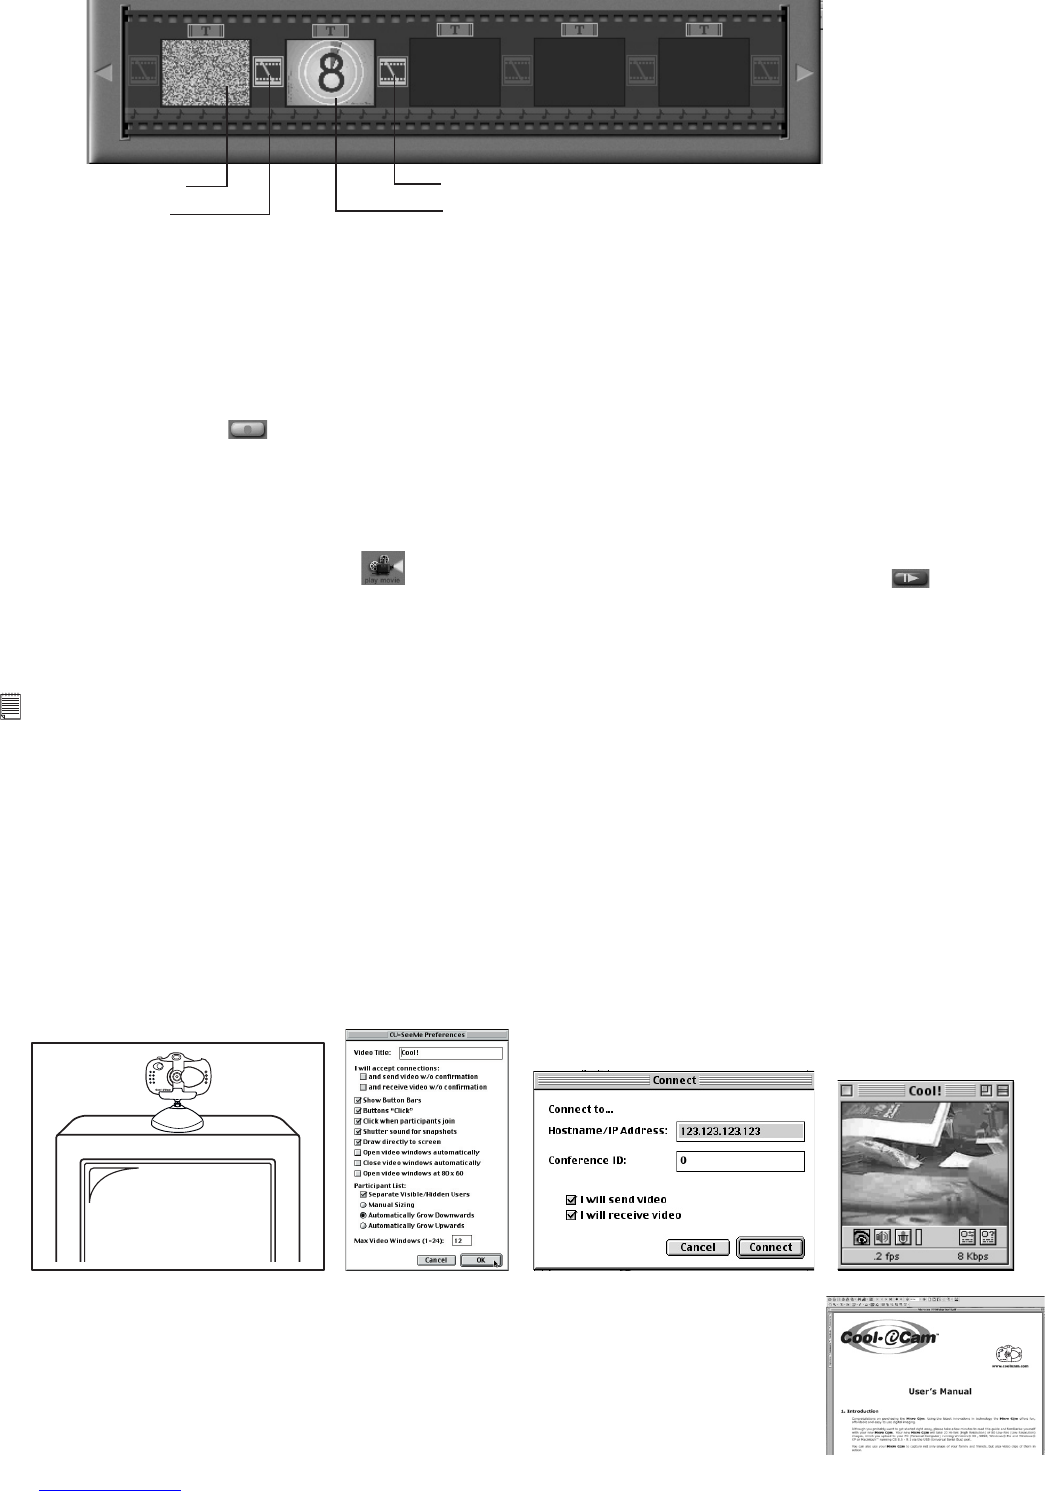
Step 5 Double click on the next right large frame and repeat step 3 using a video template a n d
double click template 5. Countdown.avi. Repeat step 4.
1. Fire
1. Fire
Countdown.avi
Static.avi
Storyboard
Adding an existing video.
Step 6 To add a video you have already made double click on the next large frame in the story board to the
right. Click on the “Get” icon and select a video you had made and led in the folder called “album”
click on Get, with the selector click on the down arrow and select desktop and then double click on
“Album” folder and select a le ending with mov (video le) the video will appear in the video tem-
plates. Double click on the video and it will appear just like other video templates in the storyboard.
Now go to step 10.
Alternatively you can produce a live video.
Ensure your Digital Cam is connected to the computer via the USB cable. Click on the capture icon.
Step 7 And press the record icon. Wait for the video link to go live and now you’re recording, press the
ESC key on your keyboard to end the video.
Step 8 Press the “Save” icon and name your le, and then press “save”. Video impression will ask you where
you want to place your video. Select “video template”.
Step 9 Select the “album” icon and your video clip you have just produced will appear in the video templates.
Double click on your video, your video will now drop into the storyboard.
Running the video.
Step 10 Select the “play movie” icon which will assemble your video together. Press the play icon to
watch your completed video. Watch to see how the special effects merge between the frames on the
story board. Now you try to make your own and also try the audio template.
11.11 How to use CU-SeeMe™
Warning! Using CU-SeeMe™ will erase all images stored in your Micro C@m. Make sure you upload all wanted
images before using CU-SeeMe™.
1. Connect your Micro C@m to the USB cable on one end.
2. Connect your USB cable to an available USB port on your Mac on the other end.
3. Put your Micro C@m on top of your Mac monitor or another at surface.
4. Connect your microphone (not included) to your audio card’s external microphone connector.
5. Double click the “CU-SeeMe™” icon from the Cu-SeeMe™ folder.
6. Go to “Edit” and then “Preference”. Edit your settings, e.g. video title, connection settings, etc.
7. Go to “Conference” and click “Connect”. Type in the Hostname and IP address for the person you want to call
and press “Connect”.
8. To nd your own IP address, go to “Control Panel” and then “File Sharing”. You will be able to see your IP
address under the “Start/Stop” partition.
9. For further help on how to use CU-SeeMe™, you can visit the following website:
http://www.cuseeme.com
C
o
o
l
-
i
C
a
m
D
I
G
I
T
A
L
C
A
M
E
R
A
Place the Micro C@m
on top of your monitor
11.12 How to use Adobe® Acrobat® Reader
Adobe® Acrobat® Reader enables you to view document in .pdf format. For more
details go to www.adobe.com/acrobat.
C
o
o
l
-
i
C
a
m
D
I
G
I
T
A
L
C
A
M
E
R
A