1514
Connecting the Power/Turning on the machine
Getting Started
◆
Before connecting
●
Turning on the machine may cause a momentary power surge, which might interfere with other electrical equipment such as
computers. If this happens, use a wall outlet on a different circuit.
1. Connect the power cord to a wall outlet.
2. Push POWER ON/OFF button on the machine.
If the machine is in standby mode, press POWER
ON/STANDBY button on the remote controller.
The machine turns on.
Note
●
To enter standby mode the machine, press POWER button on
the remote controller. The machine enters standby mode.
●
To turn off the machine, push POWER ON/OFF button on the
machine. The machine turn off.
●
The buttons on the remote controller do not operate if the
POWER ON/OFF button is set to OFF.
CAUTION
●
Do not neglect the machine for a long period in standby mode, or it may cause the unit to malfunction or be overheated.
●
When the machine is not in use, be sure to remove the disc or USB device(option) and turn off the power by pushing the
POWER ON/OFF on the machine.
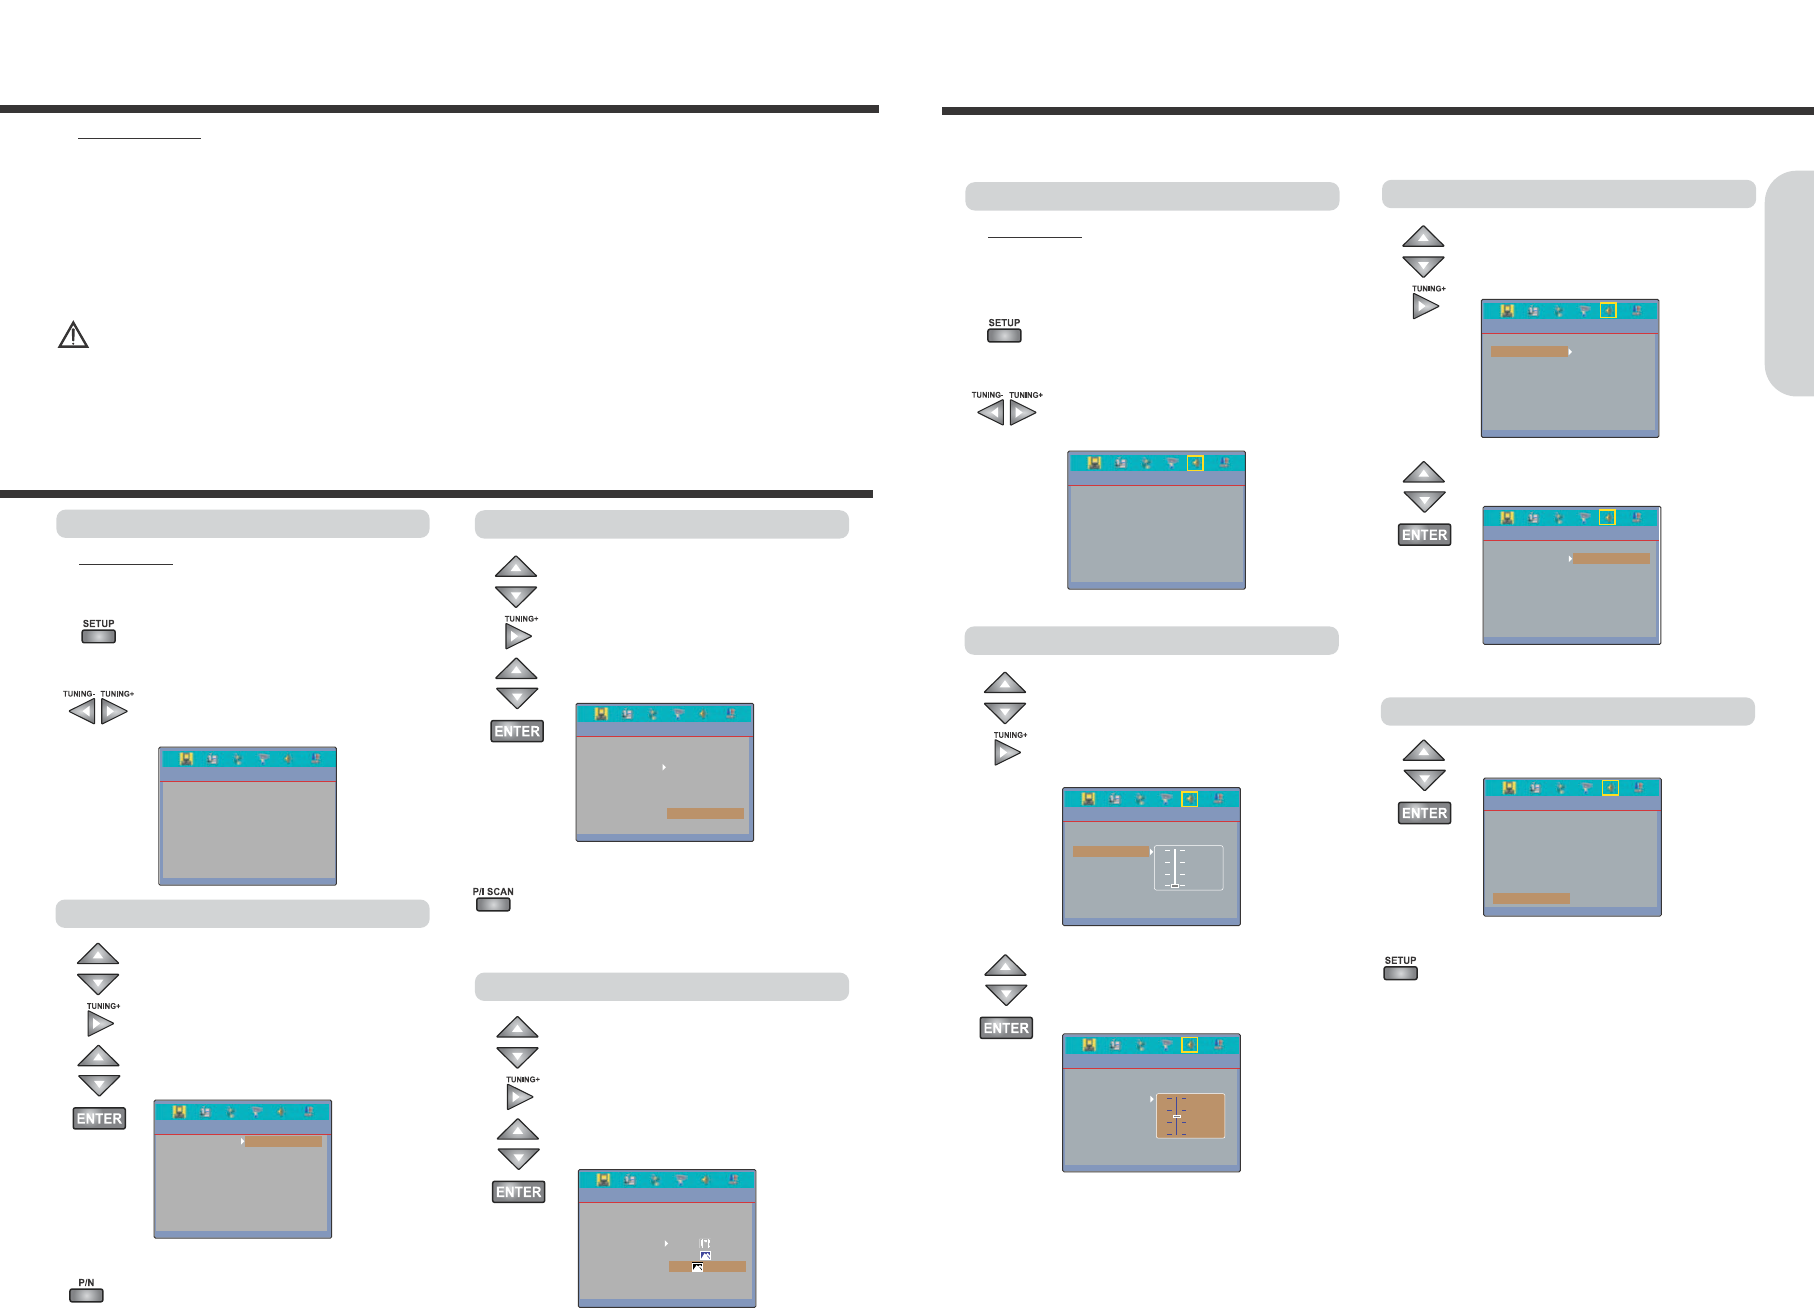
Preparation for TV System Setup
1. Press SETUP button while the disc is
stopped. The setup main page appears on
the TV screen.
2. Press
◀/▶
button to select the
“SYSTEM SETUP” page. The System
setting menu appears on the display.
◆
Before setting
●
Turn the TV on. Switch the video input mode of TV to suit
the type of connection you have made(e.g., VIDEO)
Selecting a TV system
1. Press
▲/▼
button to select the “TV
SYSTEM” while the “SYSTEM SET UP”
page is displayed on the TV screen, then
press
▶
button to move.
2. Press
▲/▼
button to select the required
TV system, then press ENTER to
confirm.
Selecting a TV Aspect
1. Press
▲/▼
button to select the “TV
TYPE” while the “SYSTEM SET UP”
page is displayed on the TV screen,
then press
▶
button to move.
2. Press
▲/▼
button to select the required
TV type, then press ENTER to confirm.
Selecting a Video Signal Type
1. Press
▲/▼
button to select the “VIDEO”
while the “SYSTEM SET UP” page is
displayed on the TV screen, then press
▶
button to move.
2. Press
▲/▼
button to select the required
Signal type, then press ENTER to confirm.
Note : To switch the TV system directly.
Press P/N button repeatedly to select the required
TV system type (NTSC, PAL60, PAL or AUTO)
.
Note : To switch the Video signal type directly.
Press P/I SCAN button repeatedly to select the
required Video signal type (INTERLACE-YUV, TV-
RGB, P-SCAN YPBPR, PC-VGA or S-VIDEO)
.
TV system setup
Speaker Setup
Before operating your machine, you need to set up the speaker configuration and the delay time from the listening position to
each speaker.
Preparation for Speaker Setup
1. Press SETUP button while the disc is
stopped. The setup main page appears on
the TV screen.
2. Press
◀/▶
button to select the
“SPEAKER SETUP” page. The speaker
setting menu appears on the display.
◆
Before setting
●
Turn the TV on.
●
Switch the video input mode of TV to suit the type of
connection you have made(e.g., VIDEO)
Turning on/off the Subwoofer output
1. Press
▲/▼
button to select the
“SUBWOOFER ” while the “SPEAKER
SET UP” page is displayed on the TV
screen, then press
▶
button to move.
4. Press
▲/▼
button to select the “OFF”
or “ON”, then press ENTER to confirm.
Adjusting Each Speaker's Position
1. Press
▲/▼
button to select the “CENTER
or REAR DELAY” while the “SPEAKER
SETUP” menu is displayed on the TV
screen, then press
▶
to confirm.
The speaker delay time appears on the
display.
2. Press
▲/▼
button to select the Center
or Rear speaker’s delay time.
The speaker’s delay time can be adjusted
from OFF to 15 mSEC.
3. Repeat step 1~2 to adjust other speaker’s
delay time.
1. Press
▲/▼
button to select the “EXIT”,
then press ENTER button to exit.
To finish the setup
Note : To exit the setup function directly.
Press SETUP button, the machine is return to previous
function mode.
Before operating your machine, you need to set up the TV system.