4
ELECTRICAL CONNECTIONS
- Before plugging into the mains, make sure the voltage of your mains supply corresponds to
the V value indicated on the appliance and that the socket and power line are appropriate
for the load required.
- THIS APPLIANCE COMPLIES WITH DIRECTIVE
2004/108/EC ON RADIO INTERFERENCE
SUPPRESSION.
INSTALLATION
The appliance can be used on any horizontal surface.
Do not overload the electrical circuit. Avoid using the same socket for other appliances.
OPERATION AND USE
1. Plug the appliance into a mains socket.
2. Press the switch (L) on the base.
The appliance will emit a "beep" and the light (H) will come on. It will remain lit as long as
there is power to the appliance.
3. The appliance is in stand-by mode and "- -" is displayed.
4. Press the button (A) to turn the appliance on. It will start heating with the current settings.
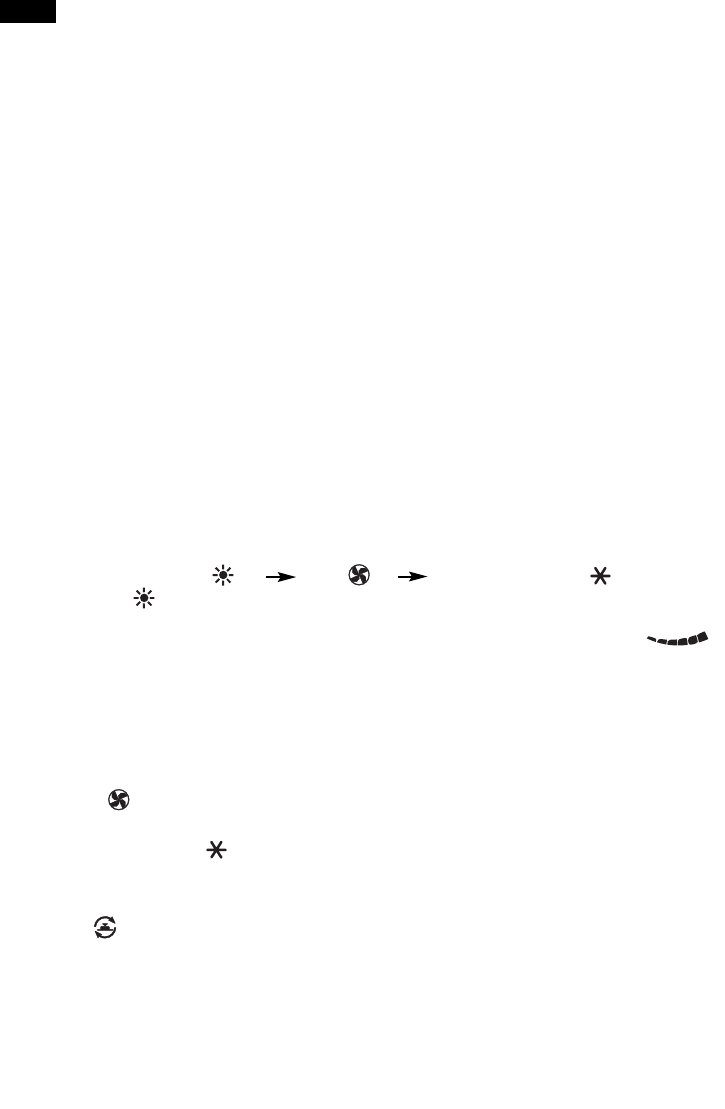
5. Press the MODE button (E) to select one of the following modes:
Heating ( ), Fan ( ), Freeze protection ( ).
5.1 Heating ( )
In this mode, the required temperature can be set by pressing buttons + and - (B) and
selecting one of the power levels, MIN, MAX or AUTO, by pressing button D ( ).
MIN power level: The appliance operates at minimum power, reducing energy con-
sumption to a minimum.
MAX power level: The appliance operates at maximum power to heat the room
rapidly.
AUTO power level: The appliance determines the power automatically according to
room conditions.
5.2 Fan ( )
In this mode, only the fan is active and the appliance does not heat the room.
5.3 Freeze protection ( )
In this mode, the appliance keeps the room at a temperature of 7°C to avoid freezing.
6. If you want the appliance to distribute the air flow over a wider area, press the swing but-
ton (C) ( ).
The appliance will swing from right to left.
To stop the appliance in the desired position, simply press button (C) again.
7. To turn the appliance off, press button A, then press switch (L) on the base.
NOTE: The display can show the temperature in both °F and °C. To select, press and hold the + key
for at least 5 seconds, then release.
DESCRIPTION
A ON/STAND-BY button
B +/- regulation buttons
C Swing button
D Power selector button
E MODE button (selects the operating mode)
F Timer button
G Remote control receiver
H Indicator light
I Tip over device
J Grille
K Filter
L ON/OFF switch
GB