84
Advanced Setup – Part 2 Advanced Setup – Part 2
ENGLISH
ENGLISH
4
Press the CURSOR
FF
or
GG
button to set the
distance between the center speaker and
listening position.
Example: When the distance is set to 3.0 meters for the
center speaker
The distance changes in units of 0.1 meters (1 foot) or 0.01
meters (0.1 foot) each time the button is pressed. Select the
value closest to the measured distance.
When “Step” is selected, you can select the unit of “0.1 m
(1 ft)” or “0.01 m (0.1 ft)”.
When “Yes” is selected for “Default”, the settings are
automatically reset to the default values.
Please note that the difference of distance for every
speaker should be 6.0 m (20 ft) or less. If you set an
invalid distance, a CAUTION notice, such as screen right
will appear. In this case, please relocate the blinking
speaker(s) so that its distance is no larger than the value
shown in highlighted line.
The “Surr. Sp.” can only be selected when both surround
speakers A and B have been selected at the System Setup
Menu (when both A and B have been set to “Large” or
“Small”).
When the surround back speaker setting is set to “1spkr”
for “Speaker Configuration”, this is set to “SB”.
5
Press the ENTER button to enter the setting.
• The “Speaker Setup” menu reappears.
• Use this setting to adjust so that the playback level between
the different channels is equal.
•From the listening position, listen to the test tones produced
from the speakers to adjust the level.
1
Press the CURSOR
DD
or
HH
button to select
“Channel Level” at the “Speaker Setup” menu,
then press the ENTER button.
• The “Channel Level” screen appears.
4
Press the CURSOR
DD
or
HH
button to select “Test
Tone Start”, then press the CURSOR
FF
button to
select “Yes”.
2
Press the CURSOR
FF
or
GG
button to select
“Auto” or “Manual”.
5
-1
When “Auto” mode is selected:
Press the CURSOR
FF
or
GG
button to adjust all
the speakers to the same volume.
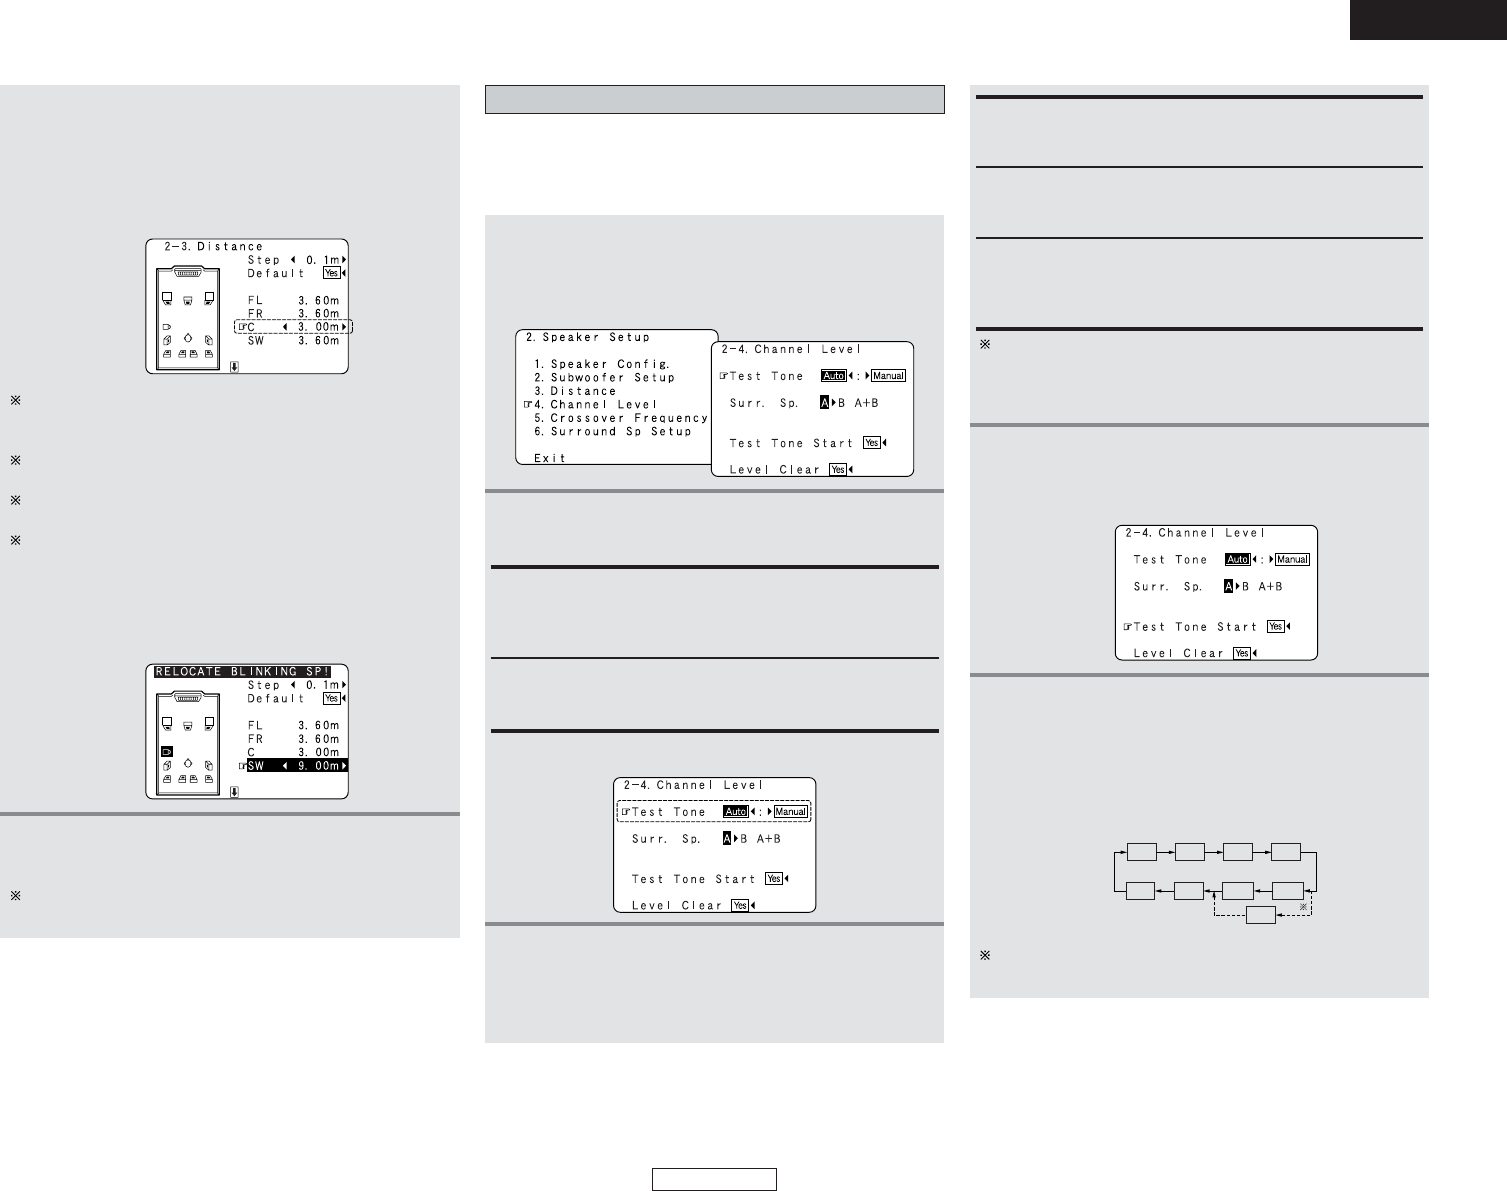
• The test tones are emitted from each speaker in the
following order, at 4-second intervals during the first and
second time, and at the 2-second intervals during the
third and subsequent cycles:
Auto:
Adjust the level while listening to the test tones produced
automatically from each speaker.
Test tones are automatically emitted from each speaker.
Manual:
Select the speaker from which you want to produce the test
tone to adjust the level.
Surr. Sp. : A
Adjusts the balance of the playback level between the
channels when using surround speaker A.
Surr. Sp. : A + B
Adjusts the balance of the playback level between the
channels when using surround speakers A and B at the same
time.
Surr. Sp. : B
Adjusts the balance of the playback level between the
channels when using surround speaker B.
3
Press the CURSOR
DD
or
HH
button to select “Surr.
Sp.”, then press the CURSOR
FF
or
GG
button to
select the surround speaker(s) from which you
want to produce the test tone (A, B or A+B).
Example: When the “Auto” mode is selected