10
ENGLISH
5
PART NAMES AND FUNCTIONS
(1) Front Panel
See page 3.
q
Power button
• Press once to turn the power on.
• Press again to set to the “OFF” position and
turn the power off.
• Set the power to the standby mode by
pressing the POWER button on the remote
control unit while the power is on.
• Turn the power on from the standby mode by
pressing the POWER button on the remote
control unit.
w
Power indicator
• This indicator lights when the power is on.
e
Remote control sensor
r
Disc tray
• Load discs here. (See page 12.)
• Press the OPEN/CLOSE button
t to open
and close the disc tray.
• The disc tray is also closed when the PLAY
button
u is pressed.
t
OPEN/CLOSE button
(
5 OPEN/CLOSE)
• Press this button to open and close the disc
tray.(See page 12.)
y
PROGRESSIVE SCAN button
• Press this to switch the component video
output between PROGRESSIVE and
INTERLACED SCAN.
u
PLAY button (1)
• Press this button to play the disc (See page
18.)
i
STILL/PAUSE button (3)
• Press this button to pause images or music or
to play images frame by frame. (See page 19.)
o
STOP button (2)
• Press this to stop the disc. (See page 19.)
!0
Skip button (8)
• Press this to move back to the beginning of
the current track (or chapter).
• Press again to move back to the beginning of
the previous track (or chapter). (See page 19.)
!1
Skip button (9)
• Press this to move ahead to the beginning of
the next track (or chapter). (See page 19.)
!2
Display
• Information on the disc that is currently playing
is shown on the display. (See page 10.)
!3
STANDBY indicator
• This lights when the power is in the standby
mode.
(2) Rear Panel
!4
Component video output connectors
(COMPONENT VIDEO OUT)
• Connect using video cords (available in stores).
!5
21-pin SCART terminal (AV1)
• Connect using a 21-pin SCART cable (available
in stores).
!6
Digital audio output connector
(OPTICAL)
• Connect using an optical fiber cable (available
in stores).
• Digital data is output from this connector.
!7
Video output connector (VIDEO OUT)
• Connect using the included video cord.
!8
S-Video output connector
(S-VIDEO OUT)
• Connect using an S-Video connection cord
(available in stores).
!9
Audio output connectors
(AUDIO OUT)
• Connect using the included audio cord.
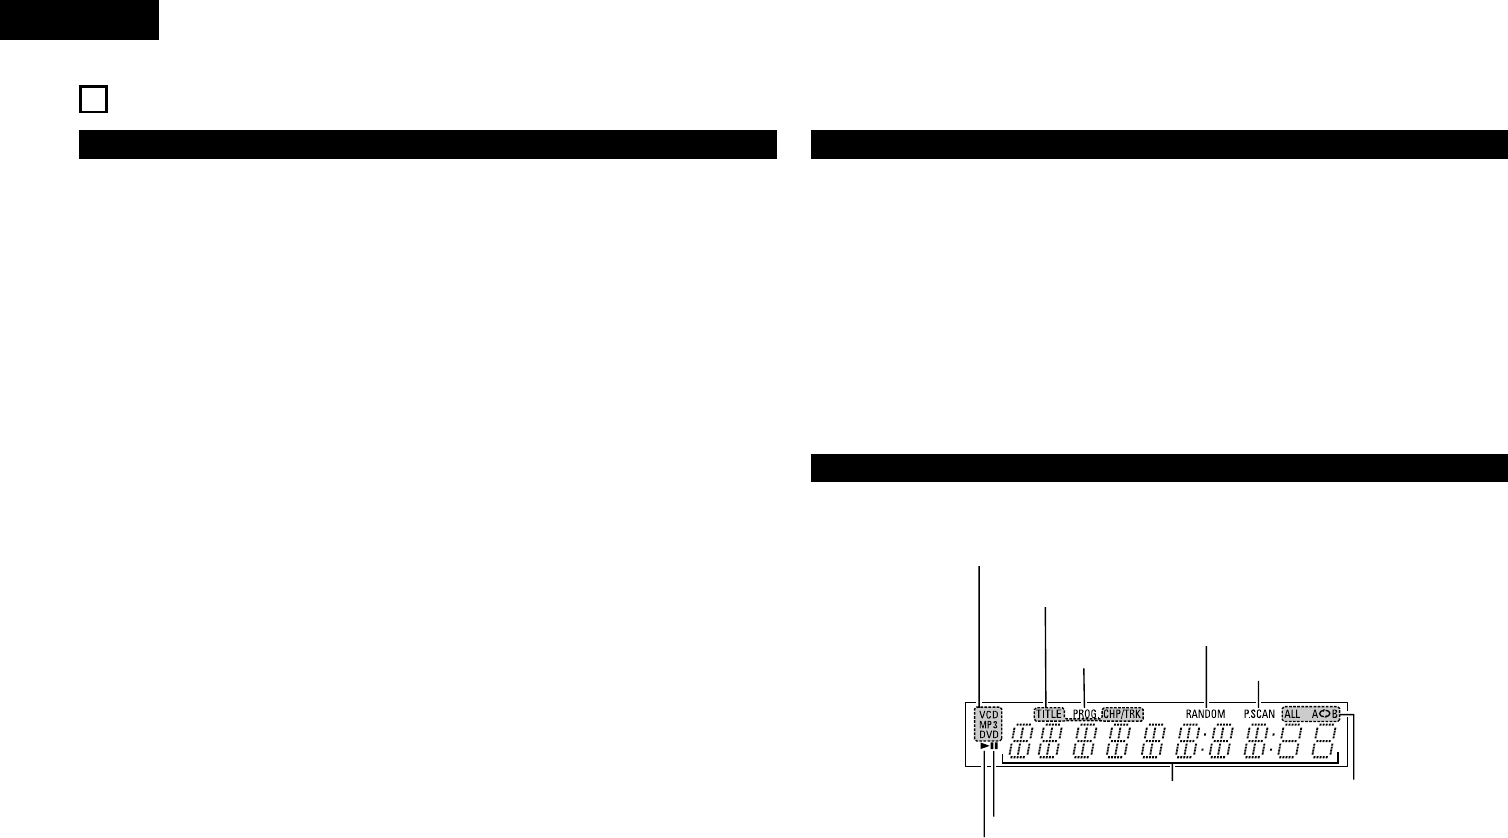
(3) Display
Lights to indicate the currently playing disc.
These light to indicate the names of the sections of the disc
being played.
Lights during playback, flashes when the resume play memory function is activated.
Lights in the
programmed play mode.
Lights in the still/pause mode.
Displays the title, track number and
elapsed time during playback.
Lights when progressive video
signals are being output.
Lights in the
repeat play
mode.
Lights in the random play mode.