54
ENGLISH
System Setup System Setup
ENGLISH
•To exit the once timer or every timer set mode:
Press the RETURN button, you can go back to the previous
screen.
1
Press the HELP button to display the help
screen.
2 Checking the timer settings
2
Press the CURSOR
•
or
ª
button to select
“SETUP”, then press the ENTER button.
3
Press the CURSOR 0 or 1 button to select
“TIMER SETUP”, then press the ENTER
button.
2 Changing the timer settings
Reset the timer from the start using the desired settings.
The new settings overwrite the previous settings.
2 Quitting the timer setting
(turning the operation of the timer off)
Select ”DISABLE” at the ”ONCE TIMER” or ”EVERY TIMER”
setting screen.
2 If there is a power failure
• If there is a power failure or the power supply cord is unplugged
from the power outlet, the time display flashes when the
power comes back on. Reset the current time.
• The once timer settings are deleted. Remake the settings.
• If the everyday timer settings and the tuner presettings have
been deleted, reset them.
If the times set for the sleep timer, every timer and once timer
overlap, the priority is as follows:
every timer → once timer → sleep timer
2 Sleep timer, every timer and once timer
priority
• This completes the procedure for changing the system
settings. Once the channel levels, distances and speaker
location have been set, there is no need to change the settings
again unless the connected AV components or speakers are
changed or the speakers are moved to different positions.
• DVD auto power off as necessary.
At the “SETUP” menu screen, press the HELP
button.
• The new settings are entered and the on-screen display turns
off.
The setup procedure can be quit at any point by pressing
this button.
After changing the system settings
6
Press the ON/STANDBY switch.
• The standby mode is set.
(The power indicator turns yellow.)
4
Press the CURSOR
•
,
ª
,
0 or 1 button to
select start time, end time, and function, then
press the ENTER button.
5
Press the CURSOR
•
or
ª
button to select
“EXIT SETUP”, then press the ENTER button.
• The timer is turned on and the timer standby indicator
lights. This completes the setting of the timer.
When the timer start time is reached, the timer operates.
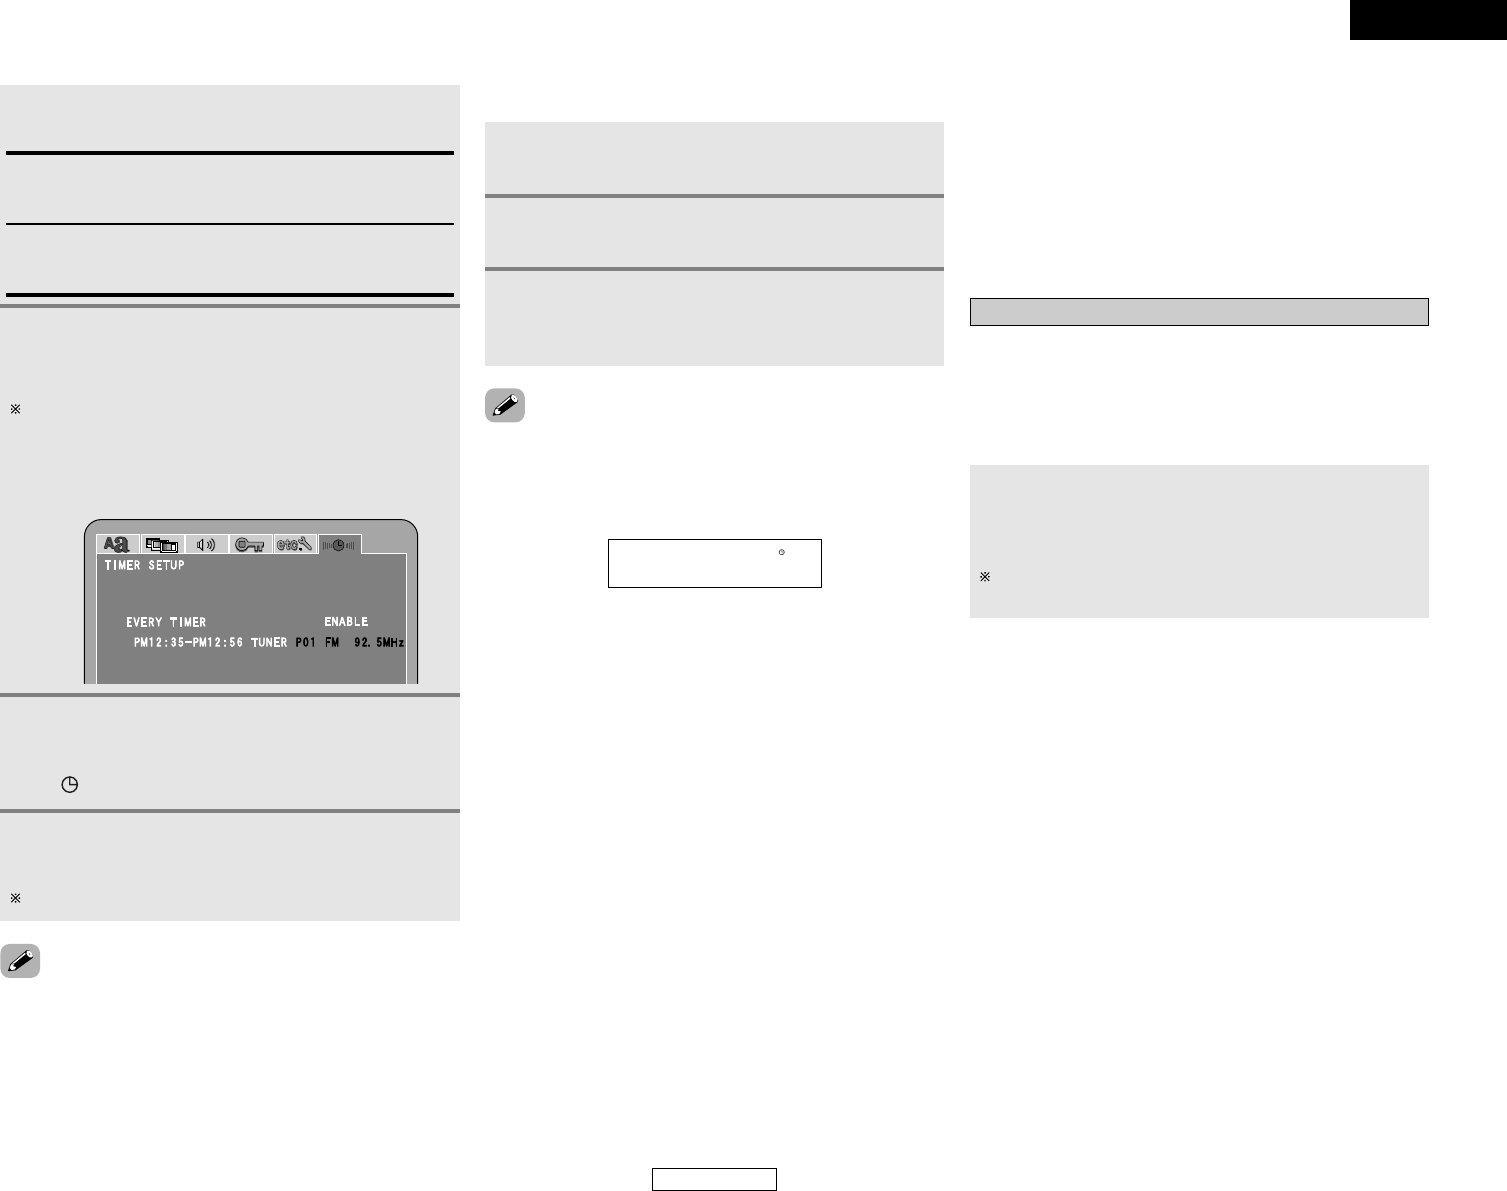
Example:
Listening to P01 (FM 92.5 MHz) from “PM 0:35” to
“PM 0:56” using the “EVERY TIMER”.
3
Press the CURSOR
•
or
ª
button to select
“ENABLE”.
ENABLE:
Set this to enable the “ONCE TIMER” or “EVERY TIMER”
function that has been set.
DISABLE (Factory default):
Set this to disable the “ONCE TIMER” or “EVERY TIMER”
function that has been set.
When “TUNER” is selected, the preset frequency can also
be selected.
•Press the STATUS button in the standby mode to show on the
S-101’s display whether the timer is turned on or off.