12
In the event of high ambient temperatures,
full performance of the cooling unit can only
be achieved by means of adequate ventilati-
on and extraction.
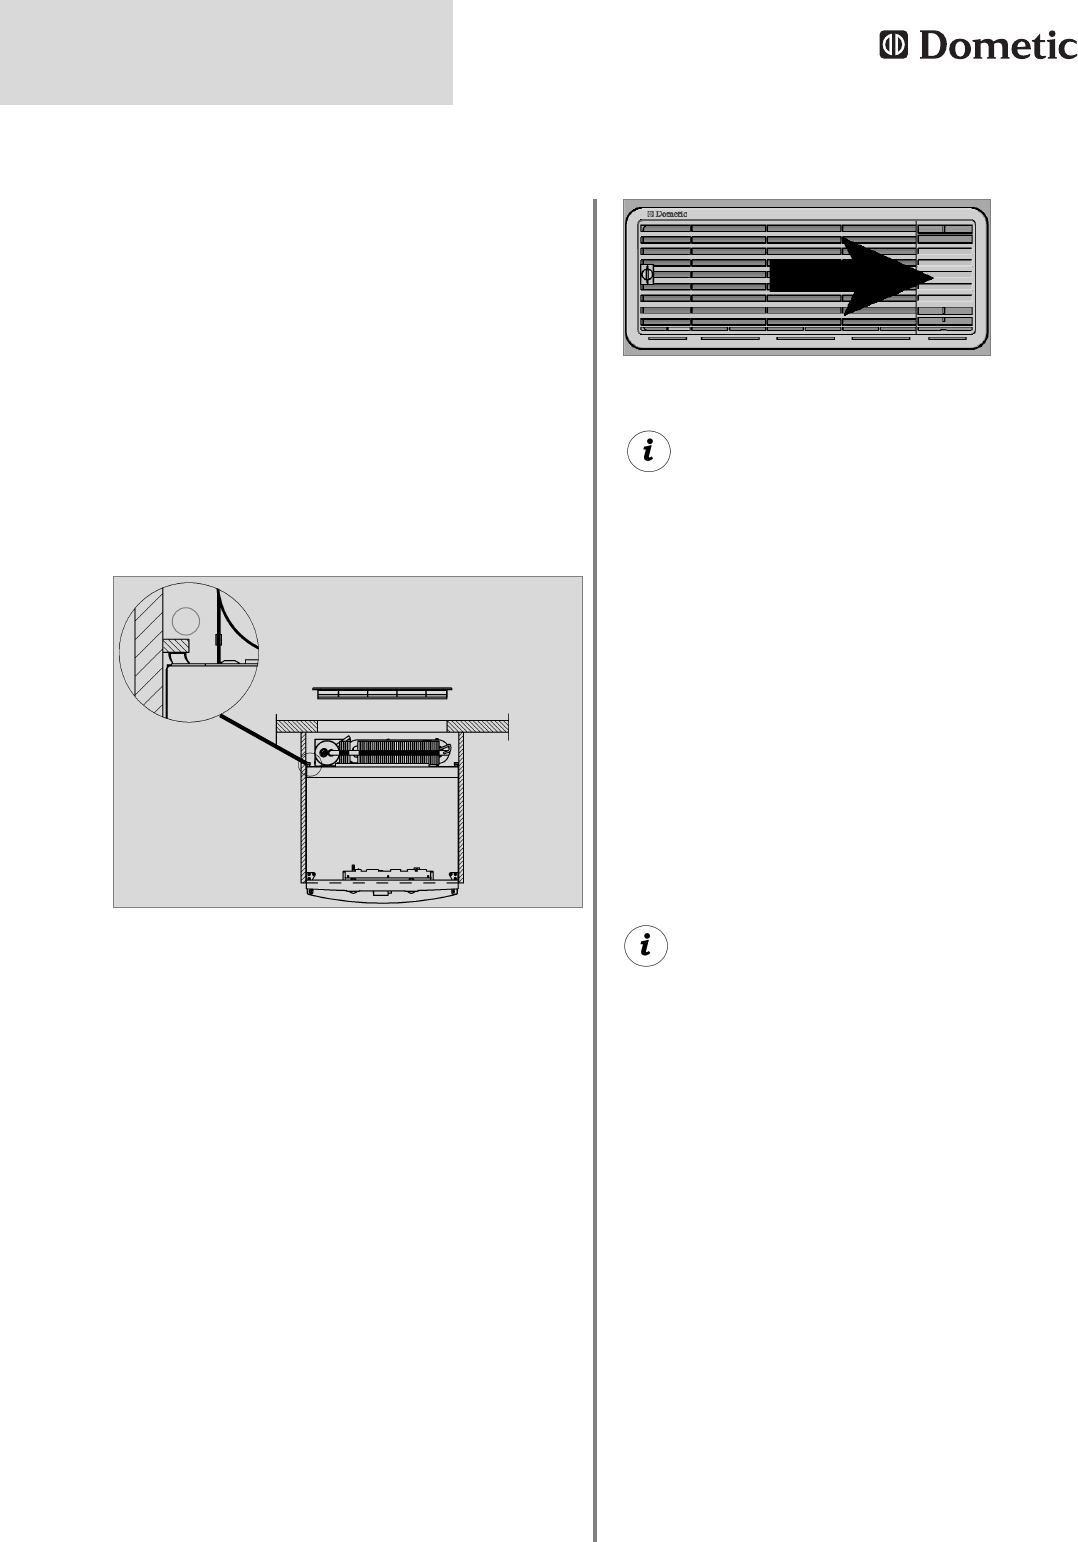
Ventilation is provided for the unit by means of
two apertures in the caravan wall. Fresh air
enters at the bottom, extracts the heat and exits
through the upper vent grille (chimney effect).
The upper ventilation grille should be positio-
ned as high as possible above the condenser
(A). Install the lower ventilation grille at floor
level of the vehicle, allowing unburnt gas (hea-
vier than air) to escape directly into the open air.
Should this arrangement prove impossible, a
ventilation aperture must be introduced by the
manufacturer of the vehicle into the recess floor
in order to avoid the accumulation of unburnt
gas on the floor (Fig.18).
A correct installation of the refrigerator is essen-
tial for its correct operation, as due to physical
reasons heat builds up at the back of the appli-
ance which must be allowed to escape into the
open air.
4.2 Ventilation and air extraction
of the refrigerator
Installation
The cavity in-between the outer vehicle wall and
refrigerator is completely isolated from the vehi-
cle interior. Intrusion of exhaust fumes into the
living space is prevented. Fumes will escape
through the upper ventilation grille to the outsi-
de.
The draught-proof installation does not require a
special exhaust gas duct to be used. This instal-
lation method allows the use of the same air
vent grille LS200 at the top and at the bottom
without flue duct. .-Nummer :
If a flue duct is nevertheless desirable, incorpo-
rate the LS100 ventilation system with flue duct
into the upper air vent opening. (
For installation,
please refer to "4.4"
)
Deviations require the consent of the manu-
facturer!
Fig. 16
Flue duct
The refrigerator is later pushed into the installa-
tion recess from the front. Ensure that the seals
abut the case evenly.
This installation option facilitates the removal
and installation of the appliance for servicing.
Fig. 14/15
Fasten the sealing lips to a stop bar on the rear
side (1), e.g. by gluing.
1
Proposal 2