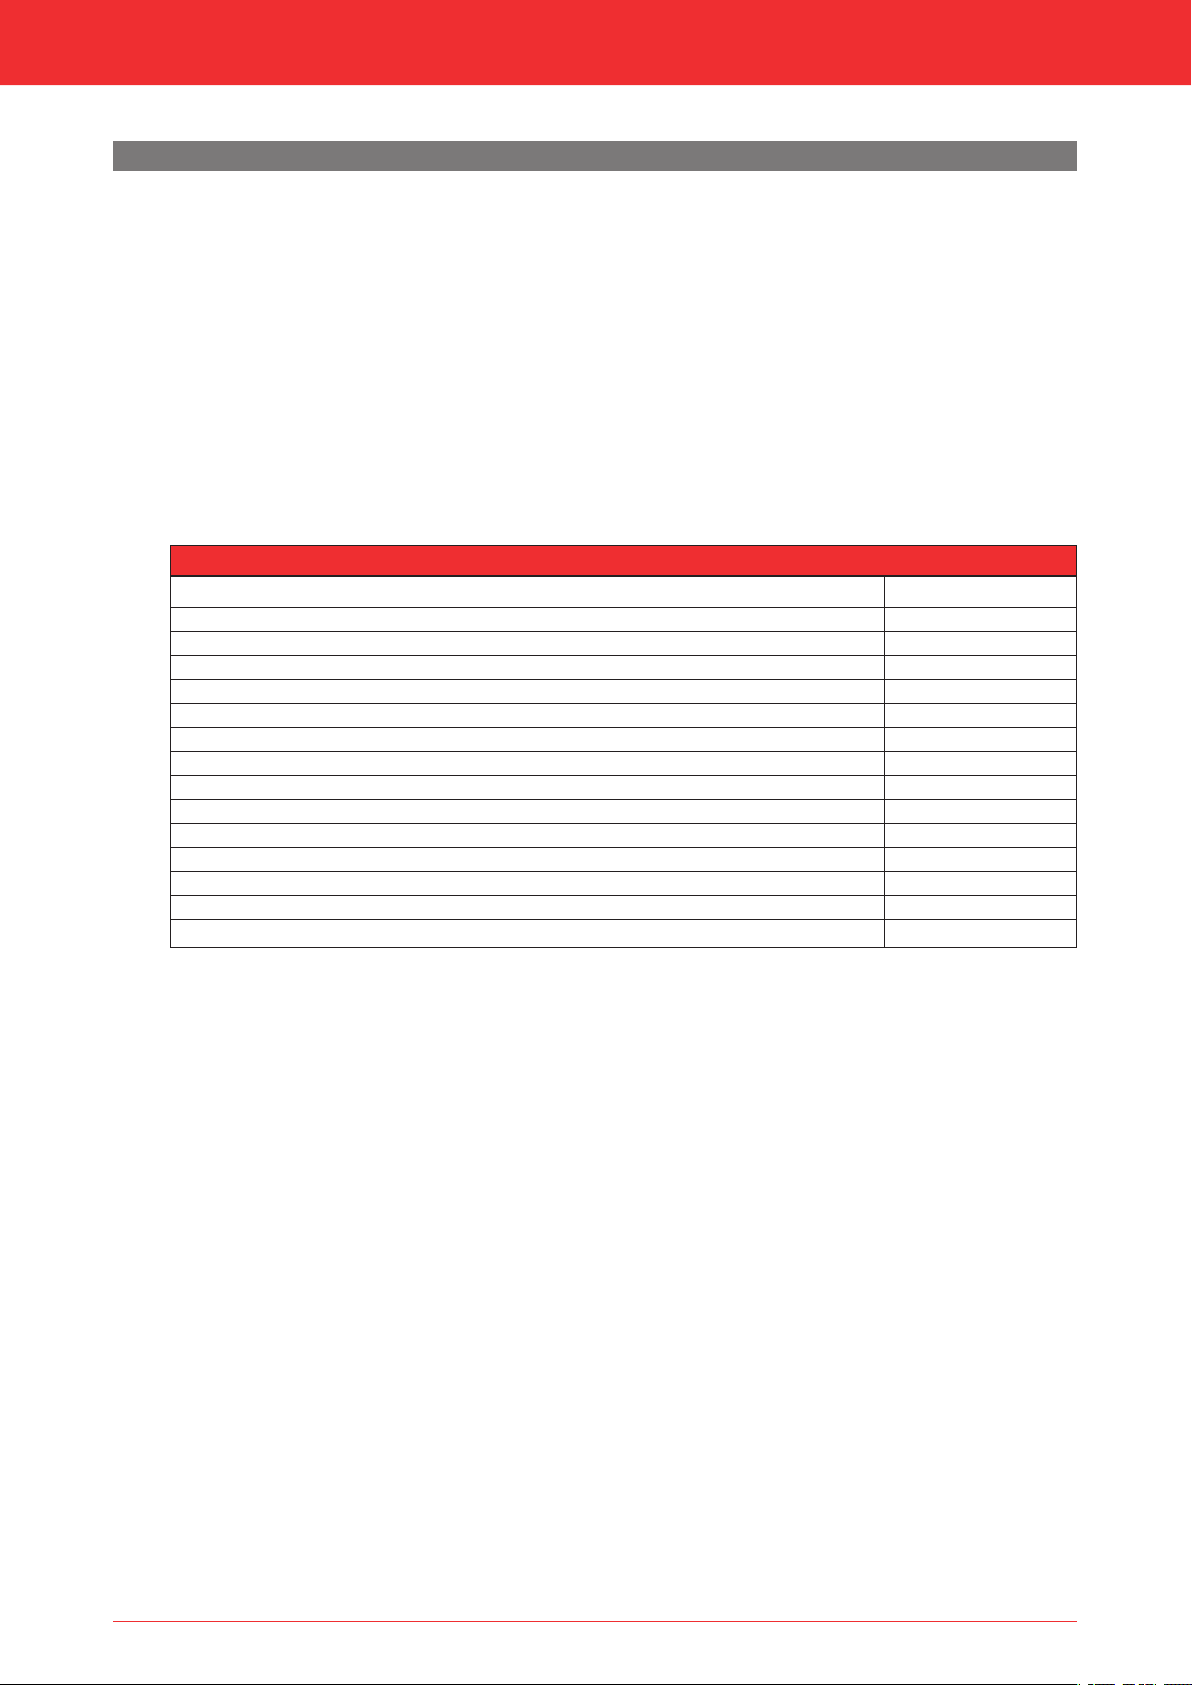
6. Preparation6.1 UnpackingNote the following items when removing the packaging:1Remove all packaging materials.1Remove all supplied components in, on and/or at the appliance.1Check the appliance and accessories for damages (during transport).1If necessary, contact your supplier.1Never install an appliance that is damaged!1Remove any screws that are used to fix the appliance to a platform or pallet.3The glass pane(s) is/are made of a ceramic material. Very small irregularities in the glass panes cannot be avoided, but are within the required quality standards.3Keep plastic bags away from children.Table 6-1 indicates which components should be available after removing the packaging.1Contact the supplier if you find that not all components have been supplied.1Packaging must be disposed of in accordance with the regulations.Installation manual86.2 Type of gasThe data plate indicates for which type of gas, gas pressure and for which country this appliance is intended.The data plate can be found on the appliance or can be attached to a chain to which it should remain attached.3Check whether the appliance is suitable for the type of gas and the gas pressure used at the location.6.2.1 Gas type conversionIn order to convert this appliance to a different type of gas, please contact DRU's service department and ask for the possibilities. The conversion should be performed by a recognised gas installer.6.3 Gas connectionPlace a gas tap in the gas pipe in accordance with the applicable regulations. The gas connection on the gas control islocated next to the receiver (fig. 6-2 (Gin)).3-Make sure there is no dirt in the gas pipes and connections.-No soldering may take place at the flexible gas hose(s), as this could cause leaks.The following requirements apply to the gas connection:-Use a gas pipe with the correct dimensions, so that no pressure loss can occur.-The gas tap must be approved (in the EU this will be the CE mark).-You should always be able to reach the gas tap.Table 6-1: Parts included with the deliveryPartInstallation manualUser manualWood set (including: chips, vermiculite and ash)Glowing Embers set (if applicable)Glow materialRestrictor slideAir inlet guide 2Remote controlMains cableControl hatchBack-up self-tapping screwKey bolt M8 (including: Hexagonal nut M8 and Washer M8)Compression fitting 15 mm x G3/8”Socket spanner 8 mmNumber1x1x1x1x1x1x1x1x1x1xnx4x1x1x
Libble nimmt den Missbrauch seiner Dienste sehr ernst. Wir setzen uns dafür ein, derartige Missbrauchsfälle gemäß den Gesetzen Ihres Heimatlandes zu behandeln. Wenn Sie eine Meldung übermitteln, überprüfen wir Ihre Informationen und ergreifen entsprechende Maßnahmen. Wir melden uns nur dann wieder bei Ihnen, wenn wir weitere Einzelheiten wissen müssen oder weitere Informationen für Sie haben.
Art des Missbrauchs:
Forenregeln
Um zu sinnvolle Fragen zu kommen halten Sie sich bitte an folgende Spielregeln:
Lesen Sie zuerst die Anleitung;
Schauen Sie nach, ob die Frage bereits gestellt wurde;
Stellen Sie die Frage so deutlich wie nur einigermaßen möglich;
Erwähnen Sie was Sie bereits versucht haben um das Problem zu lösen;
Ist Ihr Problem von einem Besucher gelöst dann lassen Sie ihn / sie wissen in diesem Forum;
Falls Sie reagieren möchten, so verwenden Sie bitte das Antworten- Formular;
Da ihre Frage für alle Besucher sichtbar ist, sollten Sie lieber keine persönliche Daten erwähnen.
Neu registrieren
Registrieren auf E - Mails für DRU Maestro 60 RCH wenn:
neue Frage gestellt werden
neue Handbücher vorhanden sind
Sie erhalten eine E-Mail, um sich für eine oder beide Optionen anzumelden.
Das Handbuch wird per E-Mail gesendet. Überprüfen Sie ihre E-Mail.
Wenn Sie innerhalb von 15 Minuten keine E-Mail mit dem Handbuch erhalten haben, kann es sein, dass Sie eine falsche E-Mail-Adresse eingegeben haben oder dass Ihr ISP eine maximale Größe eingestellt hat, um E-Mails zu erhalten, die kleiner als die Größe des Handbuchs sind.
Ihre Frage wurde zu diesem Forum hinzugefügt
Möchten Sie eine E-Mail erhalten, wenn neue Antworten und Fragen veröffentlicht werden? Geben Sie bitte Ihre Email-Adresse ein.