7. Put the boundary wire or the guide wire into
position with stakes.
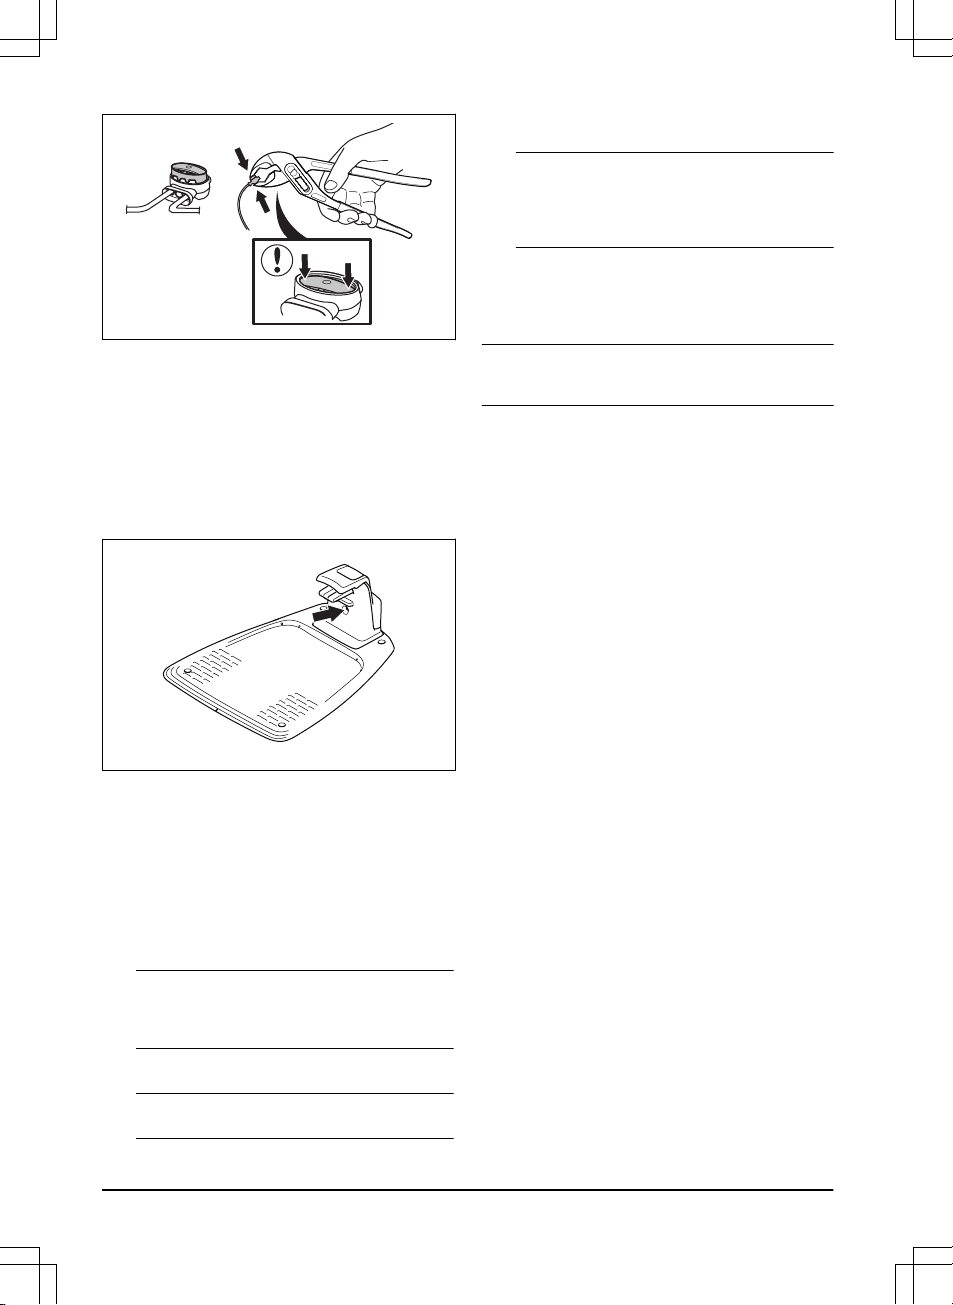
8. Connect the charging station to the power outlet.
3.9 After the installation of the product
3.9.1 To do a visual check of the charging
station
1. Make sure that the indicator LED lamp on the
charging station has a green light.
2. If the indicator LED lamp does not have a green
light, do a check of the installation. Refer to
Indicator lamp in the charging station on page 44
and
To install the charging station on page 19
.
3.9.2 To do the basic settings
Before the product starts to operate for the first time, you
must do the basic settings.
1. Put the product in the charging station.
2. Push the ON/OFF button for 3 seconds.
Note: If the battery is very low, the product
needs to charge before you can switch on the
product.
3. Push the arrow buttons and the OK button. Select
language, country, date, time and set a PIN code.
Note: It is not possible to use 0000 as PIN code.
4. Push the Start button and close the hatch to initiate
the guide calibration.
Note: If the battery is too low, the product needs
to charge the batteries fully before the guide
calibration starts. Refer to
Guide calibration on
page 22
.
3.9.3 Guide calibration
The calibration process is automatic and sets as wide
guide corridor as possible to decrease tracks on the
lawn.
Note: The product always moves in the guide corridor
but it changes the distance to the guide wire.
The guide calibration starts when the product is at the
starting point. The product moves away from the guide
wire perpendicularly at the left side for a maximum
distance of 1.35 m / 4.4 ft. or until it hits the boundary
wire or an obstacle. The left side means your left when
you look straight forward at the charging station. This
distance is set as the maximum corridor width and the
guide calibration is completed. The product moves along
the guide wire to do a test that it can follow the guide
wire. The product follows the guide wire to the point
where the guide wire is connected to the boundary wire.
The product will start to cut when it is at the boundary
wire.
3.9.3.1 To redo the guide calibration
1. Push the Menu button for 3 seconds to enter the
Quick info
menu.
2. Use the arrow buttons and the OK button to move
through the menu structure
Advanced > Calibrate
> Guide calibration
.
3. Place the product in the charging station.
4. Push the Start button to start the automatic
calibration.
3.10 To do the product settings
Use the display and the keypad on the product to set all
settings for the product. You can access all functions
through the menus. The functions have factory settings
that are applicable for almost all work areas, but the
settings can be adapted to the conditions for each work
area.
Use the GARDENA Bluetooth® App for the products that
do not have the GARDENA smart system to set settings
and operation of the product. Refer to
To download and
pair with the GARDENA Bluetooth® App on page 23
.
Use the GARDENA smart system app for the products
that have the GARDENA smart system to set settings
and operation of the product. Refer to
GARDENA smart
system on page 29
.
22 - Installation 1298 - 015 - 20.08.2021