6
About TurboCool.
™
How it Works
TurboCool
™
rapidly cools the refrigerator
compartment in order to more quickly
cool foods. Use TurboCool when adding a
large amount of food to the refrigerator
compartment, putting away foods after they
have been sitting out at room temperature
or when putting away warm leftovers. It can
also be used if the refrigerator has been
without power for an extended period.
Once activated, the compressor will turn on
immediately and the fans will cycle on and
off at high speed as needed for eight hours.
The compressor will continue to run until
the refrigerator compartment cools to
approximately 34°F (1°C), then it will cycle
on and off to maintain this setting. After
8 hours, or if TurboCool is pressed again,
the refrigerator compartment will return
to the original setting.
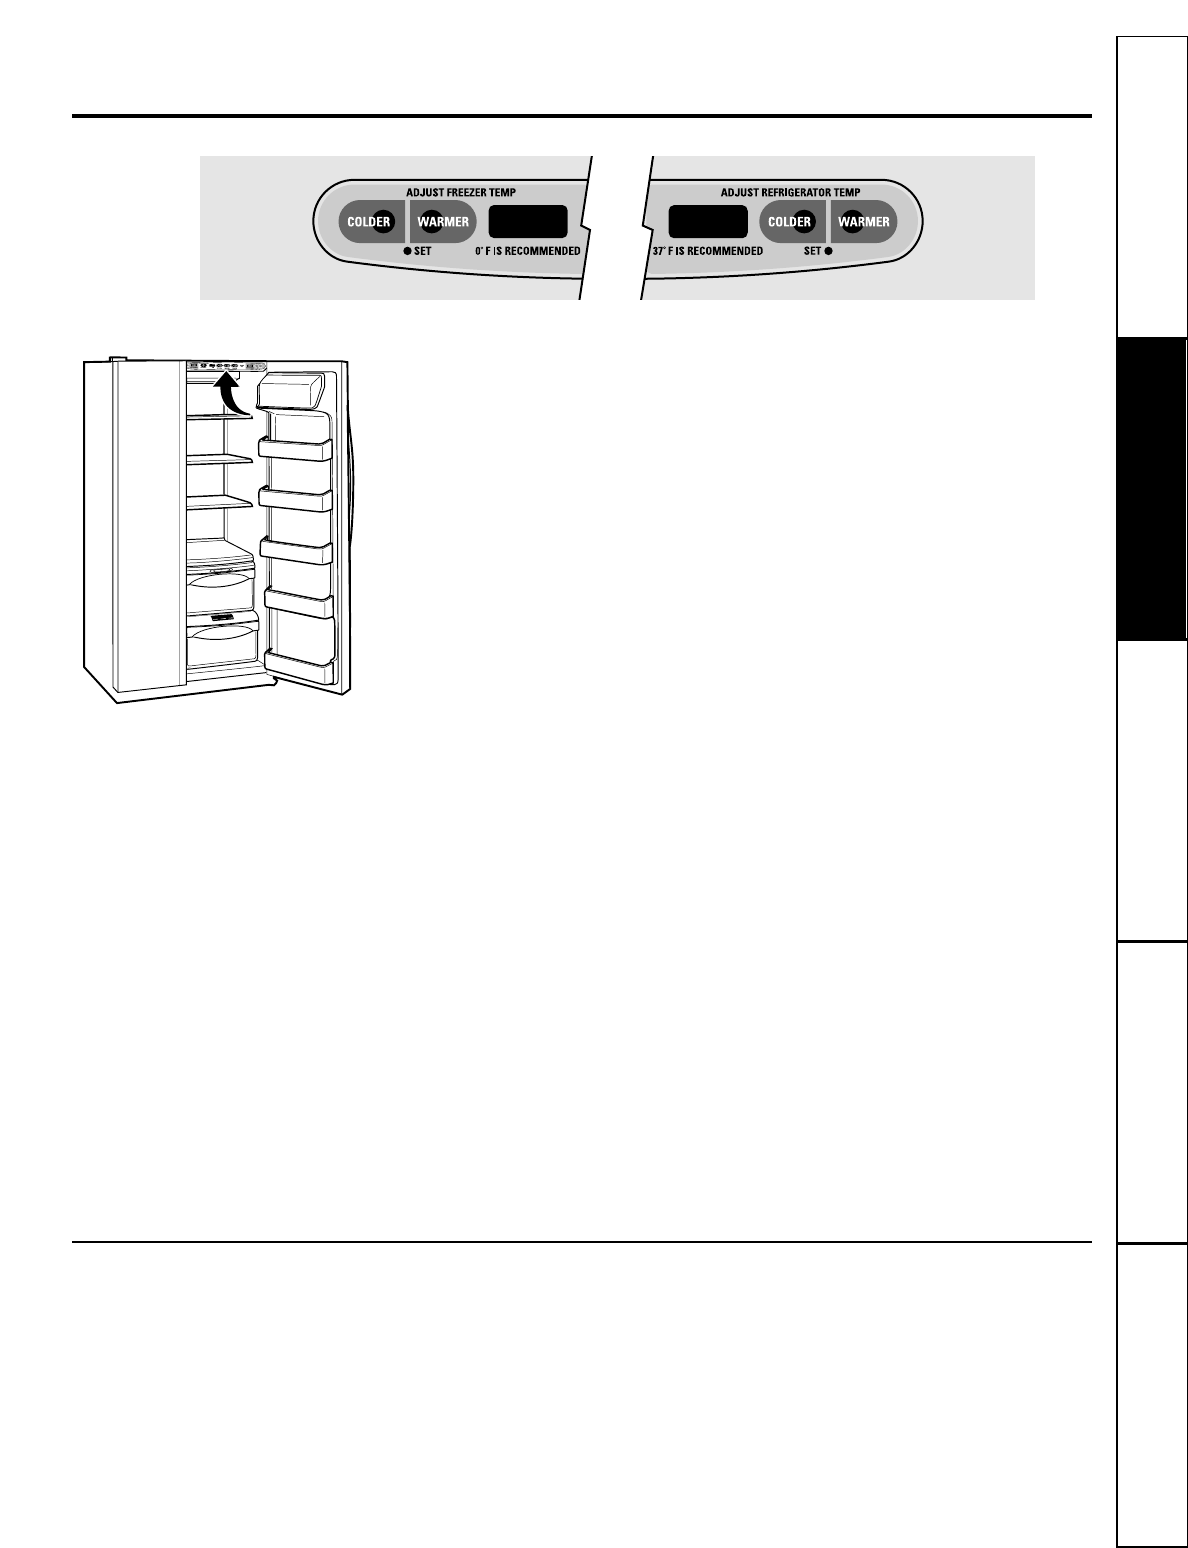
How to Use
Press TurboCool. The refrigerator
temperature display will show TC.
After TurboCool is complete, the refrigerator
compartment will return to the original
setting.
NOTES:
The refrigerator temperature cannot be changed
during TurboCool.
The freezer temperature is not affected during
TurboCool.
When opening the refrigerator door during
TurboCool, the fans will continue to run if they
have cycled on.
Consumer Support
Troubleshooting Tips Operating Instructions Safety InstructionsInstallation Instructions
About ClimateKeeper2.
™
How it Works
The new ClimateKeeper2
™
is the industry’s
most advanced refrigeration system,
delivering optimum temperature and
humidity performance to keep food fresh
longer and reduce freezer burn, while
maintaining E star-level efficiency.
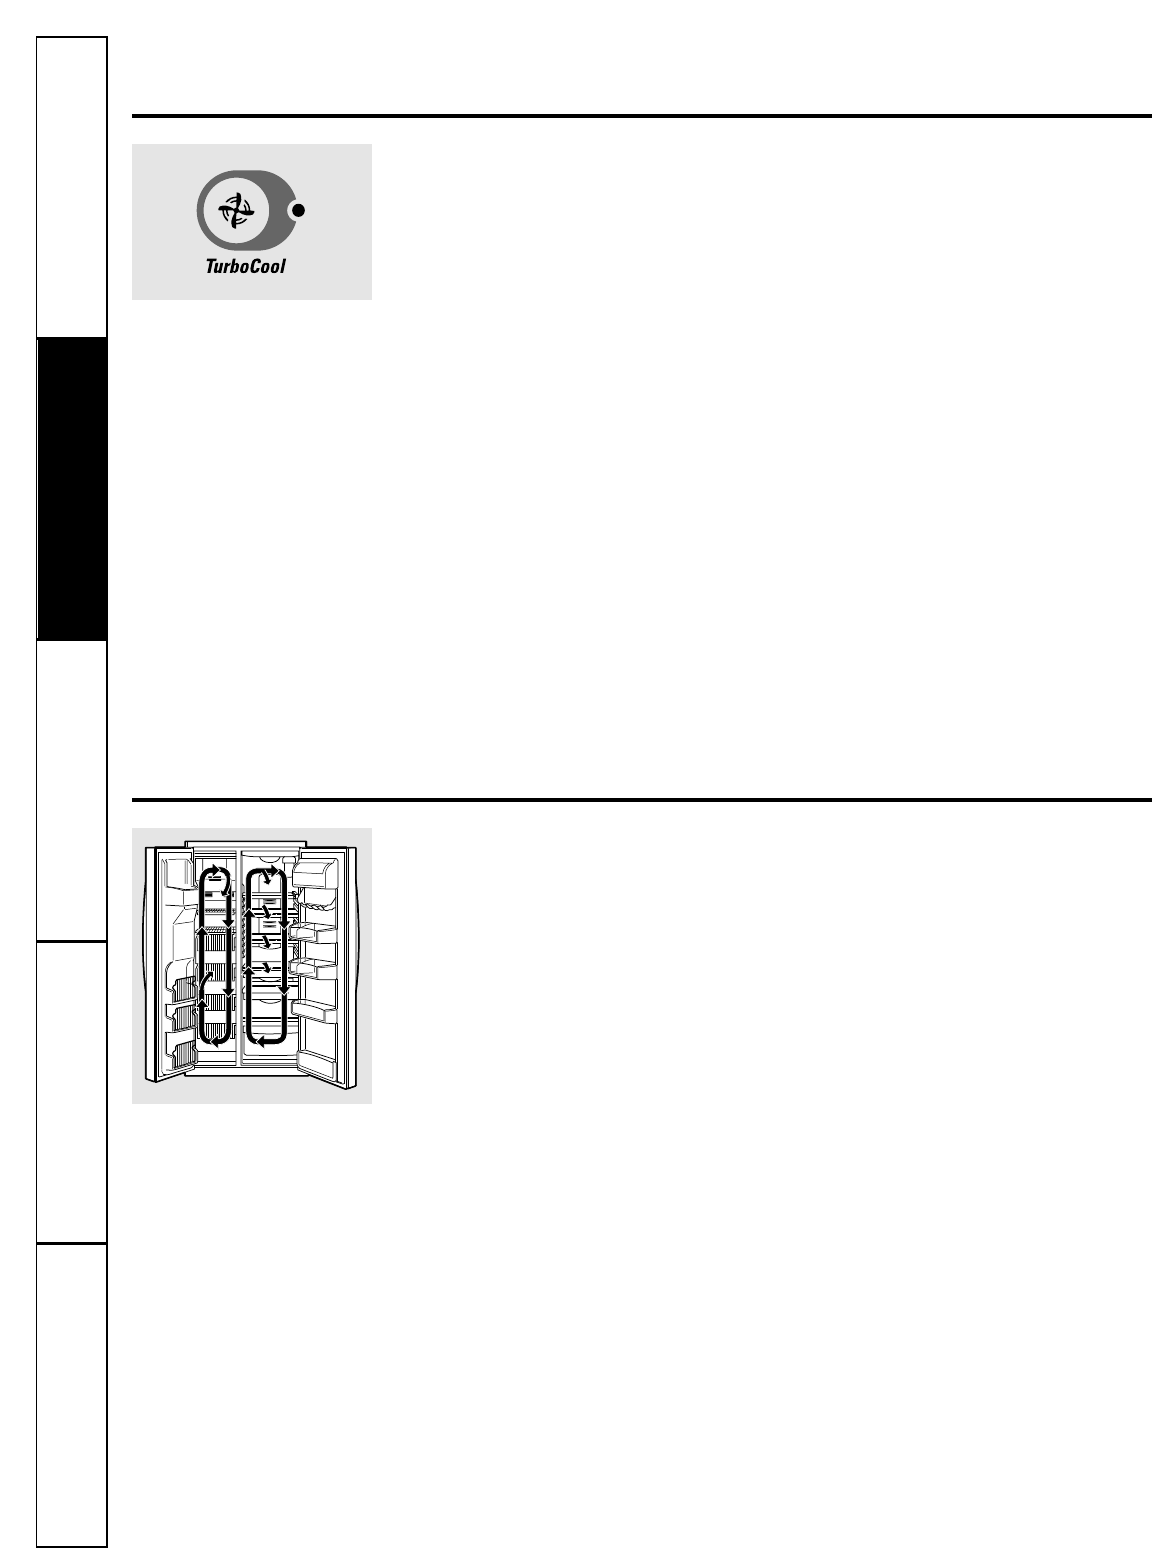
The new ClimateKeeper2 system features
two evaporators—one for the refrigerator
and one for the freezer.
This provides two separate cooling systems
for the entire unit, and separates the
airflow between the fresh food and freezer
sections during normal cooling operations.*
This ensures that the humidity levels in the
fresh food section are significantly higher
than in a conventional system,** allowing
fresh produce and other unsealed foods to
retain their moisture content and freshness
longer. Moisture sensitive foods such as
fresh fruit, salads, rice, etc., can now be
stored on open shelves without excessive
moisture loss.
The separate airflow system minimizes
the mixing of air between the two
compartments, which reduces odor
transfer, resulting in improved taste of ice.
The ClimateKeeper2 system also reduces
the number of defrosting cycles in the
freezer evaporator, thereby improving the
temperature maintained in the freezer and
reducing freezer burn.
*Freezer air is used in the CustomCool feature.
**Testing shows a higher level of humidity in
the Fresh Food section in ClimateKeeper2
refrigerators versus conventional units.