ķ
9
❒
Switching the set on/off
Press the
¢
IO
button on the set.
Ń
!
If the LED in the mains button is now illuminated,
then the unit is in stand-by mode.
Switch the unit on using the remote control by
pressing the
1
button.
❒
Assigning programme positions
This set is equipped with the automatic tuning
system ATS euro plus which performs the pro-
gramme assignment for you.
After switching on the set, confirm the »English«
dialogue language by pressing the
O
button.
If the »Select dialog language« page does not appear, press the
.
button
and then the
O
button.
The dialogcenter appears on the screen.
Use the
] or | button to select the »Automatic programming« menu line.
Press the
O
button.
Use the
] or | button to select the »Completely new programming«
line and then press the
O
button.
Confirm your country with the
O
button.
When the automatic programme allocation is com-
pleted, hints to the Easy Dialog System are displayed.
❒
The Easy Dialog System
Your television is provided with the »Easy Dialog
System«.
With this system, all hints on operating the TV set
are no longer to be found in a printed instructions
manual but in dialog boxes which can be displayed
on the picture screen.
❒
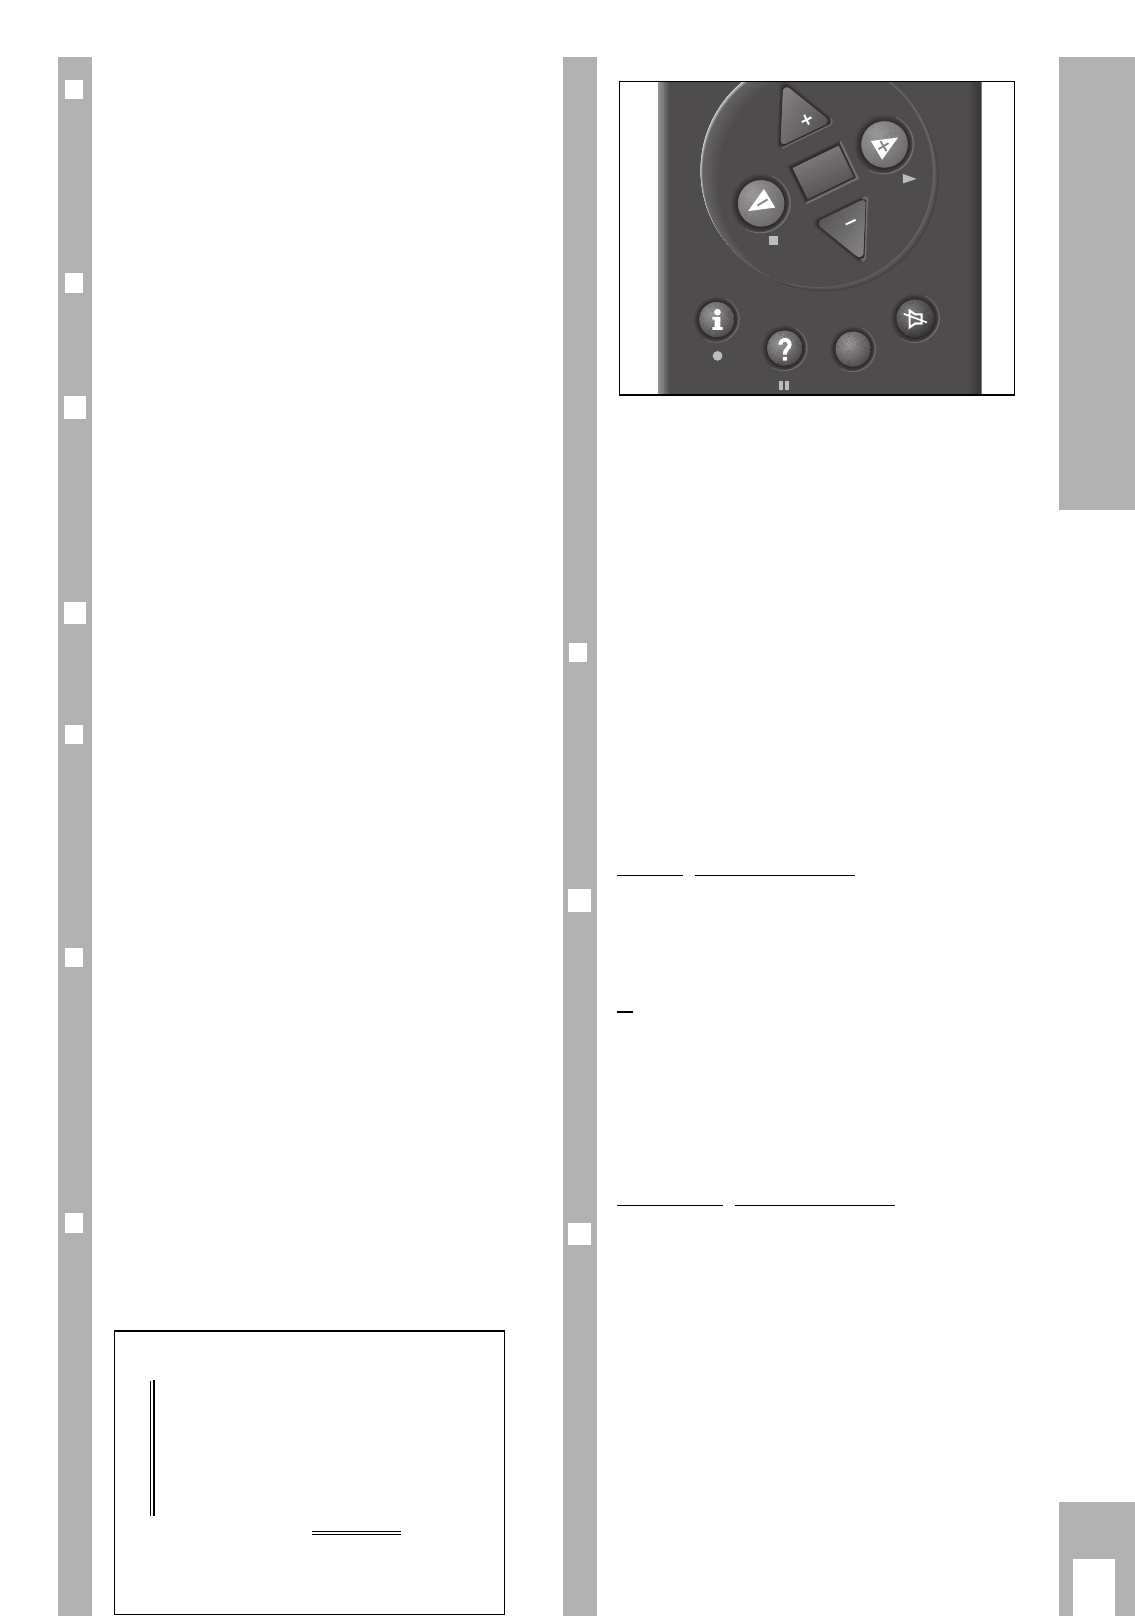
The Dialogcenter
The Dialogcenter is the control centre of your TV
set. It is called up by pressing the
.
and then the
O
button. Via the displayed menu, you can make
settings, call up information and select precise help
for operating your TV set (for example an explanation
of the remote control handset, an index, tips and
tricks, etc.).
Simply try it out. You can do no harm!
❒
Basic operation
The dialogue symbols indicate for each operating
step with which buttons the different functions can
be carried out.
]
|
To 1st page
xc
O
Call up
¢
?
Help
¢
TXT
TV
2
1
]/ | Yellow bar up/down
In two-page menus, selection of the second page.
xc
Set values.
O
Confirm selected function.
¢
TXT
Return to TV picture.
¢
?
Help.
❒
Dolby Surround Pro Logic*
To obtain the optimum sound impression with
Dolby Surround Stereo broadcasts, you will require
additional loudspeaker boxes (see Fig. A on last
page).
For this, we recommend you the following
principal solutions:
Front speaker connection
As front speaker boxes, you can use the already
existing boxes of your hifi equipment. For this,
connect your hifi equipment to the AUDIO OUT
sockets (see Fig. B).
or
Additional front boxes are to be connected to the
sockets L and R. The centre box is to be connected
to the ”Center” socket (see Fig. C).
Ń
!
The loudspeakers must have a nominal impedance
of 4-8 Ohms.
Surround speaker connection
The Surround boxes are to be connected to the
”Surrround” socket (see Fig. D).
Ń
!
If several boxes are connected to the surround
channel, please make sure that the nominal impe-
dance does not fall below 4 Ohms.
* Under licence from Dolby Laboratories Licencing
Corporation.
DOLBY and the double-D symbol
ij are trademarks
of Dolby Laboratories Licencing Corporation.
1
1