Installation / Installation / Instalación / Instalação
12
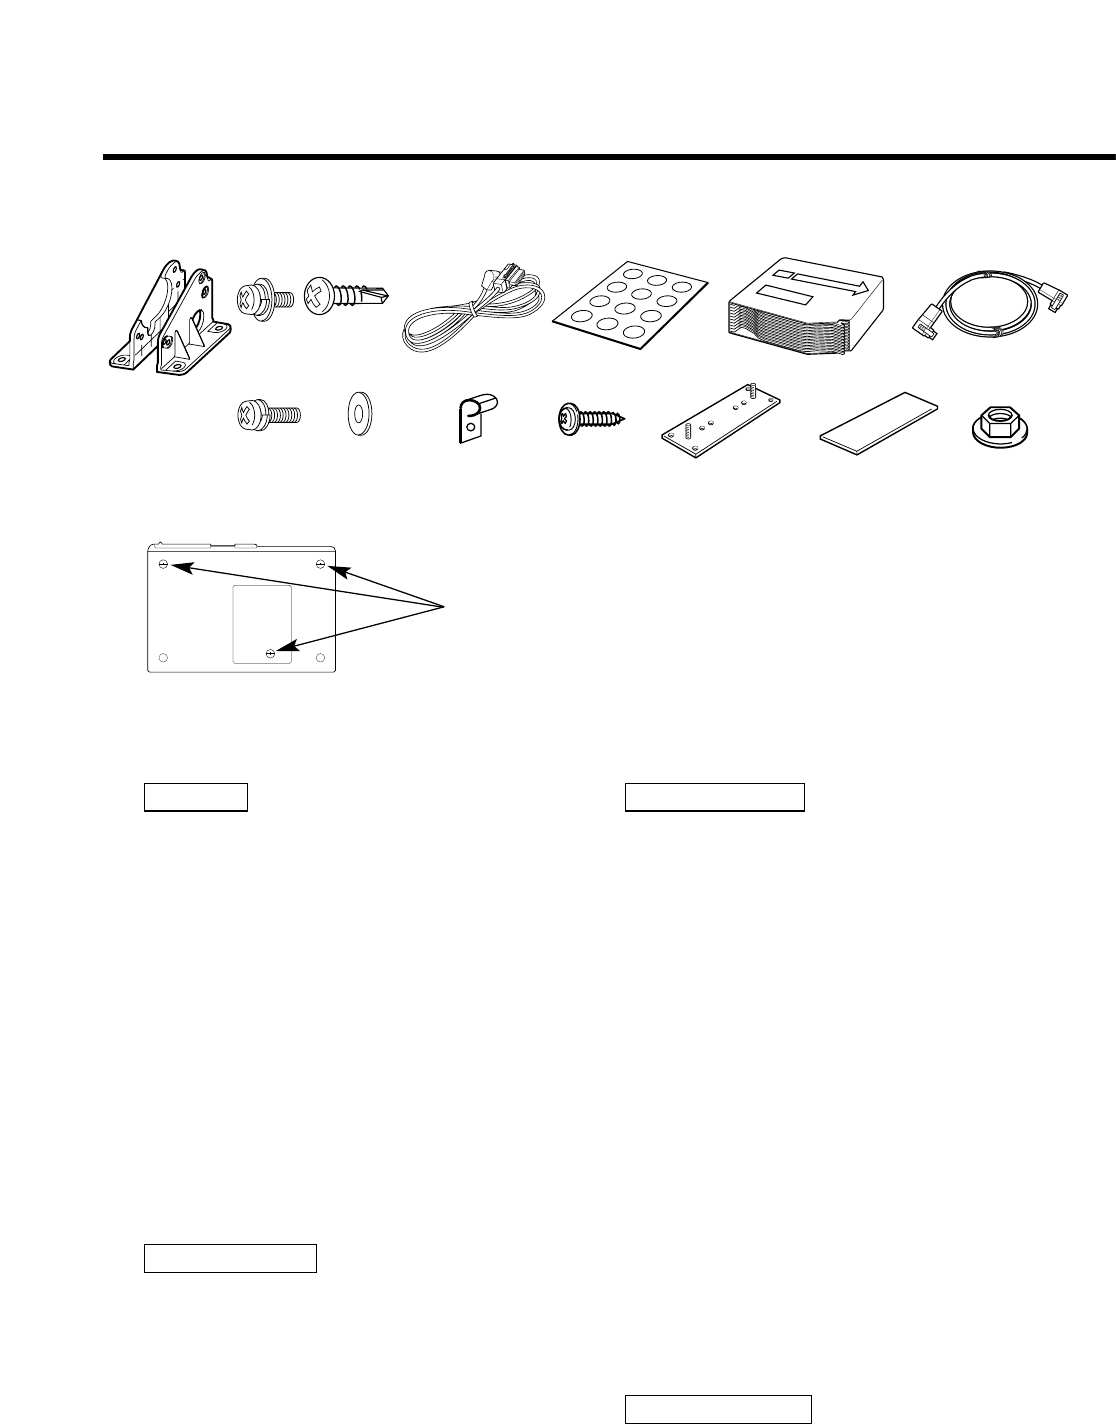
■ Accessories / Accessoires / Accesorios / Acessórios
A × 2 B × 4 C × 4 D × 1 E × 1 F × 1
■ Installation Procedure / Procédure d’installation /
Procedimiento de instalación / Procedimentos para Instalação
1
Removing the transportation screws
Remove all 3 transportation screws for
protecting the internal mechanism before
you start to install the unit.
After removing the transport screw, retain
it carefully and attach it again before
transporting the unit again.
2 Angle adjustment switches
• The angle adjustment switches on the
both side of the unit are to be set
according to the angle of installation of
the CD auto changer. Set both of the two
switches to the same position. If the
switches are not set properly, sound skip
or other malfunction may occur.
• Set the angle adjustment switches with a
coin or other flat object.
• Change the switch step by step by
detaching and reusing the object at the
end of each step.
3 Cover the holes indicated by 3 with the
dustproof seals E. (Bottom and sides)
Use the holes marked ● to install the unit.
Do not tighten the screw B too securely at
the time of installation, but tighten it
securely after having fixed the bracket A.
(See page 14)
1 Comment enlever les vis de transport
Retirez les 3 vis de transport pour la
protection du mécanisme interne avant de
commencer l'installation.
Après avoir retiré la vis de transport,
rangez-la avec soin et n'omettez pas de la
poser à nouveau avant de transporter
l'appareil.
2 Commutateur de réglage d’angle
• Les commutateurs de réglage d’angle qui
se trouvent de chaque coté de l’appareil
doivent être placés dans la position
correspondant à l’angle d’installation du
changeur de CD. Les deux commutateurs
doivent être dans la même position. SI
ces commutateurs ne sont pas
convenablement réglés, il peut y avpir des
ratées de son ou d’autres problèmes de
fonctionnement.
• Réglez les commutateurs d'angle
d'ajustement avec une pièce de monnaie
ou un autre objet plat.
• Changer le commutateur pas à pas en
détachant et un utilisant à nouveau l’objet
à la fin de chaque opération.
3 Couvrez les trous indiqués par 3 avec les
joints anti-poussière E. (Partie inférieure et
côtés)
Utilisez les trous marqués ● pour installer
l'appareil.
Lors de l’installation, ne serrer
complètement la vis B qu’après avoir
monté le support A. (Voir page 14)
2ATTENTION
REMARQUE
2CAUTION
NOTE
Transportation screws /
Vis de transport /
Tornillos de transporte /
Parafusos de transporte