156 / Detailed guide / Review mode
Reviewing single pictures with sound
As already described in the section “Pictures with
sound” on p. 149, you can record sound to go with the
pictures, if you want. The LEICA DIGILUX 2 can play
back this sound along with the corresponding pic-
tures. It can then be used later, for example as part of
a presentation or as an aid to archiving.
Setting and using the function
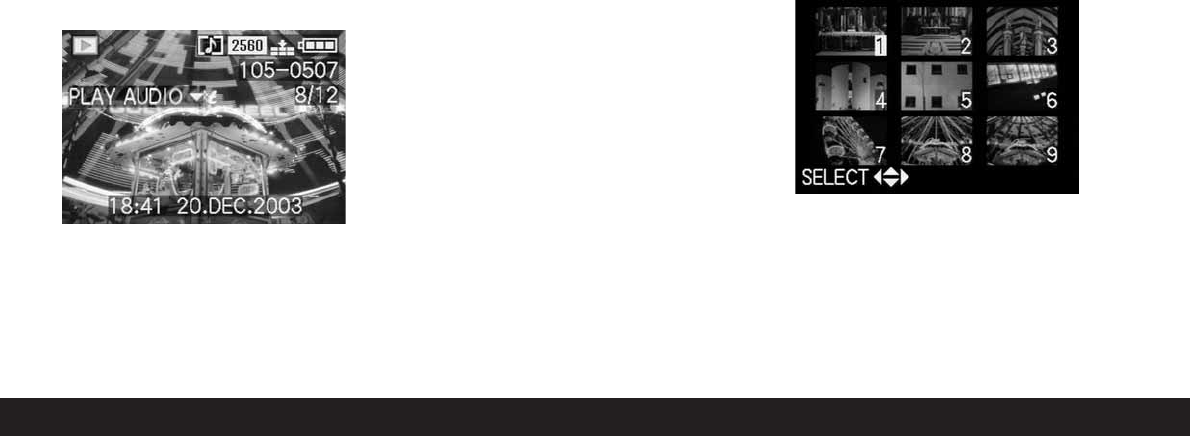
Pictures for which a sound recording already exists
are marked by the corresponding symbol
w
(2.2.5).
The line PLAY AUDIO
d
(2.2.17) also appears and an
arrow to indicate how the sound recording can be
played back.
• During playback, PLAY AUDIO
d
disappears.
Notes:
• For playback, make sure that the speaker (1.28) is
not covered, e.g. by one of your fingers.
• Playback cannot be interrupted and it is not
possible to select or set any other functions while it
is in progress.
The playback volume can be adjusted to seven levels
according to your preferences or the situation.
Setting the volume -
F
VOLUME
In the review mode setup menu
k
SETUP
1
/
2
(see
pp. 113/122) select the menu item
F
VOLUME
(3.34) and follow the further menu instructions.
• The setting is shown by the bar being marked in
yellow, whereby the height indicates the volume.
Note: This also applies to the playback of video
recordings (see p. 158), which are always made with
sound recording.
Simultaneous review of nine single pictures/
Enlarging and trimming when reviewing single
pictures
The LEICA DIGILUX 2 allows you to simultaneously
view up to 9 pictures in the viewfinder/monitor, e.g.
to gain an overview or to find the picture you want
more quickly. Conversely, it is also possible to enlarge
a single picture in the viewfinder/monitor by up to
16x, in order to study it more closely, and to freely
select the trimmed area.
Reviewing several single pictures
Setting the function/Selecting pictures
1. The pictures just viewed are reduced by turning
the central setting dial (1.29) to the left (anticlock-
wise).
• Up to 9 pictures are shown in the
viewfinder/monitor (1.19/32), including the
picture previously being viewed at normal size,
which is indicated by a yellow number.
2. You can then use the direction pad (1.30) to
“scroll” through the pictures in the relevant folder,
i.e. select any of the other pictures
(cf. “Reviewing single pictures”, p. 155).
• The selected picture is identified by a yellow
number.

