Detailed guide / Review mode / 163
2. Open the sub-menu by pressing right on the direc-
tion pad (1.30).
• The 4 function alternatives appear in the view-
finder/monitor (1.19/32),
– SINGLE (for single pictures),
– MULTI (for multiple pictures),
– CANCEL (to cancel the settings for all
pictures), and
– INDEX (for an index print).
The subsequent steps are different depending on the
selected function.
Print order settings for a single picture - SINGLE
3. Open the relevant viewfinder/monitor screen and
follow the further menu instructions.
Note: During this step, you can also use right and
left on the direction pad to select other pictures.
• In the viewfinder/monitor
T
DPOF SET THIS
appears in the header, while the footer explains
the subsequent actions and the COUNT 0
display marked in yellow acts as a counter for
setting the desired number of copies.
To mark the picture as one for which print order
settings already exist, the corresponding display
T
appears, including the number of copies set
The
DISPLAY
button (1.22) can be used at this
stage to specify that the date on which the picture
was taken should appear on the printed picture.
After leaving the menu system, the original view-
finder/monitor screen appears again with the
symbol for print order settings, including the
number of copies entered
T
(2.2.2), and, if set,
that for date printing (2.2.15).
Deleting individual print order settings
Settings that have already been made can be deleted
at any time by repeating the menu system steps men-
tioned above, resetting the quantity to 0 and pressing
the
MENU
button.
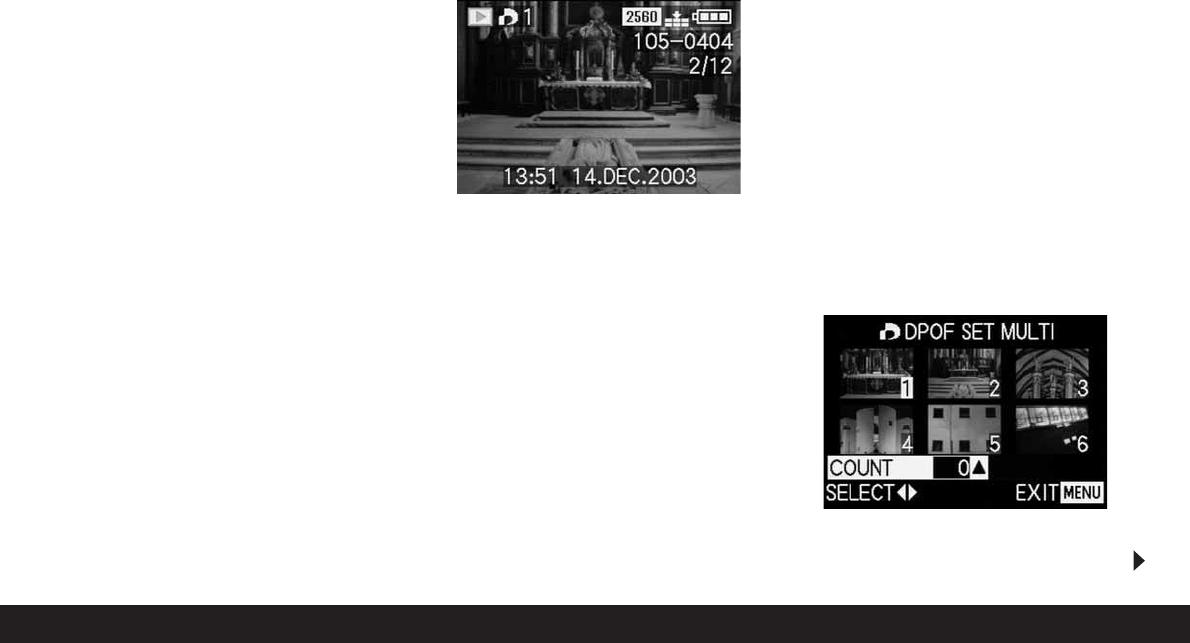
Print order settings for multiple pictures - MULTI
3. Open the relevant viewfinder/monitor screen and
follow the further menu instructions.
• The picture and menu displays disappear from
the viewfinder/monitor; they are replaced by up
to 6 pictures in thumbnail format, each with their
number, with the active picture being marked in
yellow.
T
DPOF SET MULTI appears in the
header, while the displays in the footers explain
the subsequent actions and the COUNT 0
display marked in yellow acts as a counter for
setting the desired number of copies.