11) When you have finished editing the curve, click anywhere on the workspace to deselect the
curve and stop editing points.
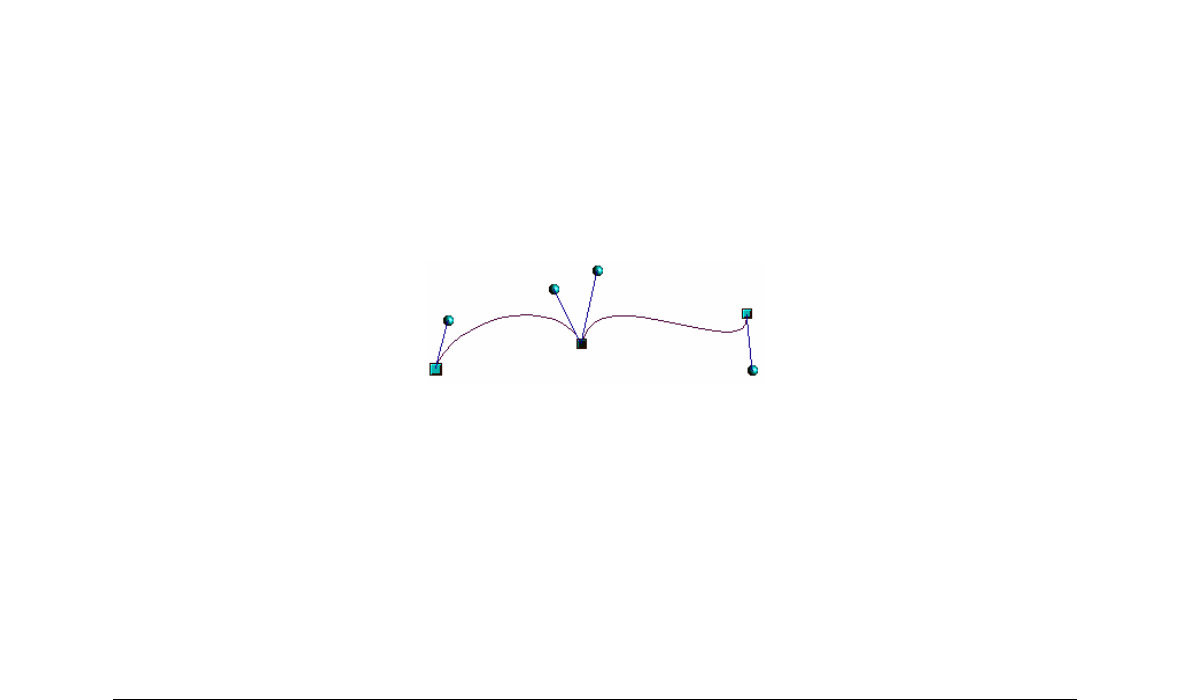
Edit Points tools
With reference to Figure 261, the tools available on the Edit Points toolbar allow you to edit and
change the shape of a Bézier curve and are explained as follows:
• Points – allows you to activate or deactivate the edit mode for Bézier objects. In the edit
mode, individual points of the drawing object can be selected.
• Move Points – activates a mode in which you can move points. The mouse pointer
displays a small empty square when resting on a point. Drag that point to another location.
The curve on both sides of the point follows the movement; the section of the curve
between points changes shape. Point at the curve between two points or within a closed
curve and drag the mouse to shift the entire curve without distorting the form.
• Insert Points – activates the insert mode and allows you to insert points. You can also
move points, just as in the move mode. If, however, you click at the curve between two
points and move the mouse a little while holding down the mouse button you insert a new
point. The point is a smooth point, and the lines to the control points are parallel and remain
so when moved. If you wish to create a corner point you must first insert either a smooth or
a symmetrical point which is then converted to a corner point by using Corner Point.
• Delete Points – deletes one or several selected points. If you wish to select several points,
click the appropriate points while holding down the Shift key. First select the points to be
deleted, and then click this icon or press Delete key.
• Split Curve – splits a curve into two or more curves. Select the point or points where you
want to split the curve, then click.
• Convert To Curve – converts a curve into a straight line or converts a straight line into a
curve. If you select a single point, the curve before the point will be converted. If two points
are selected, the curve between both points will be converted. If you select more than two
points, each time you click this icon, a different portion of the curve will be converted. If
necessary, round points are converted into corner points and corner points are converted
into round points. If a section of the curve is straight, the end points of the line have a
maximum of one control point each. They cannot be modified to control points unless the
straight line is converted back to a curve.
• Corner Point – converts the selected point or points into corner points (Figure 263).
Corner points have two movable control points, which are independent from each other. A
curved line, therefore, does not go straight through a corner point, but forms a corner.