14
2 Useful Information / 3 Getting Started
GB
3.1
Inserting /
removing batteries
3.3
Setting time
and date
3.2
Using a Mains
Adaptor
• If the systolic and diastolic readings seem unusual (too high or too low) on
several occasions, despite correct use of the unit, please inform your doctor.
This also applies to the rare occasions when an irregular or very weak pulse
prevents you from taking readings.
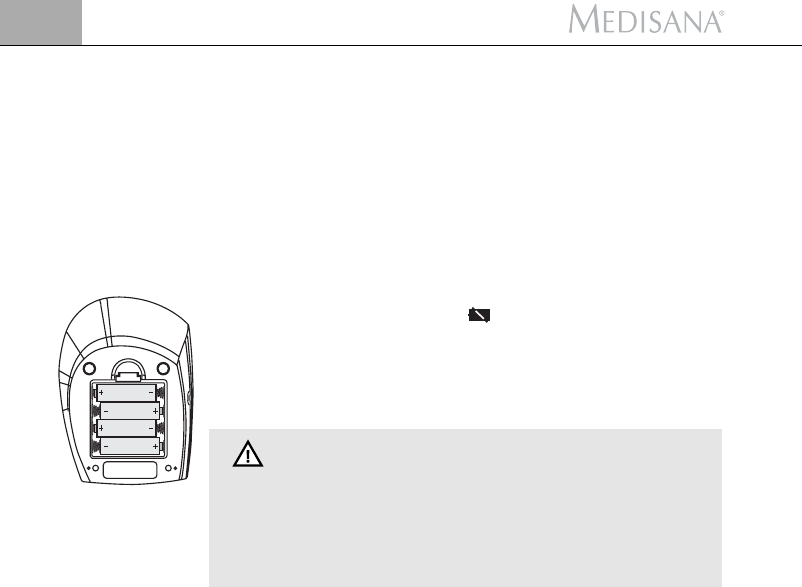
Insertion: Open the battery compartment on the underside of the unit by
exerting gentle pressure, and insert the four batteries included with the unit
(alkaline batteries, AA type, LR 6). Remember to insert the batteries as indi-
cated in the diagram in the battery compartment. Replace the lid, pressing it
until it snaps into place.
Removal: When the battery symbol appears in the display, please re-
place the batteries with new ones.
The display showing the month will flash after inserting the batteries for the
first time. Set the date and time as described in 3.3 Set Date and Time.
Please note that the date and time will have to be reset each time new
batteries are inserted. The previous measuring results are saved.
BATTERY SAFETY INFORMATION
• Keep away from children! • Do not recharge!
• Do not short-circuit! • Do not throw into fire!
• Do not dispose of old batteries with your household waste,
but dispose of them at a battery collection station at a
recycling site or in a shop!
Alternatively, you can use the unit with a special mains adaptor (MEDISANA
Art.–No.
51125
) This connects
to the socket provided at the front of the
unit. In this case the batteries remain in the unit. Inserting the connector into
the front of the blood pressure monitor switches the batteries off mechanical-
ly by. It is necessary, therefore, to plug the mains adaptor into the mains socket
first of all and then to connect it to the blood pressure monitor. If the blood
pressure monitor is no longer being used, first remove the connector from the
blood pressure monitor and then pull the mains adaptor out of the mains
socket. Doing this means that the date and time will not have to be reset each
time.
1. The date and time can be set with the device switched off. Press the START
button
and the MEM button
simultaneously. The month appears on
the display (flashing). To change the month, press the MEM button
repeatedly until the required value is displayed. The value auto-repeats if
the MEM button
is held down. Pressing the START button
again
displays the values for month, day, hour and minute (flashing). Press the
MEM button
to change the values.
2. After the fifth press of the START button
the numbers in the display
stop flashing. The time setting is now complete.
3. The date and time must be reset if the batteries are replaced.