ENGLISH
5
There are many possible antenna locations on a car. Four of the most common are
shown and discussed on the following.
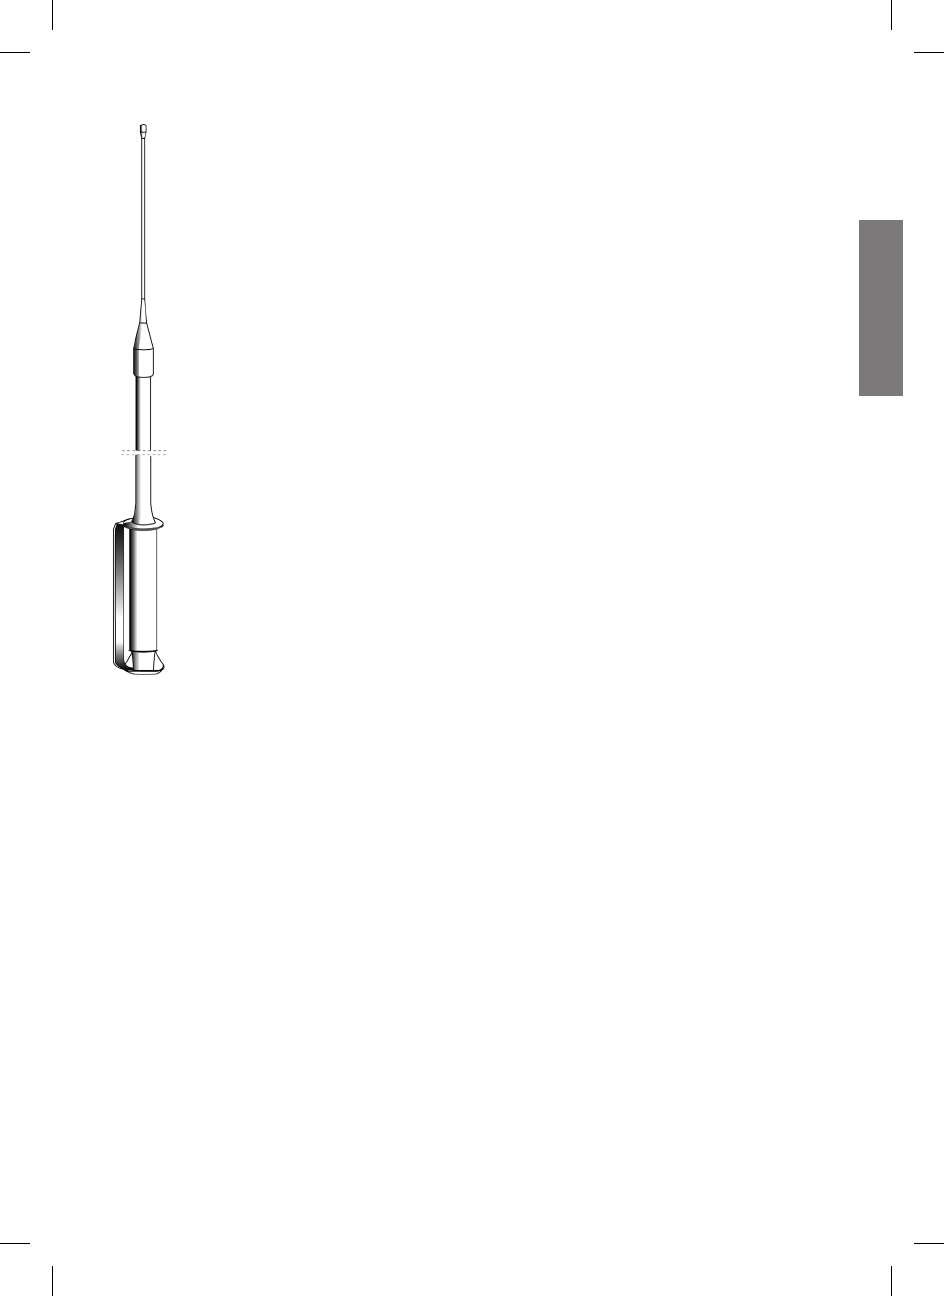
Roof Mount - In this position the antenna radiates equally in all directions.Since the
normal 1/4 wavelength whip antenna is too long for roof mounting on a vehicle, the
antenna is shortened and loading coil is used to provide the proper electrical length.
Our berglass roof mount is a good durable antenna.
Front Cowl Mount - The radiation pattern is slightly greater in the direction of the
rear fender opposite the side on which the antenna is mounted. However, the front
position offers a number of advantages. The CB antenna can be easily mounted. It
can double as both the CB and the standard auto radio antenna by employng a two-
way coupler. Ask about our complete line of antennas.
Rear Deck Mount - The radiation pattern is stronger in the direction of the front
fender opposite the side on which the antenna is mounted. In this position you can
use a full quarter-wave antenna or a shorter loaded whip. Here you might consider
one of the full 2.5 meters whips.
Bumper Mount - The antenna radiates in a pattern directly in front of and to the rear
of the vehicle, with maximum radiation directly away from the vehicle, in a horizontal
plane. Despite its fairly irregular pattern, a bumpermounted full-length whip antenna
will normally give the best results. Removing the antenna is simple and will leave no
holes in the car.
BASE STATION ANTENNA
While your transceiver is designed for mobile operation, you might wish to use it as a
base station unit, in conjunction with a 12 - 13.8 V 2 A DC power supply. If you decide
to use your transceiver as a base station, choose an antenna designed to operate
most efciently as a base station antenna. For example, the 1/2 wave antenna is a high-efciency
radiator with omnidirectional characteristics. It performs as well in most applications as does the
ground plane. You can use this type of antenna for medium-long range communications.
USING YOUR TRANSCEIVER
Do not transmit without a suitable antenna or 50 Ohm load connected to the antenna connector.
To receive:
1. Check that the unit is properly connected to a source of 12-13.8 V through the in-line fuse and
red wire.
2. Make sure that the antenna is attached.
3. Connect the mic plug to the mic jack.
4. Select AM or FM mode.
5. Set the band switch to PL or EU position.
6. Set the Squelch control to maximum counterclockwise position.
7. Turn on the unit by rotating the ON/OFF/VOL control.
8. Set channel selector to the desired channel.
9. Adjust the volume to a suitable listening level.
10. Adjust Squelch to cut out annoying background noise when no signal is being received.
To do this, set the Channel Selector to a channel where no signals are present or wait until
signals cease on your channel. Then, rotate the Squelch control in a clockwise direction to the
point where the background noise just stops. Now, when a signal is present, you will hear it,