• When you display 60-Hz and 50-Hz video signals at the
same time, motion images may not be displayed properly. In
this case, set VERT. SYNC of USER in the SIGNAL menu to
OFF for the left screen. (See page 25.)
• When BACK COLOR of the INSTALLATION menu is set to
IMAGE, you cannot use the split mode.
To change the input source of the left or right screen:
•To change the input source of the left screen, press the button
on the remote control.
•To change the input source of the right screen, press the
button
on the remote control.
Freeze
To stop the motion in the image temporarily (or to dis-
play a still image):
Press the FREEZE button on the remote control.
•The image freezes temporarily.
To resume the motion in the image:
Press the FREEZE button on the remote control again.
Important:
•Do not keep displaying a still picture for an extended period of
time, as the afterimages may linger on the screen.
Password function
This projector provides the password function that is intended to pre-
vent wrong operations by children and set controlled access for speci-
fied users.
DISPLAY INPUT............ When the projector is turned on, the star-
tup screen (or splash screen) appears and
stays on the screen until the password is
entered. When the password is entered,
the startup screen switches to the regular
operation screen.
MENU ACCESS............ All the buttons except for the POWER but-
ton on the projector are disabled. (The
buttons on the remote control are
enabled.) You can use this mode to pre-
vent wrong operations by children and set
controlled access for specified users.
SPLASH ID SCREEN ...IMAGE CAPTURE and SPLASH
SCREEN in the menu become unselect-
able. SPLASH SCREEN is set to ON
automatically.
To enable the password function:
1. Display the FEAT URE menu.
2. Press the
or button to select PASSWORD FUNCTION.
3. Press the
or button to change the mode among DISPLAY
INPUT , MENU ACCESS .
• When the password has already been set, the mode never
changes. Press the ENTER button to cancel the password
function and try again.
4. Press the ENTER button.
•The screen for setting the password function appears.
5. Press the ENTER button.
•The screen for entering a password appears.
6. Enter a 4 - 8 digit password using the
, , or buttons on
the remote control as shown below.
(
=1, =2, =3, =4)
7. Press the ENTER button.
•To cancel the procedure, press the MENU button.
8. Enter the password again for confirmation using the same steps.
9. Press the ENTER button.
•If the entered passwords are incorrect, an error message
appears.
•To cancel the procedure, press the MENU button.
To cancel the password function:
1. Display the FEATURE menu.
2. Press the
or button to select PA SSWORD FUNCTION.
3. Press the ENTER button.
•The screen for canceling the password function appears.
4. Press the ENTER button.
•The screen for entering the password appears.
5. Enter a 4 - 8 digit password using the
, , or buttons on
the remote control as shown below.
(
=1, =2, =3, =4)
6. Press the ENTER button.
•If you enter a wrong password, an error message appears.
•To cancel the procedure, press the MENU button.
Important:
•When the screen for entering the password is displayed, to disable
the password function, hold down the MENU and ENTER buttons
on the control panel together.
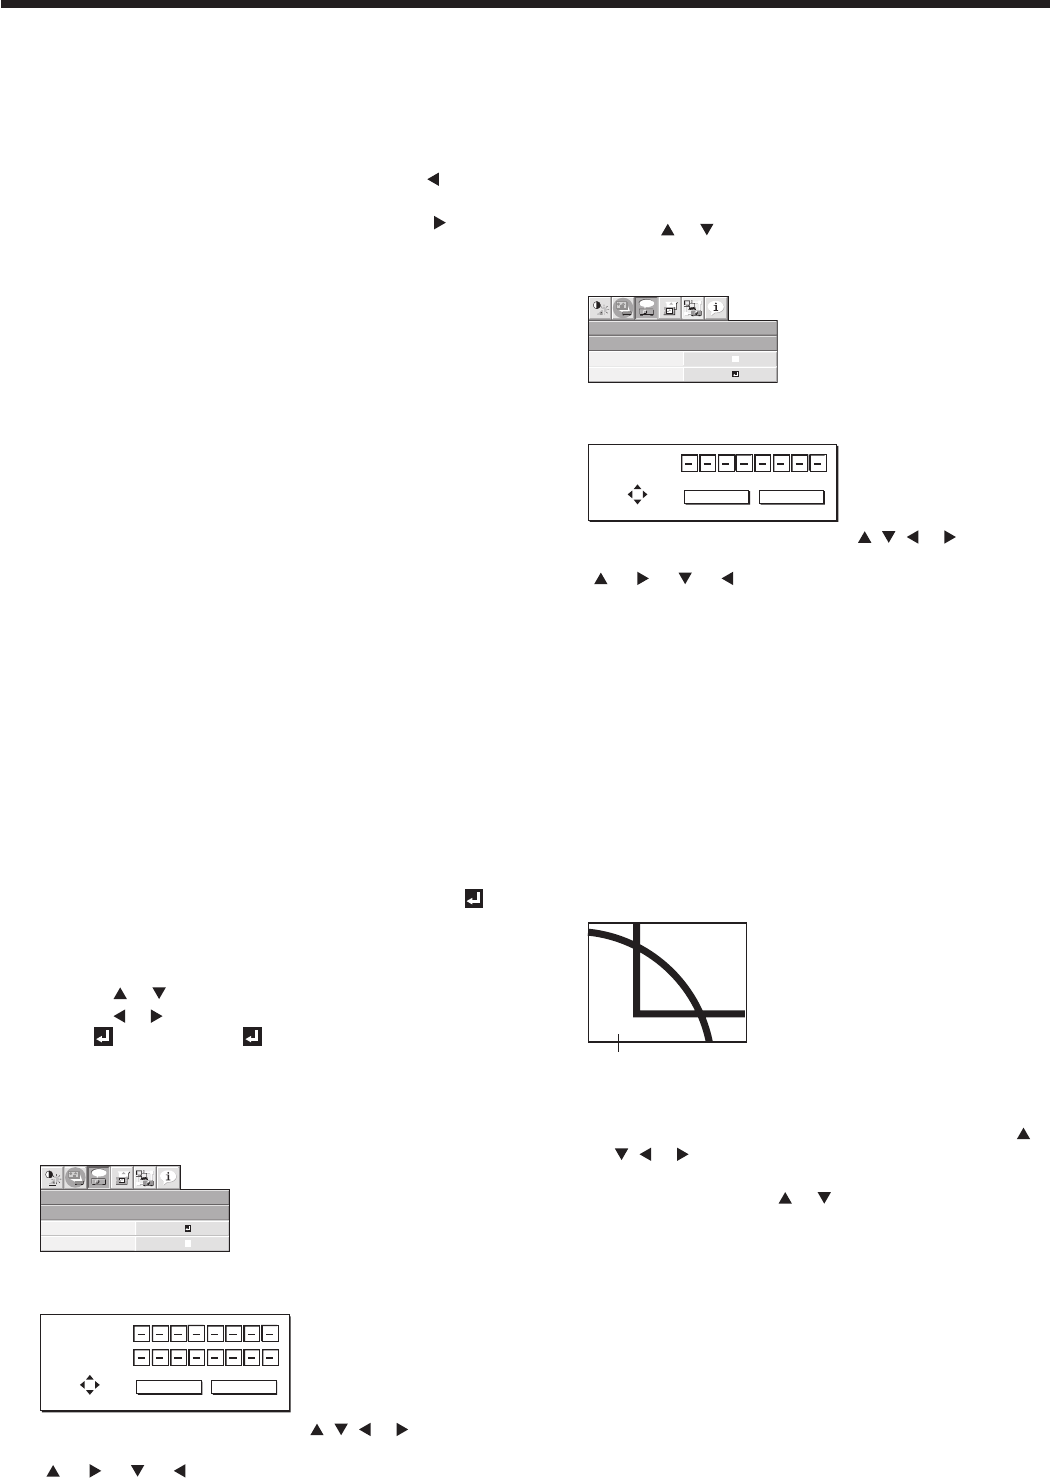
Magnify
By pressing the MAGNIFY button on the remote control, you can mag-
nify the image to view the details.
•The MAGNIFY mode doesn't function with some input signals. For
details, see page 46.
•The MAGNIFY mode doesn't work with video or S-video signal.
MAGNIFY
To use the MAGNIFY mode:
1. Press the MAGNIFY button.
•You can select the area to be magnified by pressing the
,
, or button on the remote control.
•You can change the magnification of the selected area by
pressing the VOLUME
or button.
2. Press the MAGNIFY button again to exit the MAGNIFY mode.
•The regular operation screen will appear.
Important:
•In the MAGNIFY mode, you can't adjust the volume.
FEATURE
MENU ACCESS
LOCK
OK
opt.
UNLOCK OK
PASSWORD
CONFIRM
1
3
24
O K : ENTER CANCEL : MENU
FEATURE
MENU ACCESS
LOCK
OK
opt.
UNLOCK OK
PASSWORD
1
3
24
O K : ENTERCANCEL : MENU
Magnified image