BEFORE USE
GB 4
GB 5
Before first use
■ Open the door and remove the packaging
material.
■ Clean the inside of the oven and the
accessories with a damp cloth. Do not use
an abrasive cleaner or any strongly-
smelling detergents.
■ Place the roller stay in the middle of the
oven. Place the turntable on top of the
roller stay.
■ The microwave oven may not be used
without the roller stay or turntable.
■ Do not operate the oven when empty.
■ Check that the microwave oven is working
correctly. Put a glass of water inside it.
Switch the microwave oven on for one
minute on its highest setting (see page 6,
cooking). At the end of this time, the water
should be hot.
NB:
If you want to boil a liquid (e.g. water), put a
plastic spoon in the cup. It is possible that the
liquid will boil without you seeing any
bubbles. When you remove the cup from the
oven, the liquid may start to boil violently and
splash out of the cup, with the risk of
scalding.
Points for your attention
The door may be opened if the microwave
oven is switched on: the microwave oven then
switches itself off automatically and the
cooking time is stopped.
The microwave oven always heats with the
same intensity, irrespective of the quantity of
food you are cooking in the oven. The more
you put in the microwave oven, the longer the
cooking time.
Not all materials are suitable for use in the
combi-microwave oven. The table below
shows which materials you can use and
which you cannot.
Material Permitted
paper yes
aluminium foil* yes
cling film yes
aluminium trays no
freezer / microwave dishes yes
heat-resistant plastic yes
unglazed earthenware no
glazed earthenware yes
metal cooking utensils no
normal glass yes
Pyrex and other ovenproof
glass and ceramics yes
dishes with metallic decoration no
metallic twists no
mercury thermometer no
sealed pots no
bottle with narrow neck no
roasting bags yes
* By covering thinner pieces of food (such as chicken
legs) you prevent them cooking too quickly.
The clock will work as long as the oven is
connected to the mains. If the time has not
been set, the display will show "0".
You can choose a 12-hour or 24-hour display
for the clock. While the clock is being set, a
colon flashes. The colon stops flashing when
the clock has been set.
For example:
You want to set the clock to 14:35.
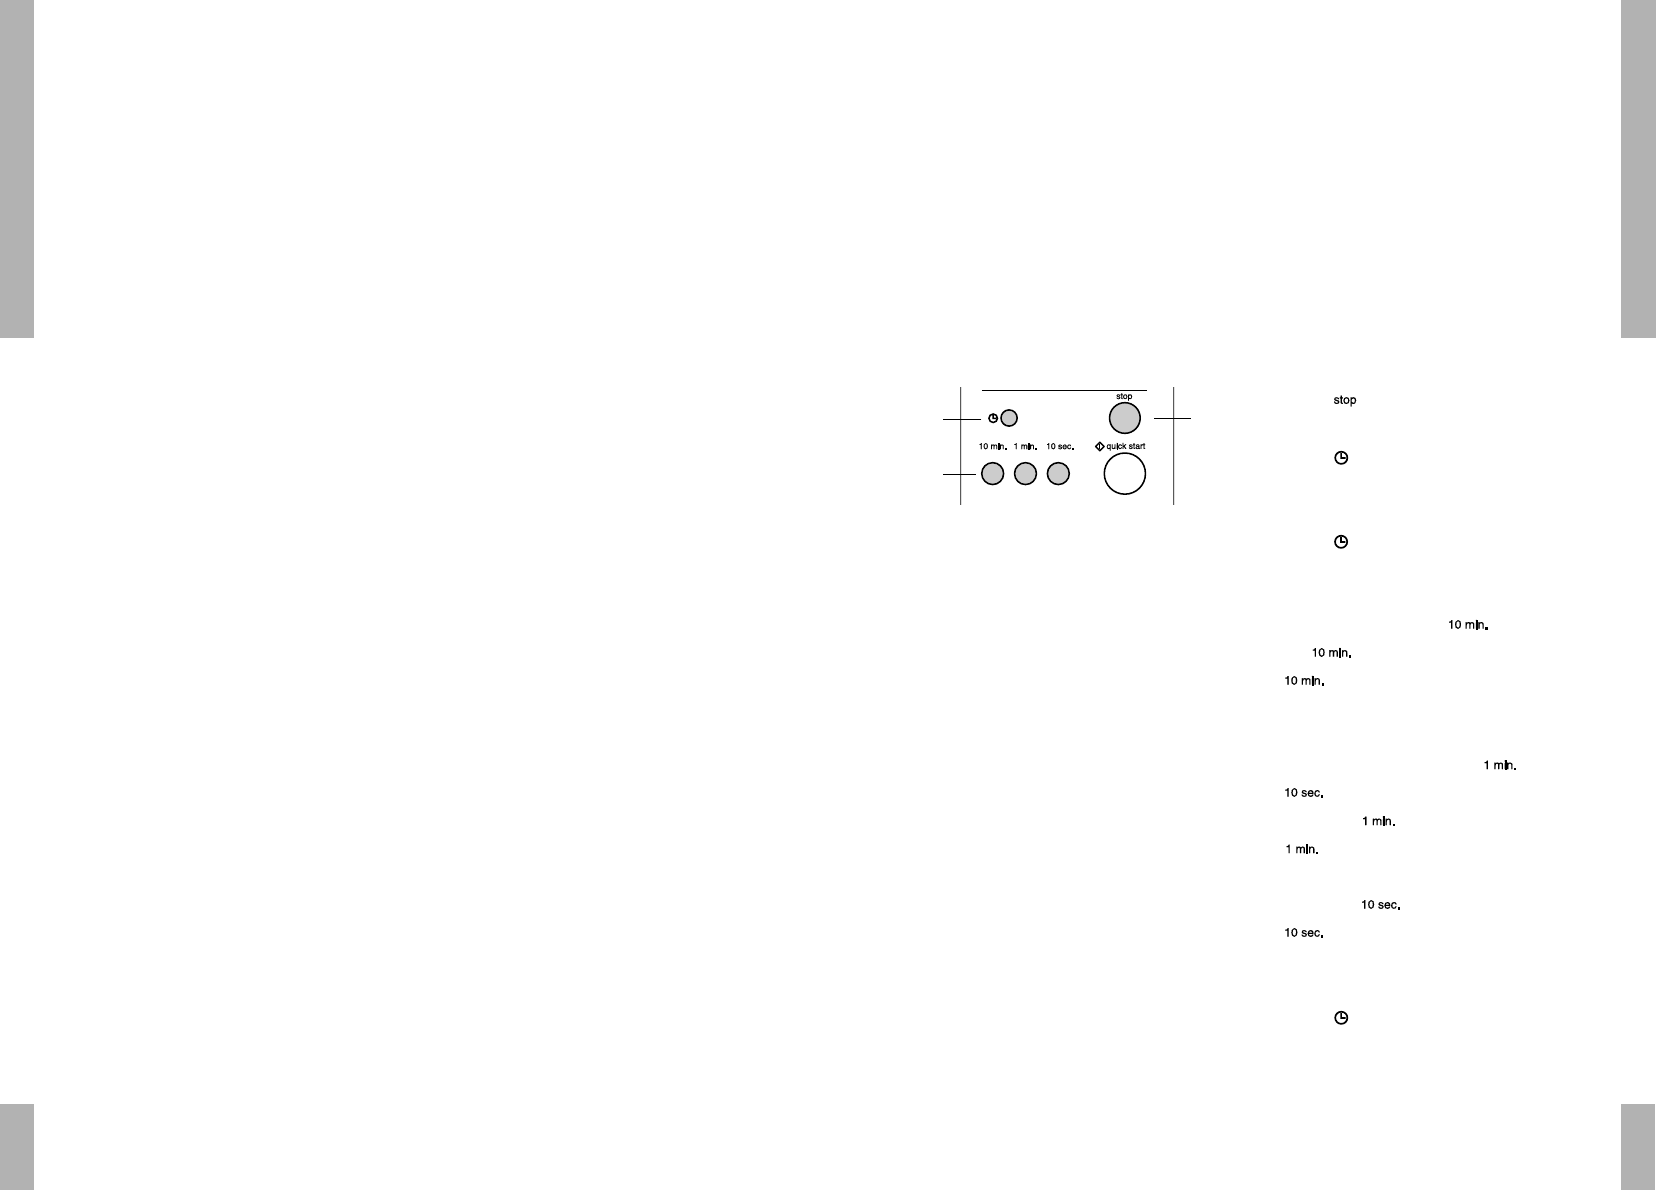
Setting the clock
1. Press .
2. Press
.
The display shows "24 H".
Press again if you want to set the clock
to the 12-hour setting.
3. Set the hour using the button. Press
the button 14 times or keep the
button depressed until "14" appears in
the display.
Set the minutes using the and
buttons.
Press the button 3 times or keep the
button depressed until "3" appears in
the display.
Press the button 5 times or keep the
button depressed until "5" appears in
the display.
4. Press again
.
The clock begins working.
Note
Pull the plug out of the wall socket if any
strange signs appear in the display.
Once you have set the clock, if you want to
switch from the 12-hour clock to the 24-hour
clock you must first disconnect the appliance
from the power supply. Then reconnect the
appliance and set the time.
Clock