You can press w repeatedly until you reach the start of the
broadcast buffer or the maximum time span.
Progress bar
With the progress bar on screen, press ! (Rewind) or press
‹ (Forward) to select from where you want to start viewing
the paused broadcast. Press these keys repeatedly to change
speed.
Specifics
• The Audio Description audio (commentary) for the visually
impaired is not available for playback in Pause TV or Recording.
• You can buffer the digital (DVB) subtitles of a channel. You
cannot buffer subtitles that come from Text services. To check
if digital (DVB) subtitles are available, tune to the TV channel
and press o OPTIONS, select L Options in the menu bar
and select Subtitle language to open the list of Subtitles. You
can only buffer a subtitle language preceded with a DVB icon.
5.5
Recording
Record a program
If a USB Hard Drive is connected and formatted and the TV
receives electronic TV guide information, you can record a
digital TV broadcast.
In Help, press * List and look up USB Hard Drive,
installation to install a USB Hard Drive.
Record now
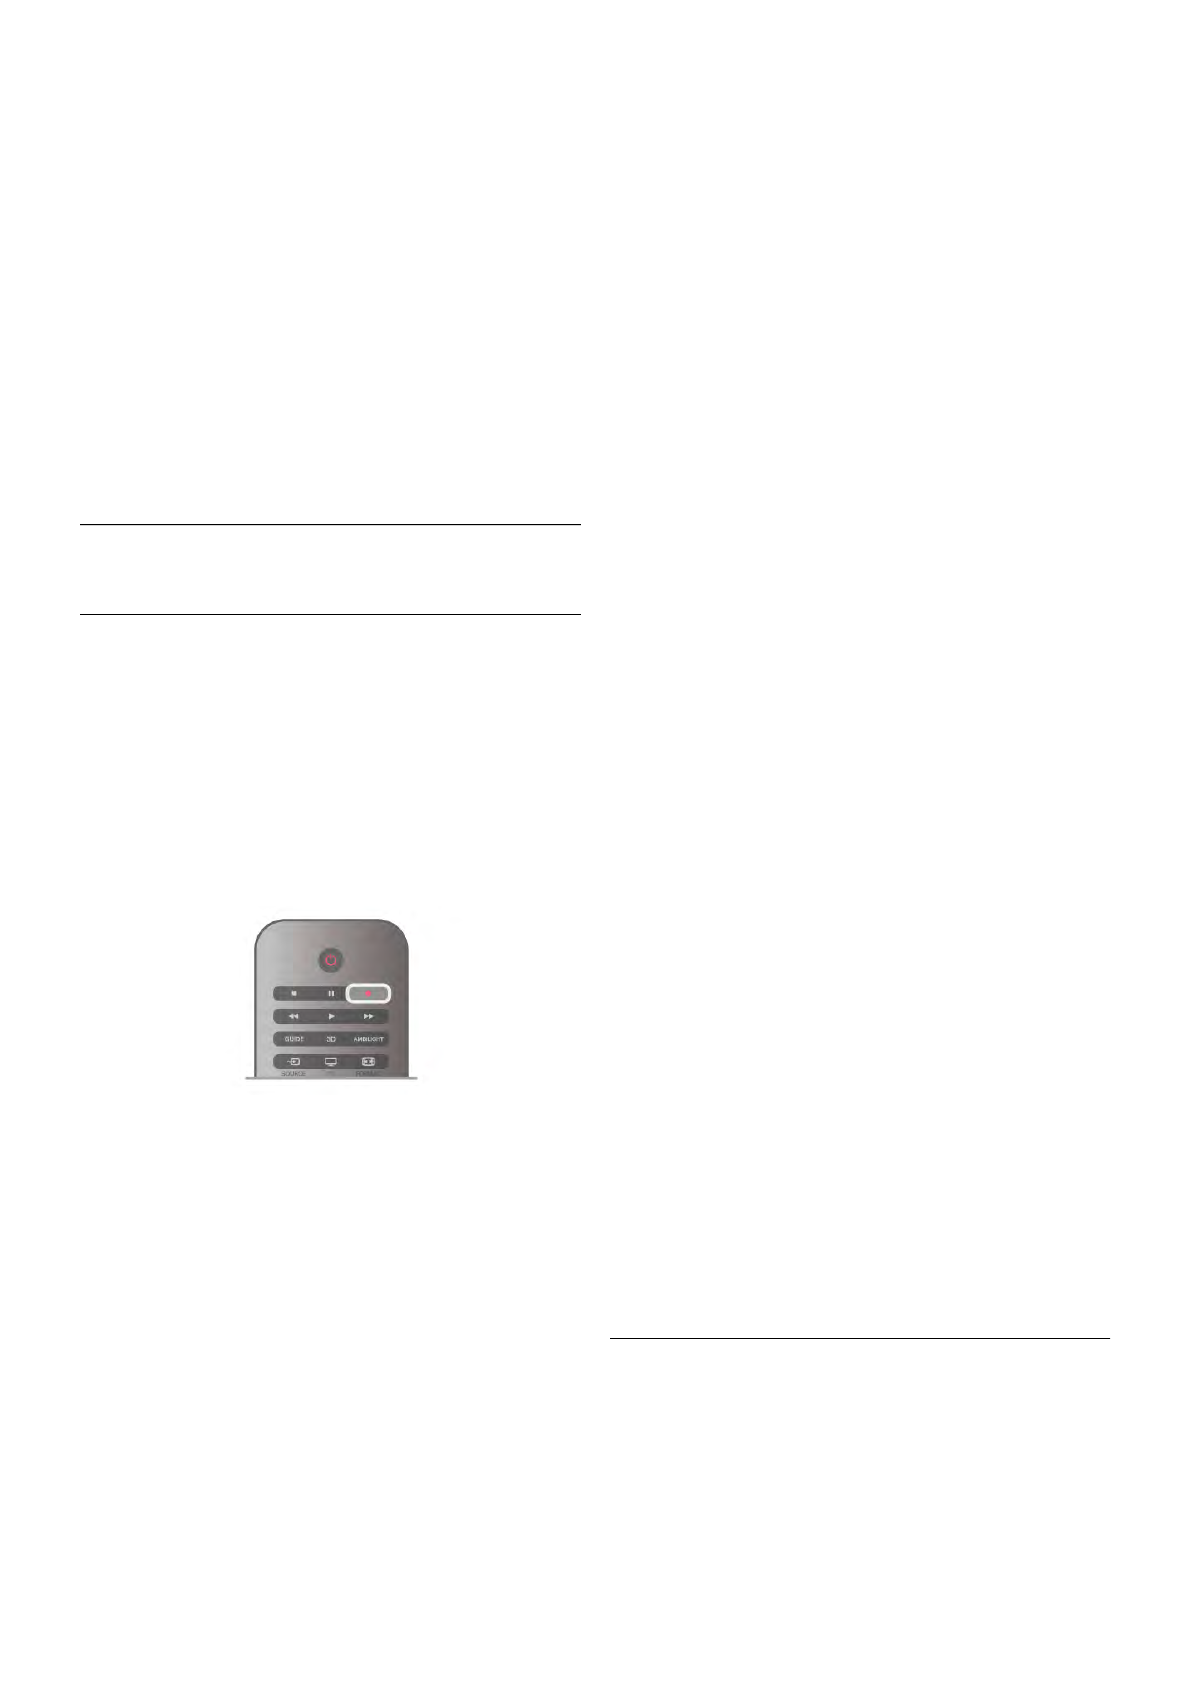
To record the programme you are watching, press r (Record)
on the remote control.
If you receive TV guide information from the Internet, you can
adjust the end time of the recording in the pop-up window
before you confirm the recording.
If you receive TV guide information from the broadcaster, the
recording starts immediately. You can adjust the end time of
the recording in the list of recordings. See below.
To stop recording, press q (Stop).
Schedule a recording
You can schedule a recording of an upcoming programme for
today or a few days from today (maximum of 8 days away).
1 - To schedule a recording, press Guide.
On the TV guide page, select the channel and programme you
wish to record.
You can enter the channel number to jump to the channel in
the list.
Press x (Right) or w (Left) to scroll through the programmes of
a channel.
To change the date of the list, press o OPTIONS and select
Select day. In the list, select the day you want and press OK. If
the TV guide comes from the Internet, you can select the date
at the top of the page and press OK.
2 - With the programme highlighted, press *Record or
press o OPTIONS and select Record. The TV adds some
time buffer at the end of the program. You can add some extra
buffer if needed.
3 - Select Schedule and press OK. The programme is
scheduled for recording. A warning will show automatically
when overlapping recordings are scheduled.
If you plan to record a programme in your absence, remember
to leave the TV switched to standby and the USB Hard Drive
switched on.
List of recordings
To view the list of recordings and scheduled recordings, press
h, select R Recordings and press OK. In this list, you can
select a recording to watch, remove recorded programmes,
adjust the end time of an ongoing recording or check the free
disc space. Also in this list, if the TV guide comes from the
Internet, you can schedule a recording of which you set the
beginning and end time yourself, as a timed recording not
linked to a programme. To set a timed recording, select
Schedule recording at the top of the page and press OK. Set
the channel, date and time span. To confirm the recording,
select Schedule and press OK.
Remove a scheduled recording
To remove a scheduled recording, select the upcoming
recording in the list and press OK. Alternatively, you can select
the scheduled recording and press o OPTIONS and select
Cancel recording.
Specifics
• While recording a programme, you can watch a previously
recorded programme.
• While recording, you cannot switch TV channels.
• While recording, you cannot pause the TV broadcast.
• To Record, broadcasters need a reliable clock setting. If you
reset the TV clock manually, recordings may fail.
• The Audio Description audio (commentary) for the visually
impaired cannot be recorded.
• You can record the digital (DVB) subtitles of channel. You
cannot record subtitles that come from Text services. To
check if digital (DVB) subtitles are available, tune to the TV
channel and press o OPTIONS, select L Options in the
menu bar and select Subtitle language to open the list of
Subtitles. You can only record a subtitle language preceded
with a DVB icon.
In Help, press * List and look up Watch a recording to
watch and manage your recordings.
Watch a recording
To watch a recording, press h, select R Recordings and
press OK.
In the list, select the recording and press x (Play) to start the
playback.