15:00
gio 27 settembre
15:00
15:00
15:00
gio 27 settembre
15:00
gio 27 settembre
15:00
IMPOST
15:00
WIRELESS E RETI
WI FI
UTILIZZO DA
AUDIO
DISPLA
MEMORIA
BA
APPLICAZIONE
AL
DISPOSITIVO
ON
15:00
WIRELESS E RETI
RETE
WI FI
UTILIZZO DA
AUDIO
DISPLA
MEMORIA
BA
APPLICAZIONE
AL
DISPOSITIVO
ON
15:00
IMPOST
IMPOST
IMPOST
WIRELESS E RETI
RETE
WI FI
UTILIZZO DA
AUDIO
DISPLA
MEMORIA
BA
APPLICAZIONE
AL
DISPOSITIVO
ON
RETE
ANNULLA ELIMINA CONNETTI
15:00
15:00
APPLICAZIONI WIDGET ACQUIST
A
IMPORT
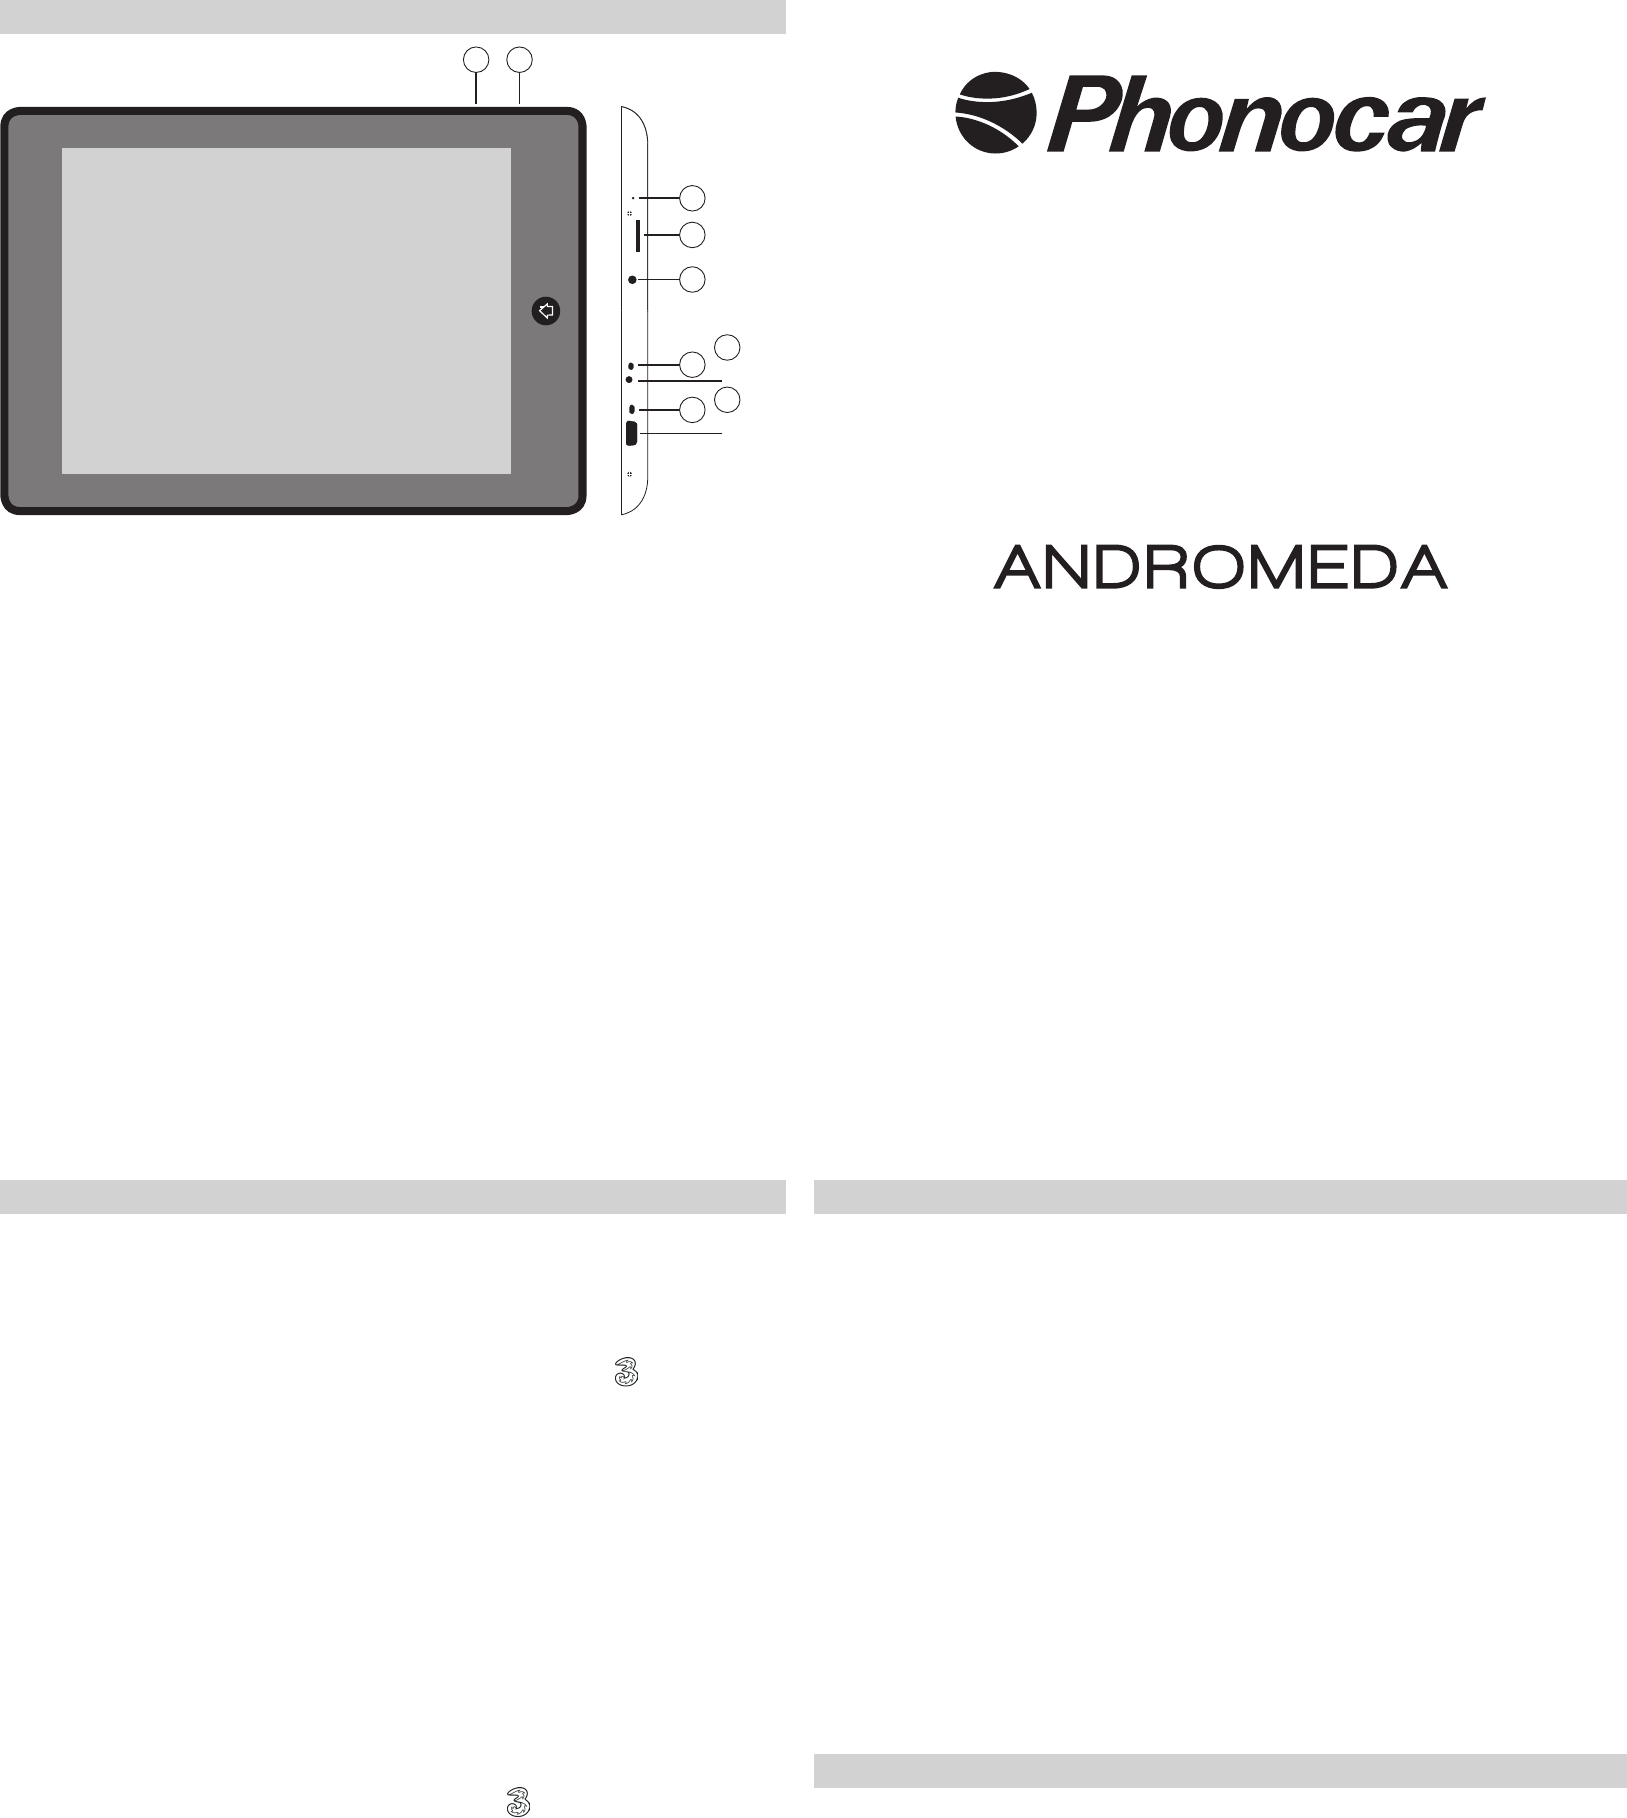
INSTRUCTIONS
RICARICA BA
A Collegar
confezione. Per la ricarica batteria in auto utilizzare accessori PHONOCAR optional.
B Il dispositivo si accenderà e mostr
percentuale di carica sulla sinistra sotto l’ora e la data.
Note: • Utilizzare solamente l’alimentator
• Il dispositivo è attivo, ma la batteria non viene ricaricata se collegato tramite cavo USB al computer o ad altri
apparati di alimentazione a 5 V
• Al primo utilizzo dell’apparecchio si consiglia di caricar
• Durante la ricarica della batteria, se i comandi sul T-
mentazione instabile. Basterà staccare l’alimentator
BA
A In switched-off position, connect the device to the power
T
B The device will switch-on and show the recharge-progress by the battery-icon situated on the top bar
also show the recharge-percentage on the left, below Date and Time.
IMPORT: • Always use the supplied current-adapter; other types could damage the batter
• The device is activated, but the battery is not recharged when the device is connected, by the USB-cable, to
the computer or other units having 5V
• When device is put into operation for the rst time, its battery should be completely recharged, the r
cycle taking about 3 hours.
• Should, during the battery-recharge, the commands on the T
unstable current-supply
INTRODUCING AN EXTERNAL MEMORY – MICRO-SD-CARD
Introduce memory always while the T
ANDROMEDA is tted with a slot for micro-SD-cards providing for memory-expansions.
• Introduce the micro-SD-card delicately until a “click” is heard, with the electric contacts showing upwards.
On the bottom progress-bar you will read: SD-CARD BEING PREP
• T
IMPORT Do NOT introduce/remove the memor
Data, as this would cause errors. T
RECHARGER LA BA
A Brancher le dispositif éteint, à travers l’ adaptateur du réseau inclus dans la confection, à la prise d’alimenta -
tion 220V
B Le dispositif s’allumera et montrera la phase de recharge sur l’icône de la batterie qui se trouve dans la barre
en haut, et la pourcentage de recharge sur la gauche sous la visualisation de l’horaire et de la date.
Notes : • Utiliser seulement l’alimentateur en dotation. D’autres alimentateurs pourraient endommager la batte-
rie.
• Le dispositif est active, mais la batterie n’est pas rechargeable si branchée à travers le câble USB au ordinateur
ou aux autres appareils d’alimentation à 5V
• A la première utilisation du produit, il est conseillé de recharger la batterie complètement. Cycle de recharge 3
heures environ.
• Quand la batterie se recharge, il est possible que les commandes sur le T
correctement. Cela est causé par une alimentation instable. Il est sufsant enlever l’alimentateur pour que l’appa-
reil fonctionne correctement.
INSERTION DE LA MÉMOIRE EXTERNE MICRO SD-CARD
Effectuer l’insertion de la mémoire seulement avec le T
ANDROMEDA est doté d’une ouverture pour micro SD-card permettant l’extension de la mémoire.
• Insérer la micro SD-card délicatement jusqu’à l’arrivée d’un clique, en tenant les contacts électriques vers
l’haut. Sur la barre d’état en bas arrivera l’indication “ PREP
• Pour « enlever en sécurité » la carte , il faut entrer ESQUISSES – MEMOIRE et sélectionner ENLEVER SD.
Note :
Ne pas introduire ou enlever la mémoire quand l’appareil est en train de lire les chiers ou transfér
parce que cela pourrait causer des erreurs. Pour enlever la carte, effectuer toujours la procédure “enlever en
sécurité ”.
INSERIMENTO MEMORIA ESTERNA MICRO SD-CARD
L
ANDROMEDA è dotato di uno slot per una micro SD-car
• Inserire la scheda micr
e sulla barra di stato in basso comparirà la scritta “PREP
• Per una rimozione sicura della scheda andare in IMPOST
Nota: Non inserire o rimuover-
chè potrebbe causar
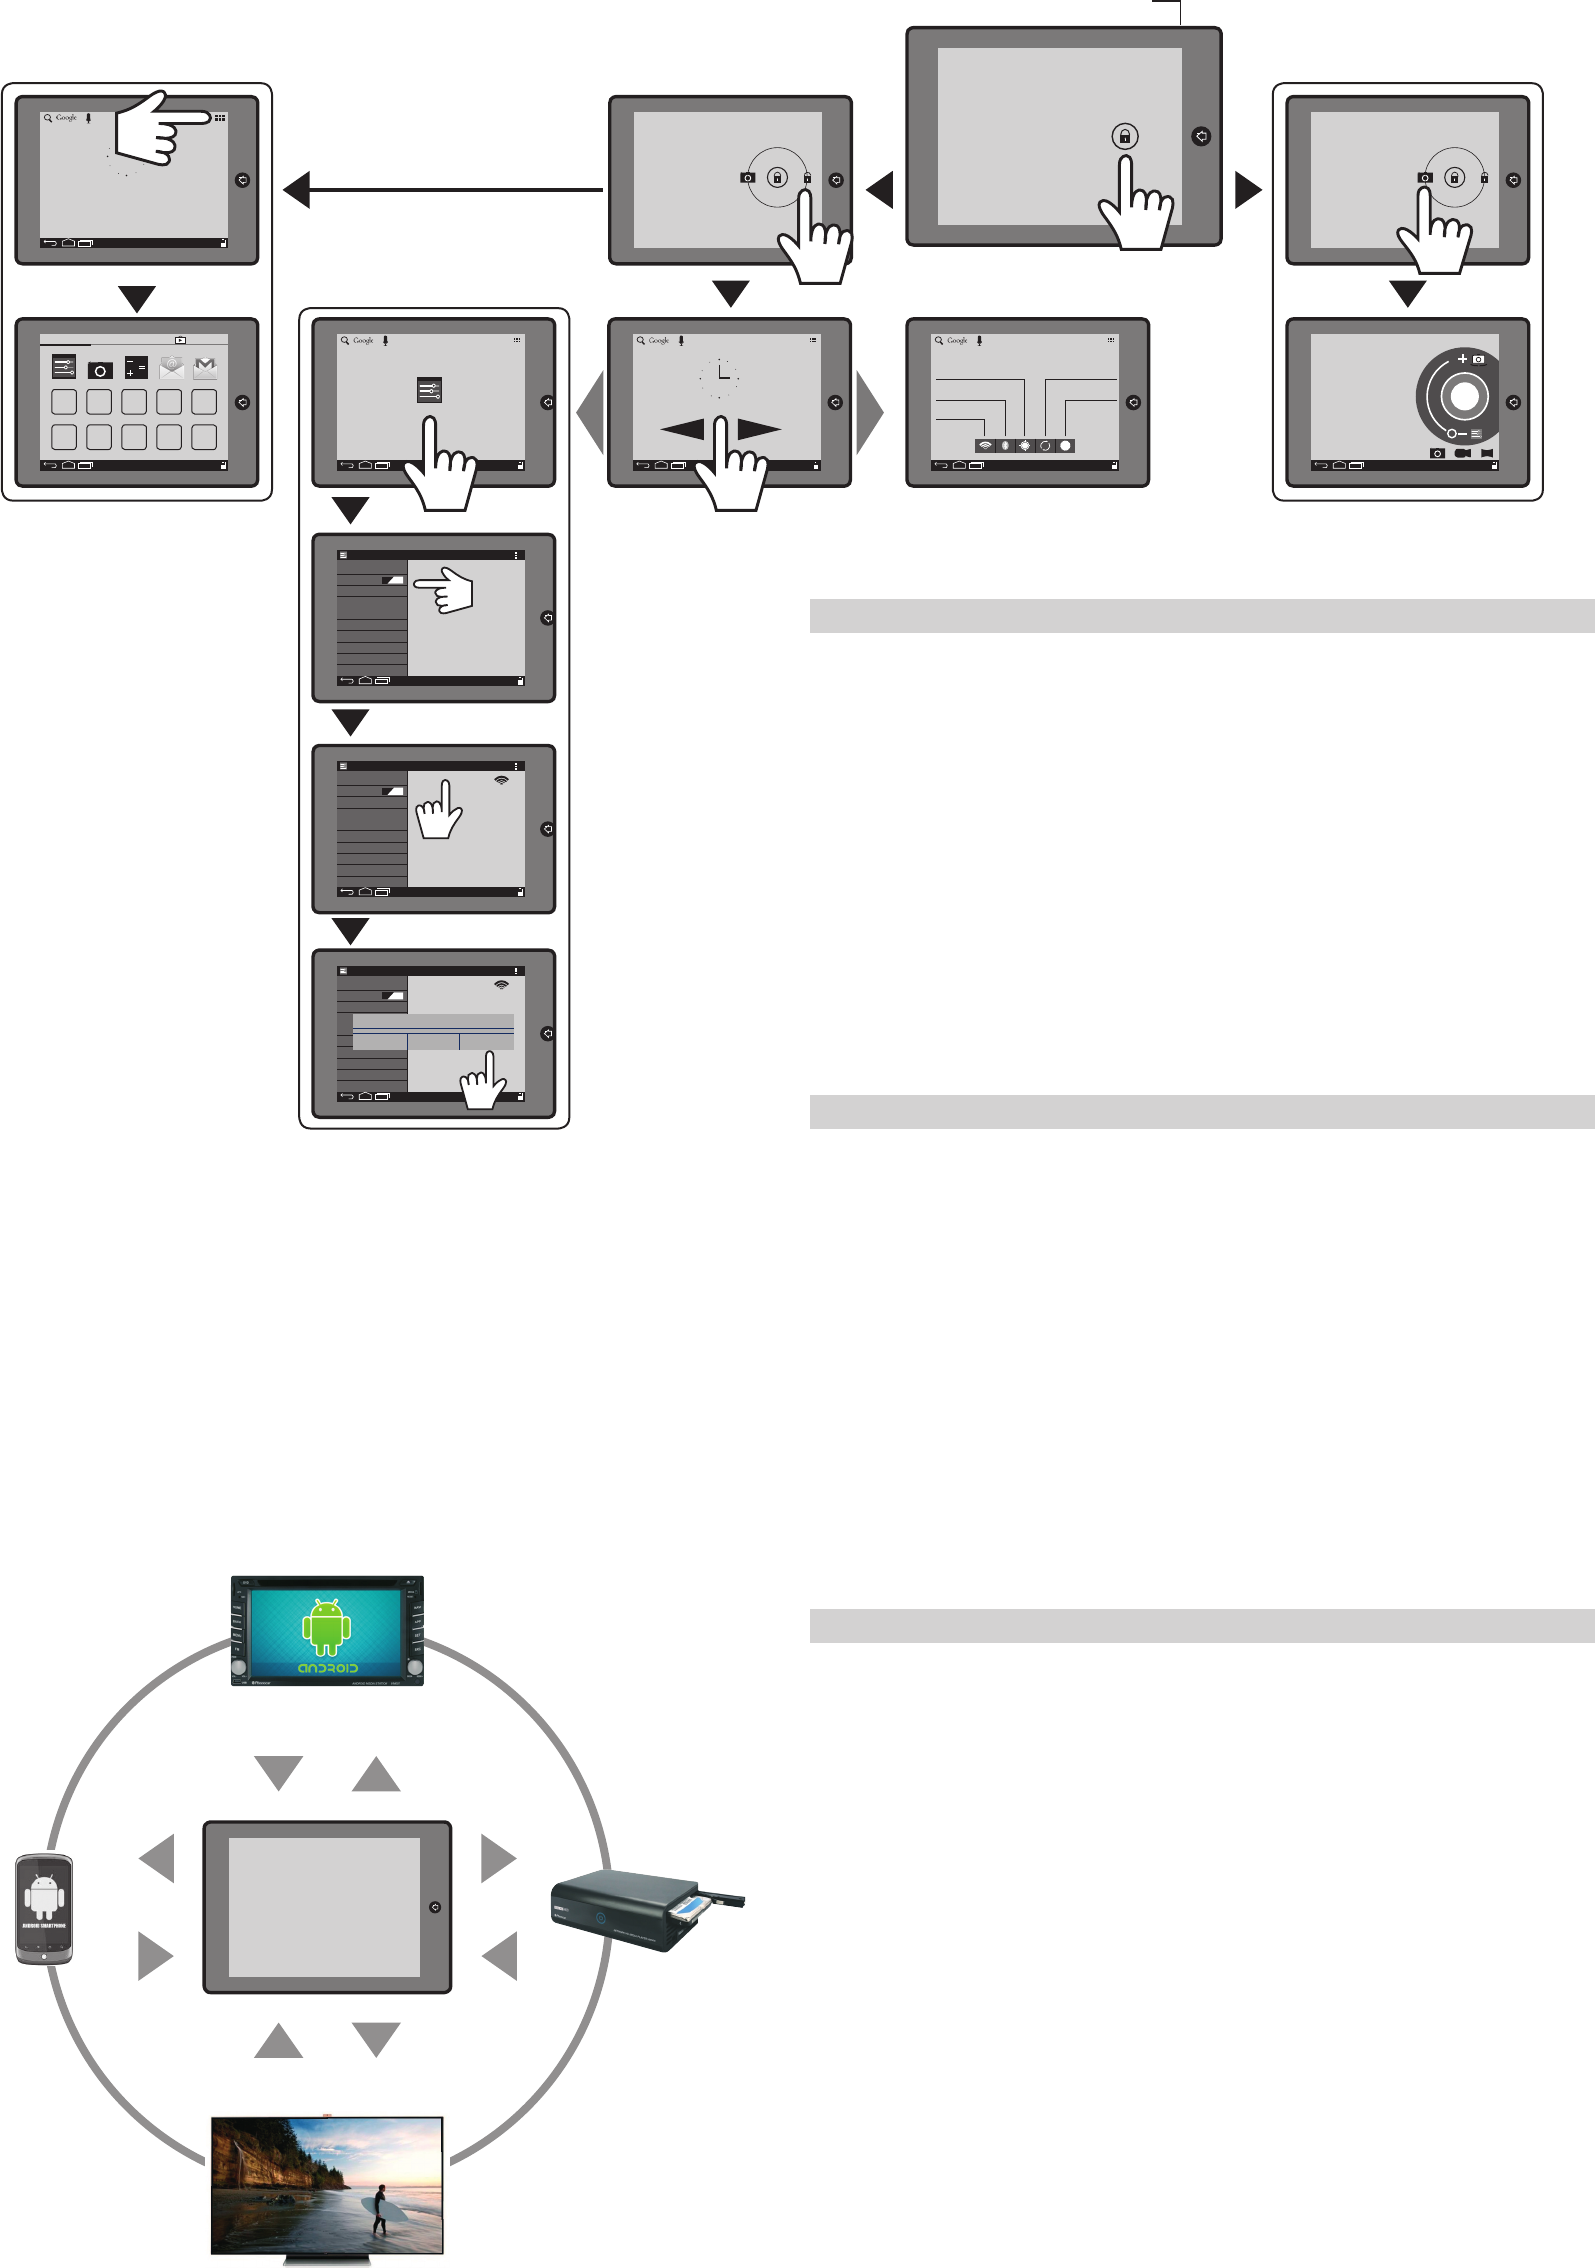
IT ANDROMEDA permette il controllo in condivisione di le multimediali pr
CONDIVISIONI gestione di les multimediali: video, musica, immagini.
COMP sistemi ANDROID con UPNP sharing Server: DLNA - SAMBA
GB ANDROMEDA allows the shared control of multimedia-les available on various compatible devices.
SHARED management of Multimedia-les: Video, Music, Pictures.
DEVICE-COMP: ANDROID-systems with UPNP -sharing SerDLNA - SAMBA
FR • ANDROMEDA permet le contrôle en partageant de chiers multimédias présents sur différents dispositifs compatibles.
• Avec la possibilité de P, on peut gérer directement des chiers multimédias, comme les vidéos,
la musique et les images, qui n’ ont pas la résidence d’origine sur ANDROMEDA.
• COMP : systèmes ANDROID avec UPNP sharing Server : DLNA – SAMBA
D ANDROMEDA ermöglicht die Mit-Kontrolle der Multimedial-Dateien, die sich auf verschiedenen kompatiblen
Geräten benden.
MIT multimedialer Dateien: Video, Musik, Bilder
GERÄTE-KOMP: ANDROID-Systeme mit UPNP-sharing Ser DLNA - SAMBA.
E ANDROMEDA permite compartir el control de los archivo s multimedia presentes en diferentes dispositivos
compatibles.
COMP gestión de archivos multimedia: video, música, imágenes.
COMP: sistemas ANDROID con UPNP sharing Server: DLNA - SAMBA
APPLICAZIONI
E AUDIO/VIDEO
APPS
AND AUDIO/VIDEO
INTERNET
E AL
INTERNET
AND OTHER SETTINGS
FOTO
E VIDEOCAMERA
PHOTOS AND
VIDEO-CAMERA
15:00
A
BLUETOOTH
LOCALIZZAZIONE
TRAMITE WIFI
AGGIORNA
LUMINOSITÁ
WIFI
ACCENSIONE / SWITCH-ON
PREMERE PER ALCUNI SECONDI / KEEP PRESSED FOR A FEW SECONDS
ANDROMEDA
HARD DISK
VM008
VM007-VM101
SMART TV
SMART
PHONE