2
3
4
5
Video Mode : Setting Various Functions
5353
ENGLISH
5252
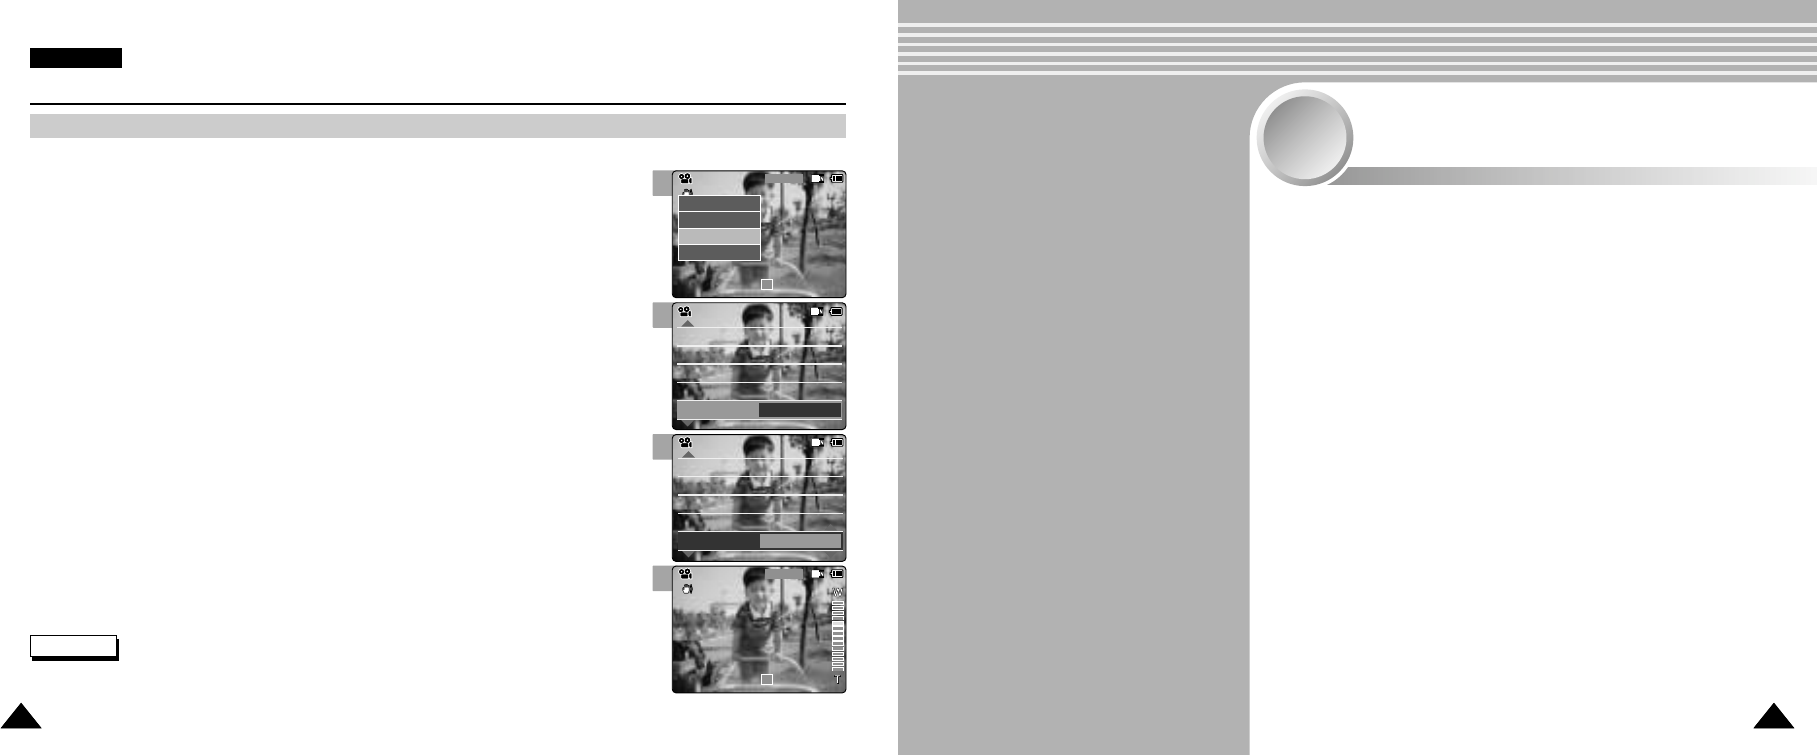
Setting the Digital Zoom
You can magnify optical zoom(x10) digitally. The Digital Zoom processes data to enlarge the centre portion of
the image to fill the frame may produce a less detailed and slightly grainy picture.
1. Move [Mode Selector] down to turn on the CAM.
◆ The Video Record screen appears.
◆ You can select Video mode or Previous mode as the start-up mode in System Settings.
(Refer to page 94)
2. Press the [Menu] button and move the [ ▲/ ▼ ] switch.
Press the [OK] button after selecting <Settings>.
3. Move the [ ▲/ ▼ ] switch to select <Digital Zoom> and press the [OK] button.
◆ On: Set the Digital Zoom. (X100)
◆ Off: Cancel the Digital Zoom.
4. Move the [ ▲/ ▼ ] switch to select desired setting and press the [OK] button.
5. Press the [Menu] button to finish setting.
◆ 4 zoom indicators increase after setting the Digital Zoom.
Notes
✤
If you select <Back> in the menu, the previous menu appears.
✤
Press and hold the [Menu] button in Video Record, you can move to <Settings> directly.
Capturing . . . . . . . . . . . . . . . . . . . . . . . . . . . . . . . . . . . . . 54
Capturing Images . . . . . . . . . . . . . . . . . . . . . . . . . . . . . . . 54
Zooming In and Out . . . . . . . . . . . . . . . . . . . . . . . . . . . . . 55
Viewing . . . . . . . . . . . . . . . . . . . . . . . . . . . . . . . . . . . . . . . 56
Viewing Photo files on the LCD Monitor . . . . . . . . . . . . . . 56
Selecting File Options . . . . . . . . . . . . . . . . . . . . . . . . . 57
Deleting Photo files . . . . . . . . . . . . . . . . . . . . . . . . . . . . . 57
Locking Photo files . . . . . . . . . . . . . . . . . . . . . . . . . . . . . . 58
Setting DPOF Function . . . . . . . . . . . . . . . . . . . . . . . . . . 59
Copying Photo files . . . . . . . . . . . . . . . . . . . . . . . . . . . . . 60
Setting Various Funtions . . . . . . . . . . . . . . . . . . . . . . . 61
Setting the Photo file Size . . . . . . . . . . . . . . . . . . . . . . . . 61
Setting the Light . . . . . . . . . . . . . . . . . . . . . . . . . . . . . . . . 62
Setting the Focus . . . . . . . . . . . . . . . . . . . . . . . . . . . . . . . 63
Setting the EIS . . . . . . . . . . . . . . . . . . . . . . . . . . . . . . . . . 64
Setting the White Balance . . . . . . . . . . . . . . . . . . . . . . . . 65
Setting the Program AE . . . . . . . . . . . . . . . . . . . . . . . . . . 66
Setting the BLC . . . . . . . . . . . . . . . . . . . . . . . . . . . . . . . . 67
Photo Mode
2
2