268 If and when
Repairing a tyre
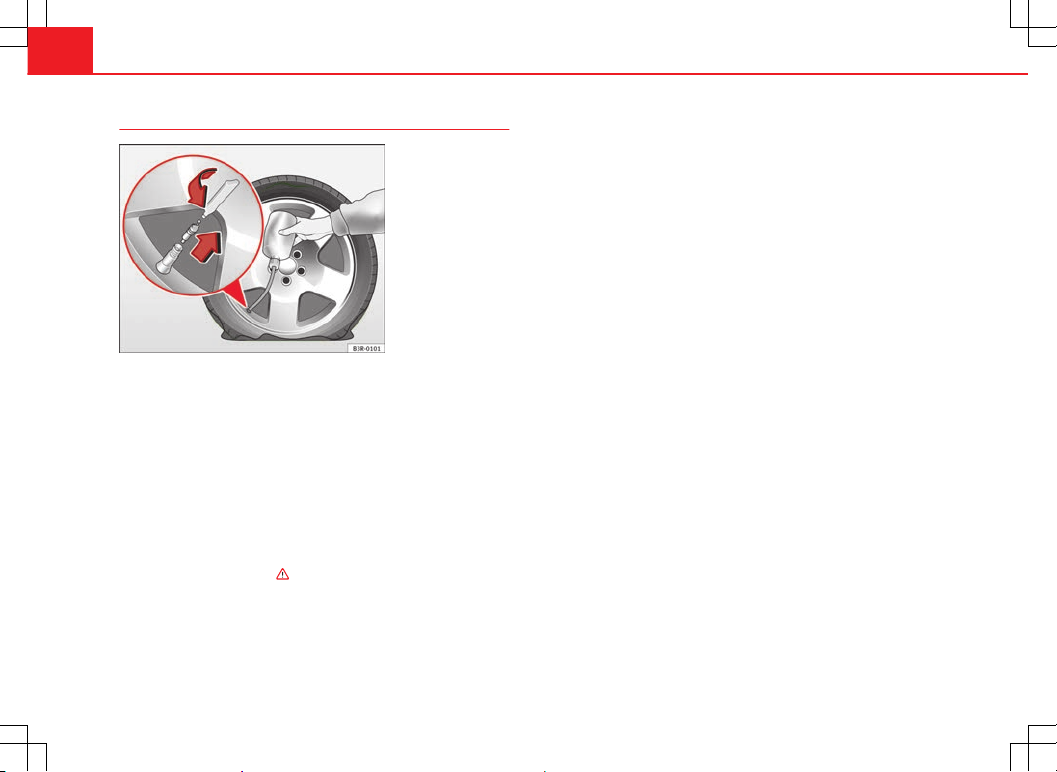
Fig. 201 Repairing a tyre
Preparations
–If you have a flat tyre or puncture, park the vehicle as far away
from the flow of traffic as possible.
–Apply the handbrake firmly to prevent the vehicle from moving
accidentally on slopes.
–Engage first gear.
–Check whether a repair is possible using the Tyre Mobility Sys-
tem ⇒ page 266.
–Ensure that all passengers leave the vehicle and move away
from the danger area ⇒ .
–Take the tyre sealant can and the compressor out of the lug-
gage compartment.
–Stick the “max. 80 km/h” adhesive, which is included with the
tyre sealant can, onto the instrument panel where the driver will
see it.
Filling the tyre
–Shake the tyre sealant can well.
–Screw the enclosed filling hose onto the sealant can as far as it
will go. This will automatically pierce the foil sealing the can.
–Take the valve cap off the tyre valve and use the enclosed valve
insert tool to unscrew the valve insert ⇒ Fig. 201.
–Place the valve insert onto a clean surface.
–Remove the sealing plug from the filling hose and insert the
hose into the tyre valve.
–Hold the tyre sealant can upside down and fill the complete
contents of the can into the tyre.
–Then disconnect the hose and screw the valve insert firmly back
into the tyre valve.
Inflating the tyre
–Screw the compressor filling hose onto the tyre valve and plug
the connector into the cigarette lighter.
–Pump the tyre up to 2.0 to 2.5 bar and monitor the pressure
shown on the pressure gauge.
–If the tyre pressure remains lower than the value specified
above drive the vehicle approx. 10 metres forwards or back-
wards, so that the sealant can spread evenly in the tyre. If the

