13
Utah 81cm LED BLU-TV
EN
* When TV signals is Cable.
Auto tuning
Select the ENTER button to start Auto tuning.
1. Adjust the Cable Scan Menu.
- Scan type: Scans for all active broadcast station chan-
nels and stores them in the TV.
If you select Quick Scan, you can set up the Frequency,
Network ID and Symbol (Ks/s) manually by pressing the
button on the remote control. Quick Scan can only search
DVBC digital programmes, can not search for ATV pro-
grammes.
If you select
Full Scan, the Auto Tuning will search
through all or appointed frequencies to nd available
channels.
- Frequency: Enter a user-dened frequency. (Differs in
each country)
- Network ID (Auto/Manual): Selects the Network ID set-
ting mode among Auto or Manual. When Network is
Manual, you can set up Network ID using the numeric
buttons.
- Symbol (Ks/s): Selects the Symbol (ks/s) setting mode
among Auto or Manual. When Symbol (ks/s) is Manual,
you can set up Symbol (ks/s) using the numeric but-
tons.
When you are satised with your setting, press
ENTER
button.
2. Select the country and tune type for channels.
3. The TV will begin memorizing all of the available chan
-
nels.
• CADTV Manual Tuning
Frequency, Symbol (ks/s), and QAM Type are needed in
order to add a programme correctly in DVB cable mode.
Please inquire of the cable service provider about the
correct values.
• ATV Manual Tuning
Manual store for ATV channels.
Press the▲/▼ button to select items. Press the ◄/► button
to adjust it.
Press the red button to save it. Press the EXIT to exit.
Note:
For more information about the channel parameters
(frequency, symbol rate and QAM type), please check with
your cable TV provider.
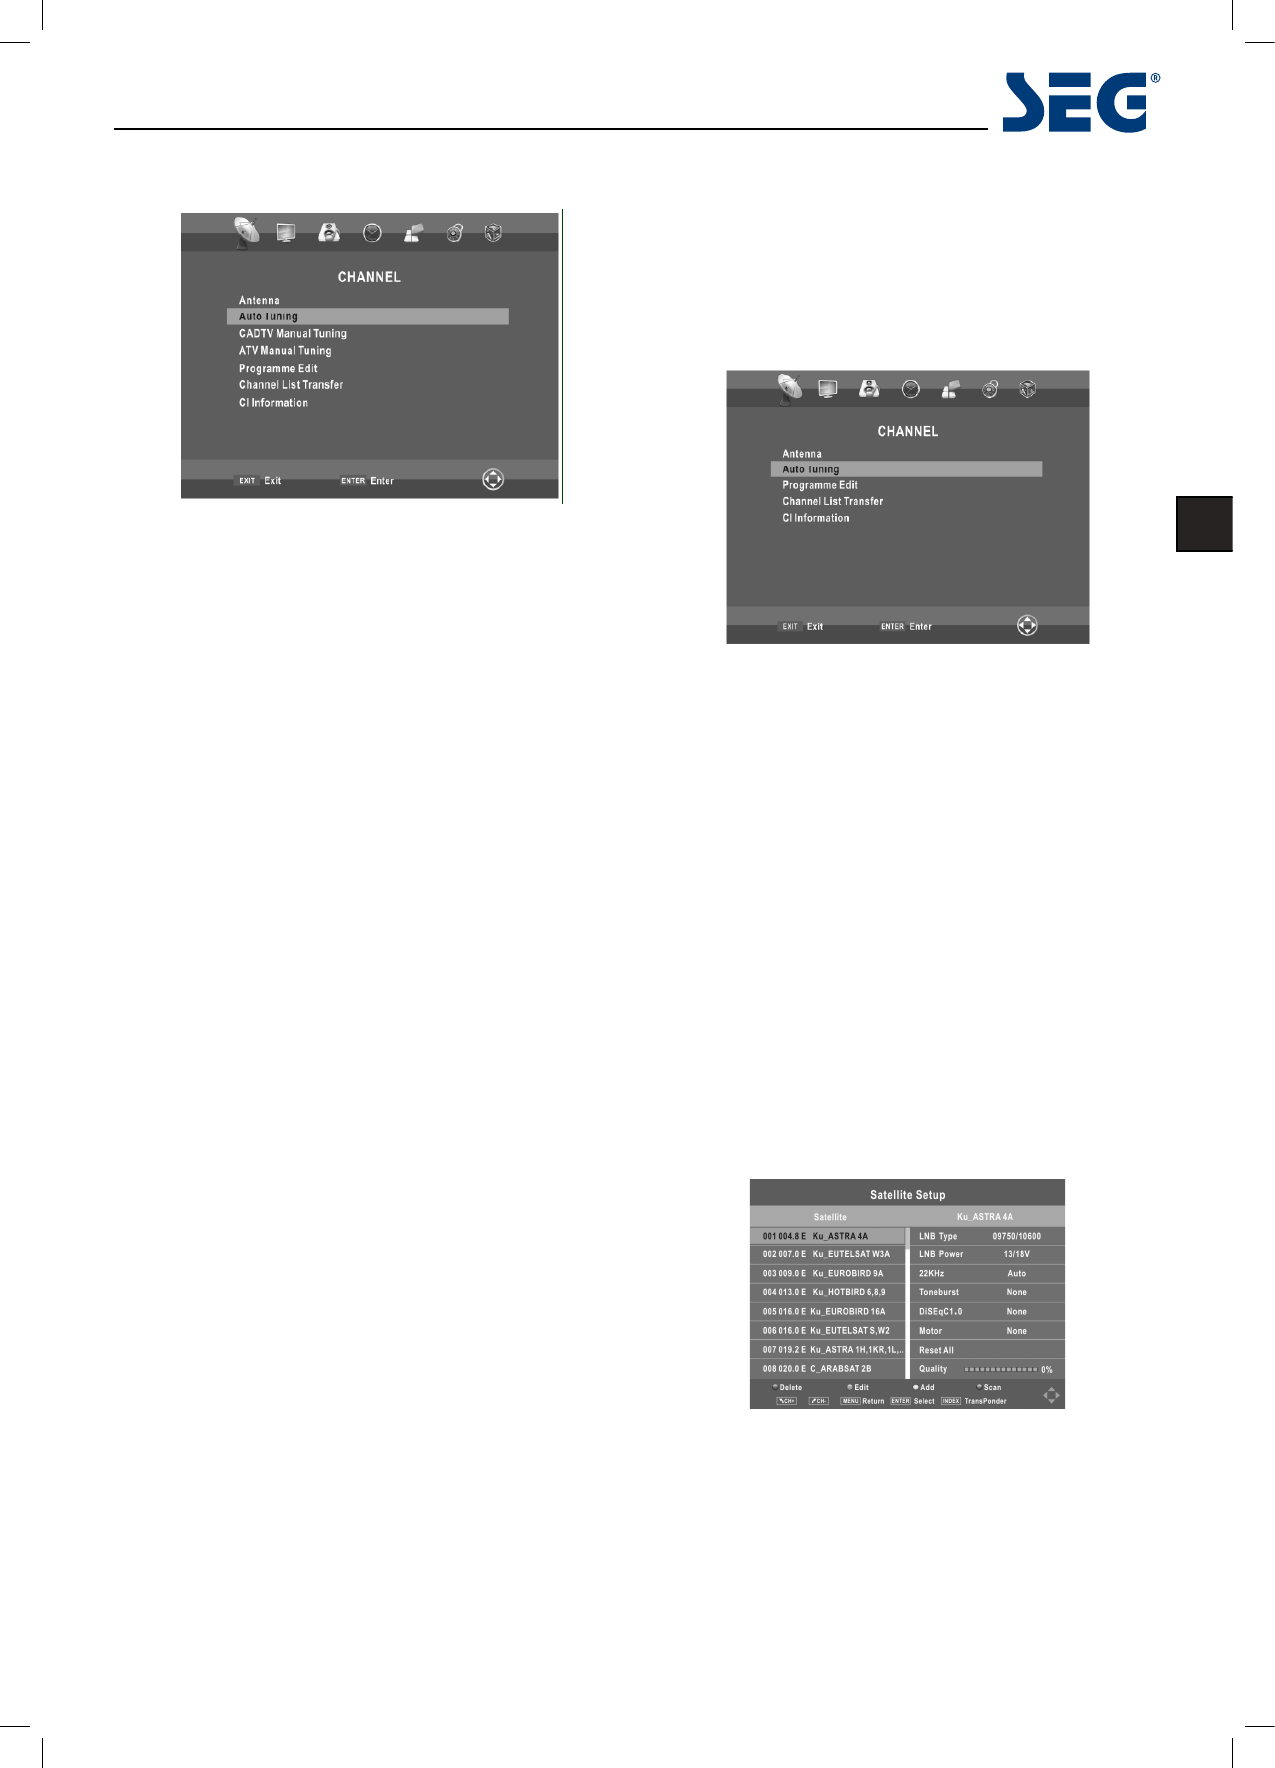
* When TV signals is Satellite.
Auto tuning
Press the ENTER button.
Satellite Setup
■ Transponder: Press the INDEX button to switch between
the satellite list and the corresponding transponder list.
■ ▲/▼: Press the▲/▼button to select the satellite/tran-
sponder from the list.
■ CH+/CH-: Press the CH+/CH- button to page up or down
the satellite/transponder list.
■ Delete: Press the red button to delete the current satel-
lite/transponder.
■ Edit: Press the green button to edit the current satellite/
transponder.
■ Add: Press the yellow button to add a new satellite/tran-
sponder.
Press the ► button to congure the satellite.