7
3. Open the battery compartment cover located in front of the
paper bed.
Press the tab toward you then pull and lift the cover to
expose the battery compartment.
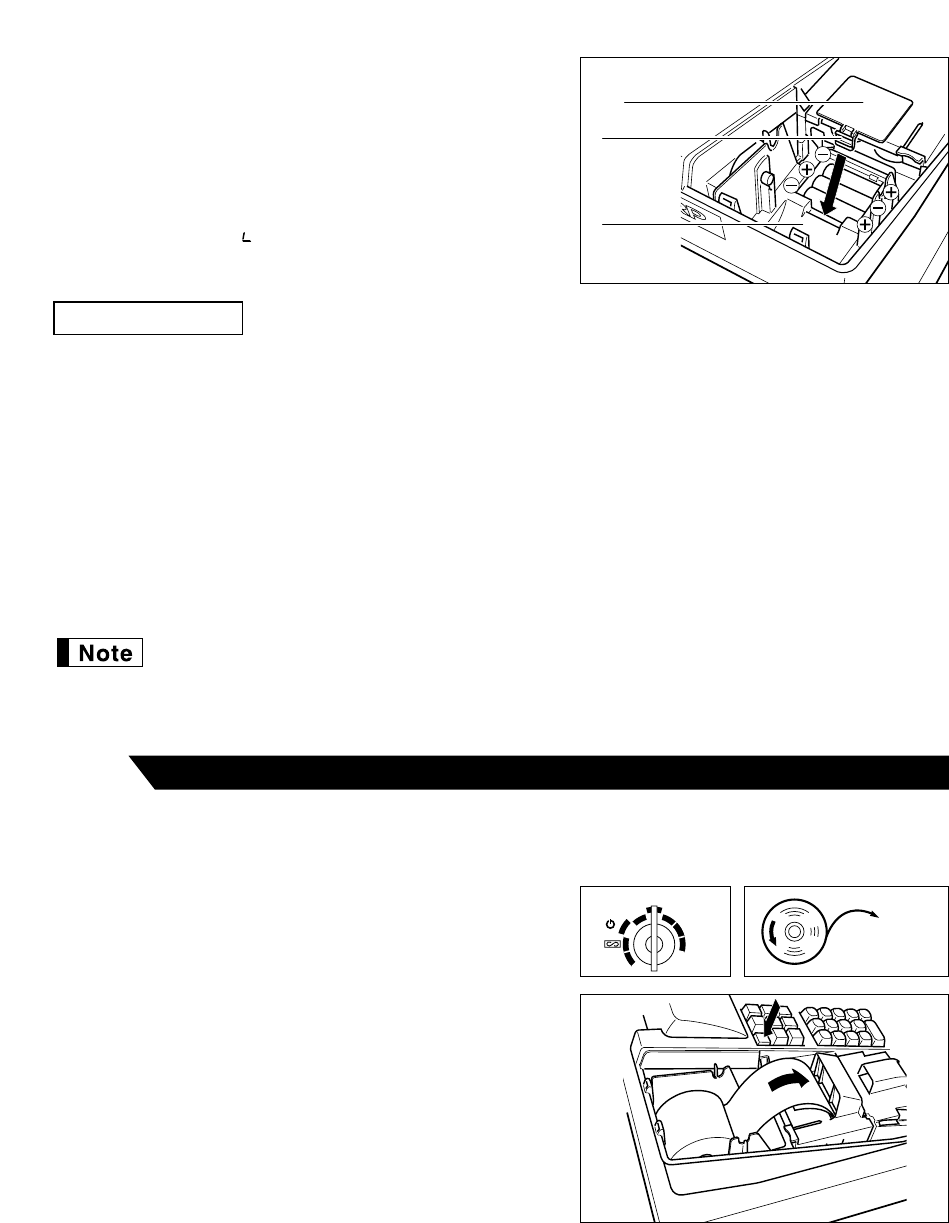
4. Install three new batteries in the battery compartment. Be
sure that the positive (+) and negative (-) poles of each
battery are facing in the proper direction. When they are
correctly installed, “ ” symbol will disappear.
5. Close the battery compartment cover.
Incorrectly using batteries can cause them to burst or leak, possibly damaging the interior of the cash register.
Note the following precautions:
• Be sure that the positive (+) and negative (-) poles of each battery are facing in the proper direction.
• Never mix batteries of different types.
• Never mix old batteries and new ones.
• Never leave dead batteries in the battery compartment.
• Remove the batteries if you do not plan to use the cash register for long periods. However, the data and user-
programmed settings will be erased.
• If a battery leaks, clean out the battery compartment immediately, taking care to avoid letting the battery fluid
come into direct contact with your skin.
• Do not throw any spent batteries into combustible waste and do not burn any spent batteries.
Your cash register comes with a battery caution label. Please cut off the appropriate half and
attach it to the battery compartment cover.
Precaution: Be very careful for the manual cutter mounted on the printer cover when removing
and replacing the cover, so as not to hurt yourself.
1. Turn the mode switch to the “REG” position.
2. Set the provided paper roll correctly and drop it in the paper
bed.
3. Make a fold in the paper five centimeters from the end.
4. While press the
á
key, insert the folded end straight into the
paper inlet. The inserted end appears at the printing area.
5. When not using the take-up spool (using as receipt
paper):
• Lead the end of the paper out through the manual cutter
on the printer cover. (Press the
á
key to advance the
paper more if required.)