71
Be sure to use paper rolls specified by SHARP.
The use of any other paper rolls other than those specified could cause paper jamming, resulting in register
malfunction.
Paper specification
Paper width: 44.5 ± 0.5 mm
Max. outside diameter: 80 mm
Quality: Thermal paper
• Be sure to set paper roll(s) prior to using your machine, otherwise it may cause a malfunction.
Install the paper roll in the printer. Be careful to set the roll and cut the paper end correctly.
If the top end of the paper roll is fixed with paste or tape, the paper may lose its colour development ability in the
pasted or taped area due to the deterioration of the heat-sensitive colour development component of the paper
surface. This may result in nothing appearing at this location when printing. Therefore, when setting a new
paper roll in the machine, be sure to cut off approximately one revolution (approx. 25 cm long).
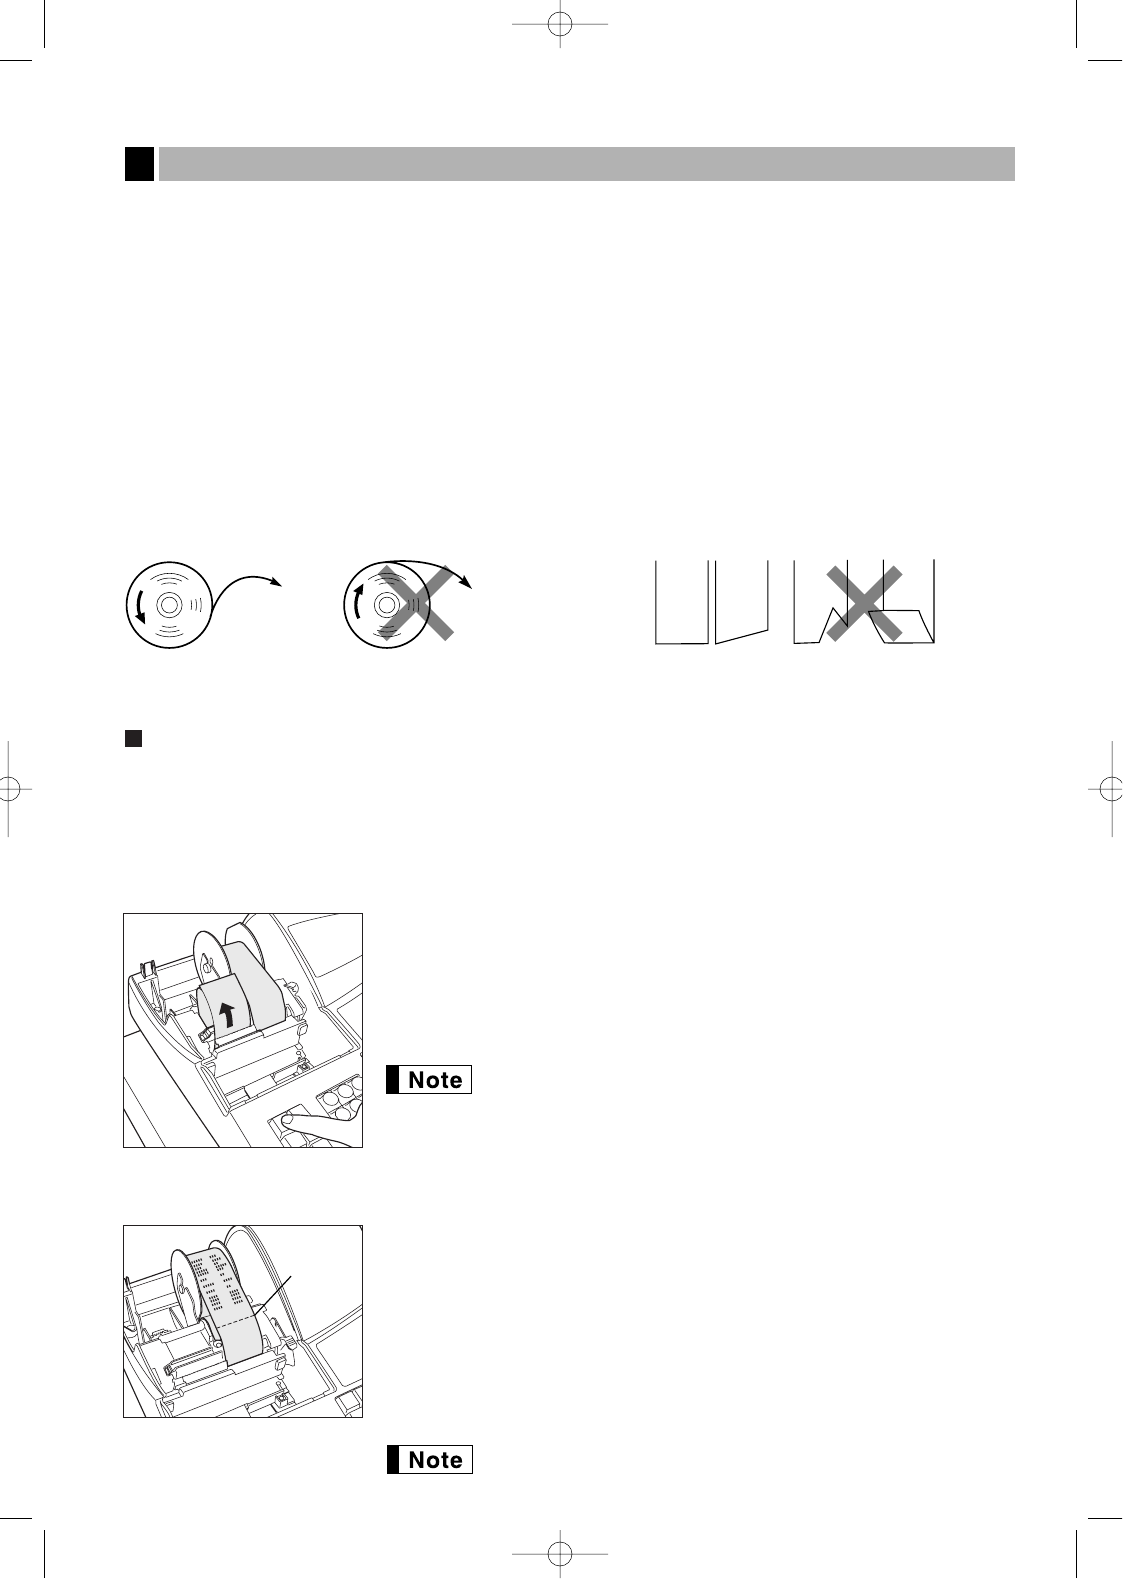
(How to set the paper roll) (How to cut the paper end)
Removing the paper roll
When a red dye appears on the paper roll, it is time to replace it. Replace the paper roll with new one. If you
plan on not using the register for an extended period of time, remove the paper roll, and store it in an appropriate
place.
Caution: The paper cutter is mounted on the printer (receipt side). Be careful not to cut yourself.
Removing the receipt paper roll:
1. Turn the mode switch to the REG position with the power cord connected.
2. Remove the printer cover.
3. Cut the paper behind the printer and near the paper roll.
4. Press the
{
key until the paper remaining in the printer comes out
completely.
5. Remove the paper roll from the paper roll cradle of the receipt side.
Do not pull the paper through the printer.
Removing the journal paper roll:
1. Turn the mode switch to the REG position with the power cord connected.
2. Remove the printer cover.
3. Press the
}
key to advance the journal paper until its printed part is out of
the way.
4. Cut the paper and remove the take-up spool.
5. Cut the paper behind the printer and near the paper roll.
6. Press the
}
key until the paper remaining in the printer comes out
completely.
7. Remove the paper roll from the paper roll cradle of the journal side.
Do not pull the paper through the printer.