en Time-setting options
18
OTime-setting options
Ti me- s et t i ng opt i ons
Your hob has three timer functions:
■Programming the cooking time
■Kitchen timer
■Stopwatch function
Programming the cooking time
The hotplate automatically switches off after the time
that is set has elapsed.
Setting procedure:
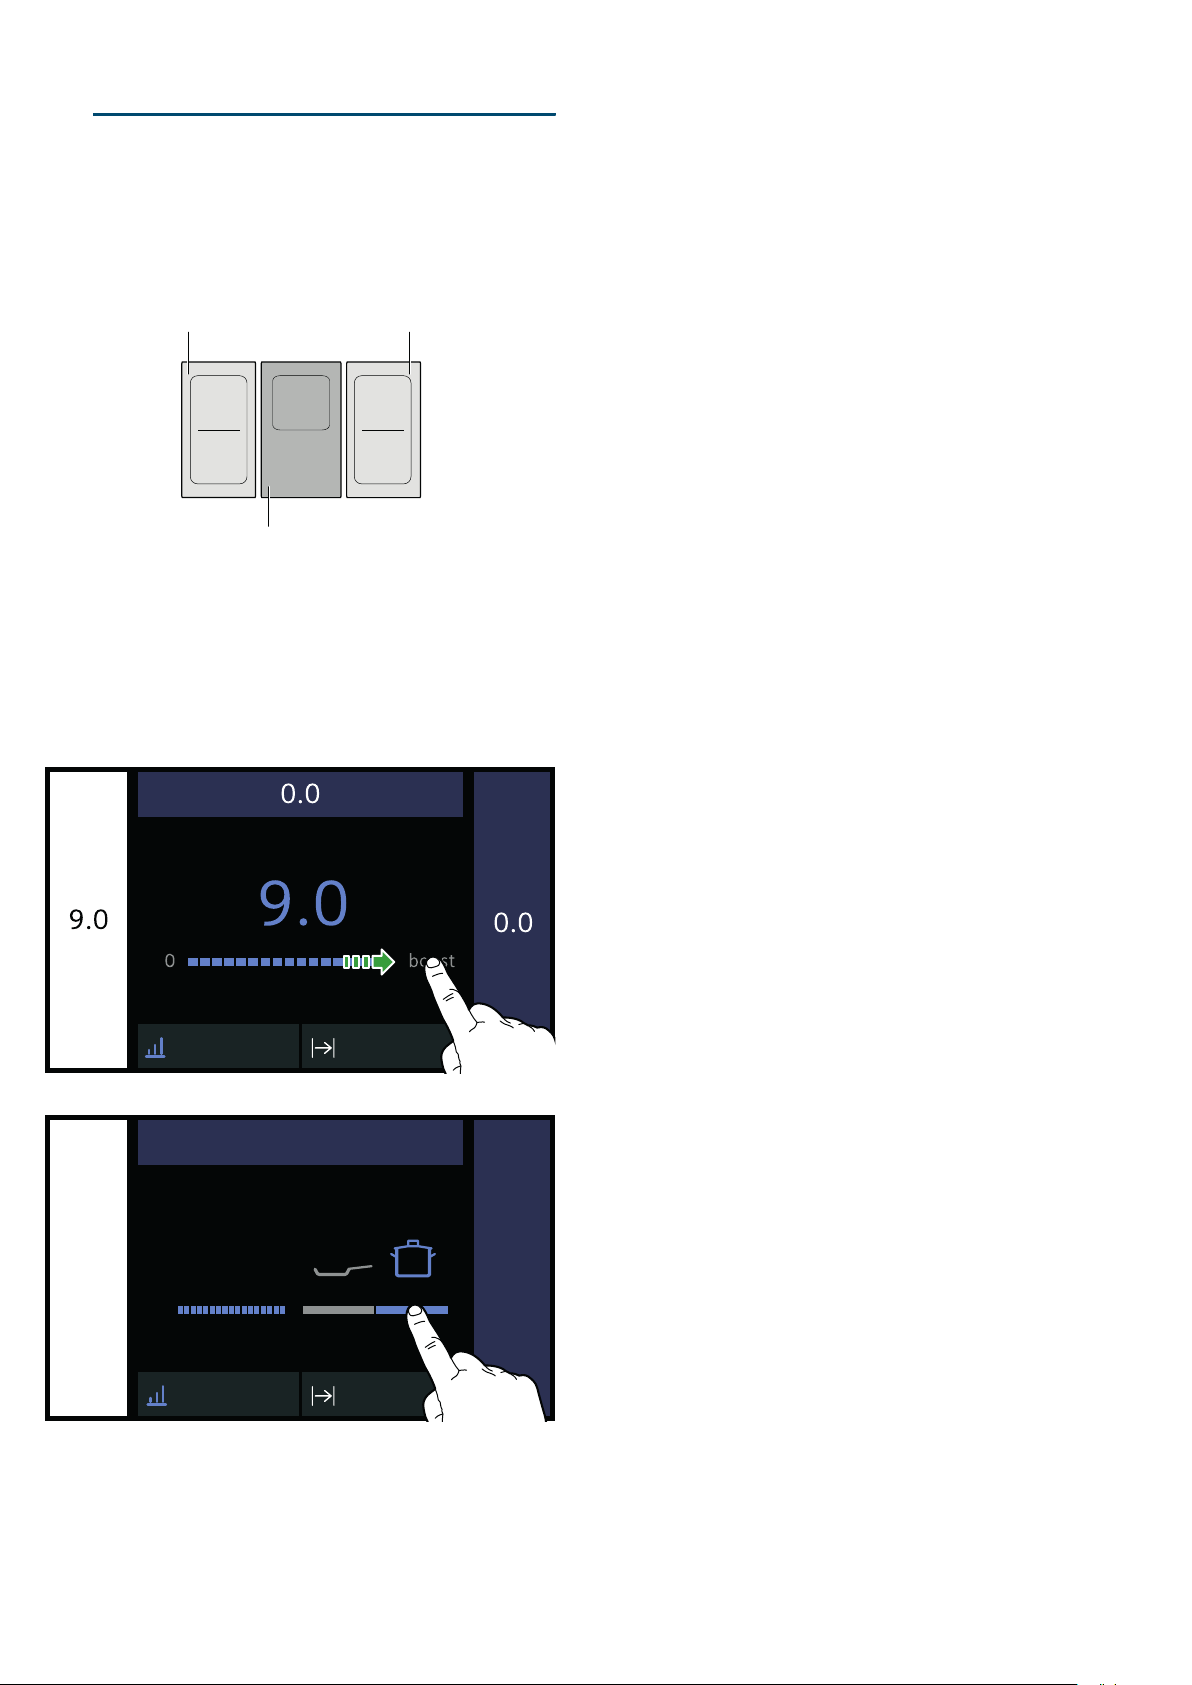
1. Select the cooking zone and required power setting.
2. Select x Switch-off timer in the cooking zone
settings area.
3. Set the time you require.
To set the number of hours, touch 00 h and select
the time in the settings area.
To set the number of minutes, touch 00 m and
select the time in the settings area.
4. Touch the J symbol.
The time will now start to elapse.
After a few seconds, the time will appear on the cooking
zone display.
Notes
■If the FlexZone is selected as the only cooking zone,
the set cooking time for the entire cooking zone is
the same.
■If the Move function is selected, the set time for the
three hotplates is the same.
Frying sensor
If a cooking time has been programmed for a hotplate
and the frying sensor has been activated, the cooking
time will not begin to count down until the selected
temperature setting has been reached.
Cooking functions
If a cooking time has been programmed for a hotplate
and one of the cooking functions has been activated,
the set cooking time will not start to count down until
the temperature for the selected area has been
reached.
Changing or deleting the time
To navigate to the cooking time, first touch the cooking
zone display and then the x Switch-off timer symbol.
To change the cooking time, select a new cooking time
and then touch J Start.
To cancel the cooking time, touch b Reset.
To return to the main screen, touch the cooking zone
display.
When the time has elapsed
The cooking zone will switch itself off. An audible signal
will sound and the heat setting will be set to 0.0.
Touch the cooking zone display to make the time
disappear and stop the audible signal.
The short-term timer
The short-term timer operates independently of the
cooking zones and other settings. An audible signal will
sound once the time has elapsed. This function does
not automatically switch off a cooking zone.
Setting procedure
1. Touch the V sensor.
2. Set the time you require.
To set the number of hours, touch 00 h and select
the time in the settings area.
To set the number of minutes, touch 00 m and
select the time in the settings area.
3. Touch the J symbol.
The time will now start to elapse.
After a few seconds, the time will appear on the main
screen.
Changing or deleting the time
To activate the short-term timer, touch the V sensor
To change the cooking time, select a new cooking time
and then touch J Start.
To cancel the cooking time, touch b Reset.
To return to the main screen, touch the ¶ symbol.
When the time has elapsed
An audible signal will sound once the time has elapsed,
and a time of 00:00 will be displayed.
If you touch the V sensor, the time will disappear.
Stopwatch function
The stopwatch function displays the time that has
elapsed since activation.
This functions independently from the hotplates and
from other settings. This function does not automatically
switch off a hotplate.
Activating
Touch the þ symbol in the main area.
The time will begin to elapse.
Pausing and deactivating
To activate the short-term timer, touch the þ sensor.
To pause the time, touch a Pause. To resume the
stopwatch function, touch J Continue.
To cancel the cooking time, touch b Reset.
To return to the main screen, touch the ¶ symbol.
9.
use (see illustration).
single hotplate.
1. Select a hotplate.
2. Set boost in the settings area. The ï and
3. Select the ï symbol.
This function has now been activated.
settings area.
This function has now been deactivated.
protect the electronic elements inside the hob.