English - 19 -
In both manual and auto search any existing channel
in the database is not re-stored to avoid redundant
duplicates of that channel.
Clear Service List (*)
(*) This setting is visible only when the Country option
is set to Denmark, Sweden, Norway or Finland.
Use this setting to clear channels stored. Press
“ ” or
“ ” button to select Clear Service List and then press
OK. The following OSD message will be displayed
on the screen:
Press OK to cancel. Select Yes by pressing “ ” or “ ”
button and press OK to delete all of the channels.
First Time Installation
The user can use this item to load default settings,
which were loaded to the receiver at the factory.
To install factory settings, highlight “First Time
Installation” menu item and press OK button, then
you will be asked whether or not to delete the settings.
Selecting “Yes” by pressing OK button while the “Yes”
is highlighted will delete the existing channel table.
Then you will be asked to confi rm for deleting all
channels and settings:
By selecting Yes and pressing the OK button, the
existing channel table will be deleted.
After factory settings are loaded, “First Time
Installation” menu will be displayed.
The menu which is displayed for language selection
appears on the screen at fi rst. By using “
” or “ ”
buttons, select the desired language option, and press
OK button to activate.
After then, “First time installation” OSD will appear on
the screen. By pressing “
” or “ ” buttons, select the
Country you want to set and press OK button (* only
for EU countries).
- Next, active antenna mode selection OSD will appear
on the screen.Use
“ ” or “ ” to set and press OK
to continue.See the section, “Initial Settings” for
more information.
After active antenna mode option is selected, a
message asking for automatic search appears on
the screen:
Press the OK button to start installation. After search
is completed for digital channels, a message asking
whether to search for analogue channels appears
on the screen.
This process is same as described in Automatic
Search section.
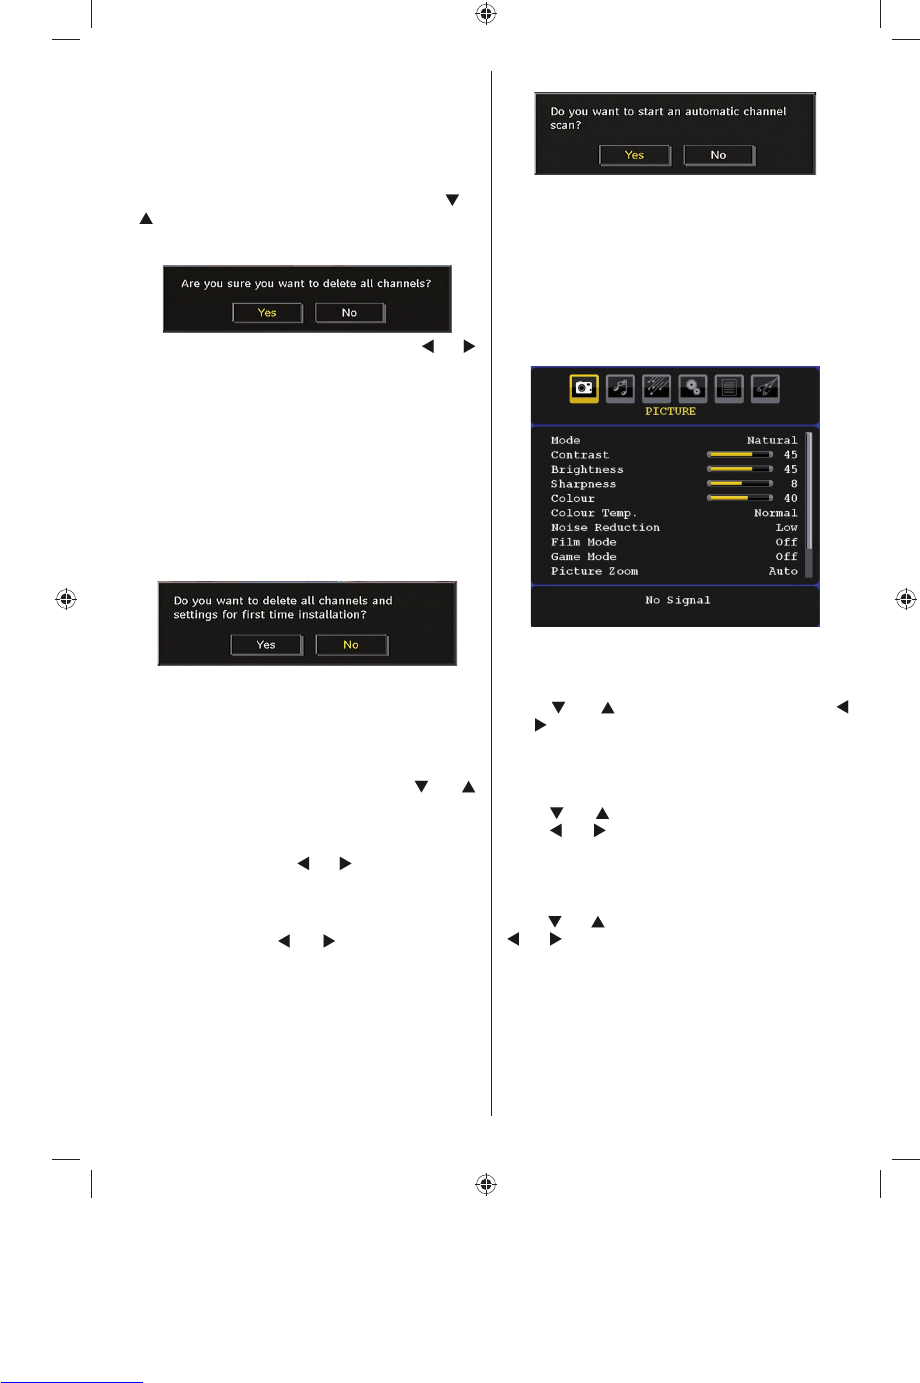
Analogue TV Menu System
Picture Menu
Mode
For your viewing requirements, you can set the related
mode option.
Press “
” or “ ” button to select Mode . Press “
” or “ ” button to choose from one of these options:
Cinema , Dynamic and Natural .
Brightness/Contrast/Colour/Sharpness/
Hue
Press “ ” or “ ” button to select the desired option.
Press “ ” or “ ” button to set the level.
Note : Hue option can only be visible when the TV
receives an NTSC signal.
Colour Temp
Press “ ” or “ ” button to select Colour Temp . Press
“ ” or “ ” to choose from one of these options: Cool ,
Normal and Warm .
Note :
• Setting Cool option gives white colours a slight
blue stress.
• Setting Warm option gives white colours a slight
red stress.
• For normal colours, select Normal option.
MB25_[GB]_(01-TV)_COST_1055UK_IDTV_32855W_BRONZE12_10063137_50153024.indd 19MB25_[GB]_(01-TV)_COST_1055UK_IDTV_32855W_BRONZE12_10063137_50153024.indd 19 16.08.2009 11:42:3916.08.2009 11:42:39