20
PURE PLUS – Wireless weather station
╞
4.3.3.2 Setting of local altitude during normal operation
• Press MODE button in atmospheric pressure mode until the local altitude appears.
• Press and hold MODE button and the altitude starts flashing. Press ▲ or ▼ button to adjust the
desired local attitude (in steps of 1 meter/3 feet). Hold ▲ or ▼ button, you will enter fast mode.
• Confirm with MODE button.
• Press MODE button again to return to normal mode.
• SEA LEVEL appears.
4.3.4 Conversion of the measuring units
• Press MODE button in atmospheric pressure mode until SEA LEVEL appears.
• Press and hold MEM button. hPa/mBar is flashing.
• Press ▲ or ▼ button to select the measuring unit hPa/mBar, inHG or mmHG for the atmospheric
pressure.
• Confirm with MEM button.
• Press MODE button in atmospheric pressure mode until the local altitude appears.
• Press and hold MEM button. Meter flashes on the display.
• Press ▲ or ▼ button to select between Meter or Feet as measuring unit.
• Confirm with MEM button.
4.3.5 History values
• Press MEM button in atmospheric pressure mode to view the relative atmospheric pressure (SEA
LEVEL).
• Press MEM button again to view the past 24 history values (Display: HISTORY -1, -2…-24).
• The bar graph indication of atmospheric pressure shows the last 24 hours (PRESSURE).
• Press and hold ALARM button, you can switch to the course of the last 24 hours of temperature
(symbol) or humidity (RH) values measured by the outdoor transmitter at channel 1 (CH1).
4.3.6 Weather forecast symbols
• There are 7 different weather symbols (sunny, slightly cloudy, cloudy, rainy, strong rain, snowy,
strong snowfall).
• The weather forecast relates to a range of 12 to 24 hours and indicates only a general weather
trend. For example, if the current weather is cloudy and the rain icon is displayed, it does not mean
the product is faulty because it is not raining. It simply means that the air pressure has dropped and
the weather is expected to get worse but not necessarily rainy. The accuracy is about 70 %.
• The sun symbol also appears at night if there is a starry night.
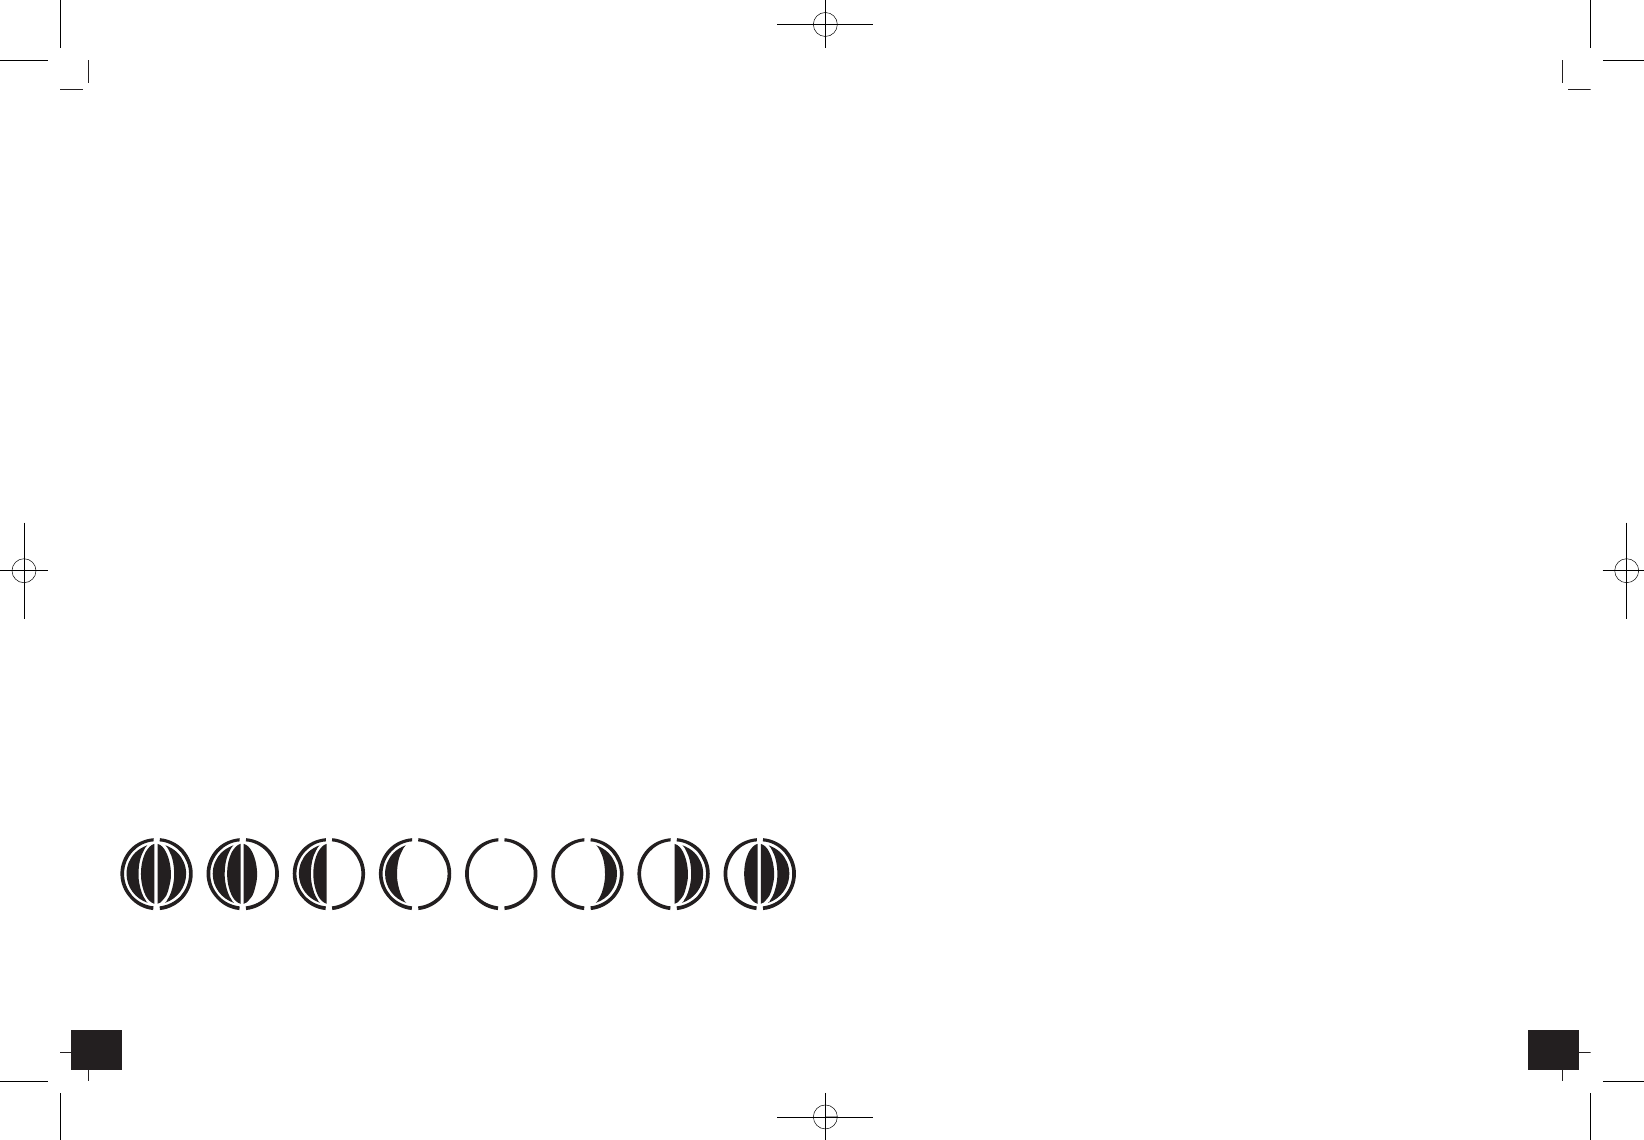
4.4 Moon phase
• The moon phase of each day is shown on the LCD:
A: New Moon B: Waxing Crescent C: First Quarter
D: Waxing Gibbous E: Full Moon F: Waning Gibbous
G: Last Quarter H: Waning Crescent
A B C D E F G H
PURE PLUS – Radio estación meteorológica
╗
57
4.1.2 Hora dual
•
Pulse la tecla MODE dos veces en el modo reloj.
• En el display aparece ZONE.
• Mantenga pulsada la tecla MODE.
• 00:00+ empiezan a parpadear y puede ajustar con la tecla ▲ o ▼ la zona de tiempo con pasos de
30 min. (+15/-13 horas) para la hora dual.
• Pulse 3 veces la tecla MODE para regresar al modo normal.
4.1.3 Tiempo en la pantalla
• Al pulsar la tecla MODE en el modo reloj se puede seleccionar entre las siguientes indicaciones:
→ Reloj con segundos
→ Reloj con día de la semana
→ Hora dual con día de la semana
→ Hora dual con segundos
→ Indicación de fecha
4.1.4 Alarma
4.1.4.1 Ajuste de la alarma
• Pulse la tecla ALARM en el modo reloj.
• En la pantalla aparece ᮣW (hora de despertador para lunes hasta viernes) y OFF o la última regula-
ción de la hora de alarma. Puede ajustar la hora de despertador.
• Mantenga pulsada la tecla ALARM.
• Las horas empiezan a parpadear y puede ajustar las horas con la tecla ▲ o ▼.
• Pulse la tecla ALARM y puede ajustar los minutos con la tecla ▲ o ▼.
• Confirme con la tecla ALARM.
• En la pantalla aparece la hora de despertador y W. La función de alarma se encuentra activada.
4.1.4.2 Ajuste de la alarma despertador especial
• Pulse la tecla ALARM otra vez.
• ᮣS (hora de despertador para sábado y domingo o ocasiones especiales) y OFF o la última regula-
ción de la hora de alarma aparece en la pantalla.
• Mantenga pulsada la tecla ALARM.
• Dado el caso, introduzca del mismo modo la hora del despertador.
• Confirme con la tecla ALARM.
• En la pantalla aparece la hora de despertador y S. La función de alarma se encuentra activada.
4.1.4.3 Ajuste de una hora más temprana de despertar en caso de riesgo de helada
(temperatura exterior con el emisor 1 =/< 0°C)
• Pulse la tecla ALARM otra vez.
• En la pantalla aparece PRE-AL y OFF.
• Mantenga pulsada la tecla ALARM.
• Mediante esta tecla ▲ o ▼ puede seleccionar si desea ser despertado 15, 30, 45, 60 o 90 minutos
antes de la hora preajustada en caso de riesgo de helada.
• Confirme con la tecla ALARM.
4.1.4.4 Activar/desactivar las diferentes alarmas
• Pulse la tecla MODE para regresar al modo normal.
• La hora y los diferentes símbolos de alarmas (S/W/PRE-AL) aparecen en la pantalla.
TFA_No. 35.1106 Anl_12_10.bel 10.12.2010 14:18 Uhr Seite 20