17
6. SETTING BASICS
6.1. Setting Procedures
The D-901's functions need to be set using the front-mounted keys and knob according to scenes of use. After
connecting all external equipment, check the following, then follow the procedures below to set each of the
unit's functions.
Check to be sure that
• The required modules are correctly inserted.
• The power supply is correctly connected.
• The power indicator lights when the power switch is turned on.
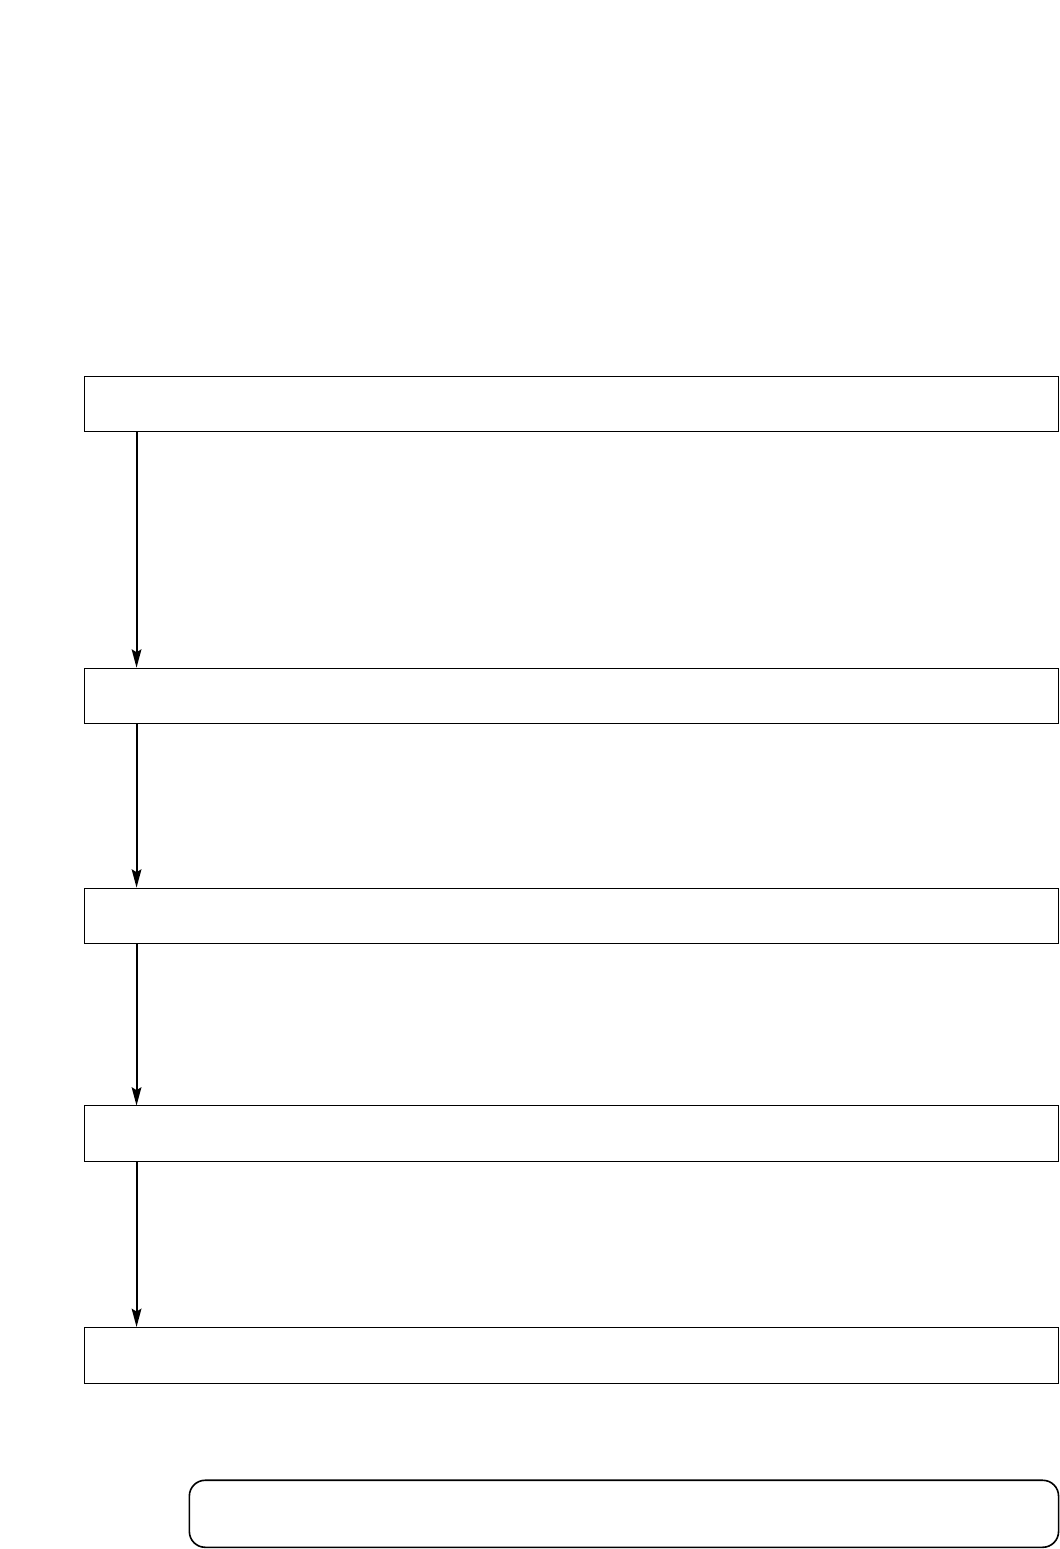
Step 1. Set which input channel signal is transmitted to which output channel.
Because the factory default setting is made so that each input (1 – 12) is assigned to all outputs (1
– 8) via the Microphone Bus*, when a microphone, or CD player or other music player is
connected to an input, its signals are output from all output terminals by simply increasing the
corresponding input channel gain. Make input-to-output re-assignment according to scenes of use.
* Refer to p. 82, Block Diagram.
(Refer to p. 41, Bus assignment settings.)
This setting can be performed in either of two ways: On the setting screen display or by way of the
front-mounted keys.
When the D-921E or D-921F is installed, perform this setting by displaying the setting screen.
(Refer to p. 26, PAD Settings.)
When the D-922E or D-922F is installed, perform this setting using its DIP switch.
(Refer to p. 12 – 13.)
Set the sensitivity so that the front-mounted Input channel indicator [SIG] does not light red.
(Refer to p. 25, Input/Output Gain Settings.)
This setting can be performed in any of three ways: On the setting screen display (two methods)
or by way of the front-mounted keys.
Note: When using the D-984VC VCA Control Module, perform gain settings as well for the input
channel to be remotely controlled.
(Refer to p. 25, Input/Output Gain Settings.)
This setting can be performed in any of three ways: On the setting screen display (two methods)
or by way of the front-mounted keys.
Note: When using the D-984VC VCA Control Module, perform gain settings as well for the output
channel to be remotely controlled.
(Refer to p. 18, Setting Flowcharts.)
Refer to the setting flowcharts for the appropriate setting method for the function to be used.
When using Stereo Link, Grouping and Crossover functions, first perform the required settings
on the Utility setting screen.
Step 2. Set the input sensitivity.
Step 3. Set the input channel gain.
Step 4. Set the output channel gain.
Step 5. Set individual functions as required.