45
Media player (continued) – setting up the
photo frame feature
Photo Select Start
Photo Edit
Settings
Photo Select Start
Photo Edit
Settings
Rotate
Delete
This feature allows a photograph to be displayed on the
screen of the television using the set as a photo frame.
Insert a USB device or an SD card into the side of
the television. In the PREFERENCES menu press
e
until Photo Frame Setup is highlighted then
press OK. The preview screen will appear.
1
With Photo Select highlighted press OK.
2
Use
e
,
f
,
z
and
x
to located the required
photo, then press OK to select.
Press down to highlight Photo Edit, then OK to
select.
4
3
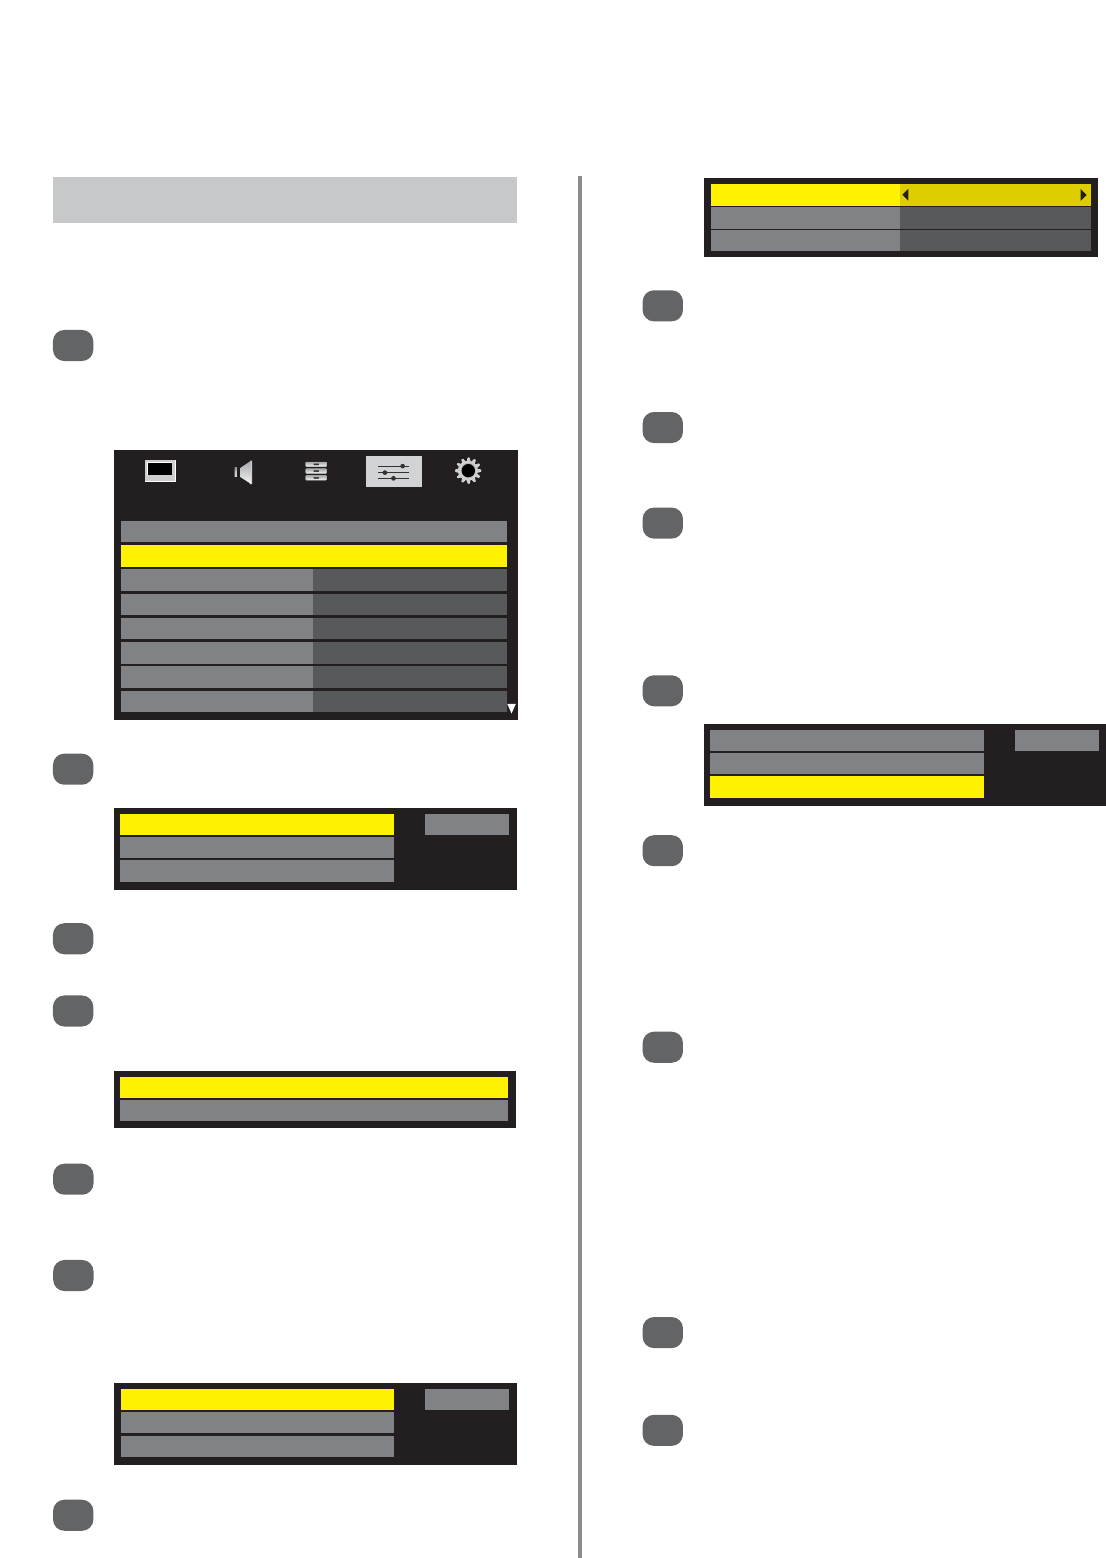
Photo Frame Setup
PREFERENCES
REGZA-LINK Setup
Photo Frame Setup
Teletext Auto
Panel Lock Off
Auto Format On
4:3 Stretch Off
Blue Screen On
Side Panel 1
Photo Select Start
Photo Edit
Settings
If the photo requires rotating, use
e
to select
Rotate then press OK. Each time OK is pressed
the photo will rotate 90°.
To delete the photo, use
e
to highlight Delete
then press OK. A screen prompt will appear, use
z
or
x
to select Yes. To choose another photo
press RETURN then select as in Step 2 and 3.
5
For a clock to appear on screen with the photo,
with Clock highlighted use
z
or
x
to select
Digital, Analogue, Digital and Analogue
or Off.
Press
e
to highlight Position and
z
or
x
to
choose Left or Right. The clock will then move to
whichever position has been chosen.
Press
e
to highlight Auto Power Off. Using
z
or
x
to select between 00:30, 01:00, 02:00,
04:00, 06:00, 12:00 or Off.
Setting this option will put the television into
standby after the chosen time period.
Press RETURN.
Press
e
to highlight Settings then press OK.
7
Use
f
to highlight Photo Select then
z
or
x
to
highlight Start. Press OK.
The photo will now enlarge on the television
screen with the clock, if set, in the required
position. It will remain on screen for the chosen
time period.
Pressing EXIT will take the television back to
normal viewing.
NOTE: The clock display will appear only when
the digital broadcast is received.
The Photo and Settings items are moved by 4 dots
every 5 minutes to prohibit screen burn-in.
The pre-installed photo file is stored in the
television’s flash memory before shipment.
Photo Frame can also be opened from the
Quick Menu. Press QUICK to open the Quick
Menu.
Press
f
or
e
to select Photo Frame then press
OK.
12
13
14
15
8
9
10
11
6
Clock Off
Position Left
Auto Power Off Off