with a plastic strip between the two batteries to protect battery life.
Unthread both the thumbscrew (F) and the threaded lid (E). Remove
the plastic strip before using. Refer to the reticle assembly in Fig. 13b
and note the orientation of the batteries. Place the batteries (C) into the
battery holder (D) before inserting into the reticle container (A).
NOTE:
Remember to turn off the LED when you are not using the reticle.
Balancing the Telescope
In order for the telescope to be stable on the tripod and also for it to move
smoothly, it must be balanced. To balance the telescope, unlock the Right
Ascension or R.A. lock (33, Fig. 1d). When this axis is unlocked, the teles-
cope pivots on the R.A. axis. Later in the procedure, you will also unlock
the Declination or Dec. lock (17, Fig. 1d). When unlocked, the telescope
pivots on the Dec. axis. Most of the motion of the telescope takes place by
moving about these two axes, separately or simultaneously. Try to become
familiar with these locks and observe how the telescope moves on each
axis. To obtain a fine balance of the telescope, follow the method below:
1. Firmly hold the optical tube secure so that it cannot accidentally swing
freely. Loosen the R.A. lock (33, Fig. 1d). The optical tube now moves
freely about the R.A. axis. Rotate the telescope so that the
counterweight shaft is parallel (horizontal) to the ground.
2. Unlock the counterweight lock knob and slide the counterweight (21,
Fig. 1d) along the counterweight shaft until the telescope remains in one
position without tending to drift down in either direction. Then re-tighten
the counterweight lock knob, locking the counterweight in position.
3. Again, hold the optical tube so that it cannot accidentally swing freely.
Lock the R.A. lock (33, Fig. 1d), and unlock the Dec. lock (17, Fig. 1d).
The telescope now is able to move freely about the Dec. axis. Loosen
the cradle ring lock knobs (13, Fig. 1a) so that the main tube slides easi-
ly back and forth in the cradle rings. Move the main tube in the cradle
rings until the telescope remains in one position without tending to drift
down in either direction. Re-lock the Dec. lock (17, Fig. 1d).
The telescope is now properly balanced on both axes. Next, the viewfinder
must be aligned.
Looking at or near the Sun will cause instant and irreversible damage to your eye!
10
FIRST STEPS
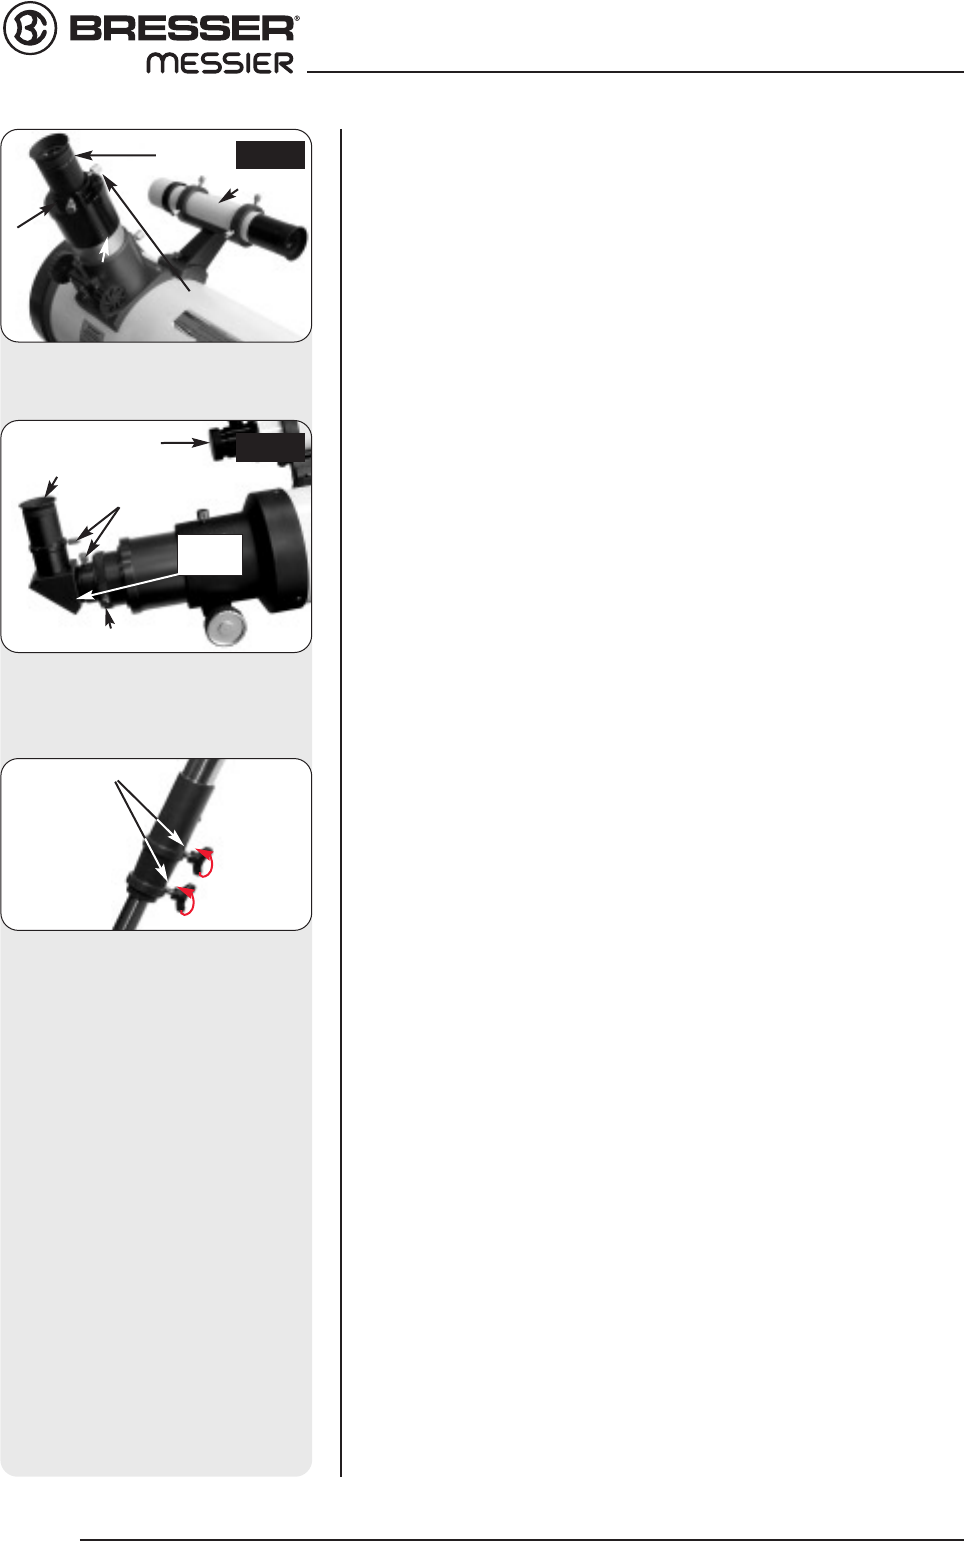
Fig. 10a: Insert eyepiece intor holder
and tighten thumbscrews.
Fig. 11: Adjust the tripod height
using the leg lock knobs.
Eyepiece
Holde
r
Thumbscrew
Leg lock knob
Fig. 10b: Insert eyepiece into
diagonal prism and tighten
thumbscrews.
Eyepiece
Holder
Thumbscrews
Diagonal
prism
Viewfinder
N
R
Viewfinder