Aligning the Viewfinder
The wide field of view of the telescope's viewfinder (4, Fig. 1a) provides
an easier way to initially sight objects than the main telescope's
eyepiece (3, Fig. 1a), which has a much narrower field of view. If you
have not already attached the viewfinder to the telescope tube
assembly, follow the procedure described in step 9, page 9.
In order for the viewfinder to be useful, it must be aligned to the main
telescope, so that both the viewfinder and telescope's optical tube (10,
Fig. 1a) point at the same position in the sky. This alignment makes it
easier to find objects: First locate an object in the wide-field viewfinder,
then look into the eyepiece of the main telescope for a detailed view.
To align the viewfinder, perform steps 1 through 4 during the daytime;
perform step 5 at night. Both the 6 x 30mm and the 8 x 50mm viewfinders
align in an identical manner. Refer to Fig. 14.
1. Remove the dust covers from the optical tube and the viewfinder.
2.
If you have not already done so, insert the low-power 25mm eyepiece (3, Fig.
1b) into the eyepiece holder of the main telescope. See step 10, page 9.
3. Look through the viewfinder eyepiece at an object at least one-half mile
away (Tip: Remove the viewfinder tube from the bracket to simplify this
operation). If the distant object is not in focus, turn the focus lock ring
counterclockwise to loosen the viewfinder front cell (6, Fig. 1b). Twist
the front cell until focus is achieved and retighten the focus lock ring.
4. Unlock the R.A. lock (33, Fig. 1d) and the Dec lock (17, Fig. 1d) so that
the telescope turns freely on both axes. Then point the main telescope
at a tall, welldefined and stationary land object (e.g., the top of a
telephone pole) at least 200 yards distant and center the object in the
telescope's eyepiece. Focus the image by turning the focus knobs (8,
Fig. 1b). Retighten the R.A. and Dec. locks.
5. Look through the viewfinder and loosen or tighten, as appropriate, one
or more of the viewfinder collimation thumbscrews (5, Fig. 1b) until the
viewfinder’s crosshairs are precisely centered on the object you
previously centered in the main telescope's eyepiece. You are now
ready to make your first observations with your telescope.
ATTENTION:
Never point the telescope directly at or near the Sun at any time!
Observing the Sun, even for the smallest fraction of a second, will
result in instant and irreversible eye damage, as well as physical
damage to the telescope itself.
6. Check this alignment on a celestial object, such as a bright star or the
Moon, and make any necessary refinements, using the method outlined
above in steps 3 and 4.
With this alignment performed, objects first located in the wide-field
viewfinder will also appear in the telescope's eyepiece.
Looking at or near the Sun will cause instant and irreversible damage to your eye!
11
FIRST STEPS
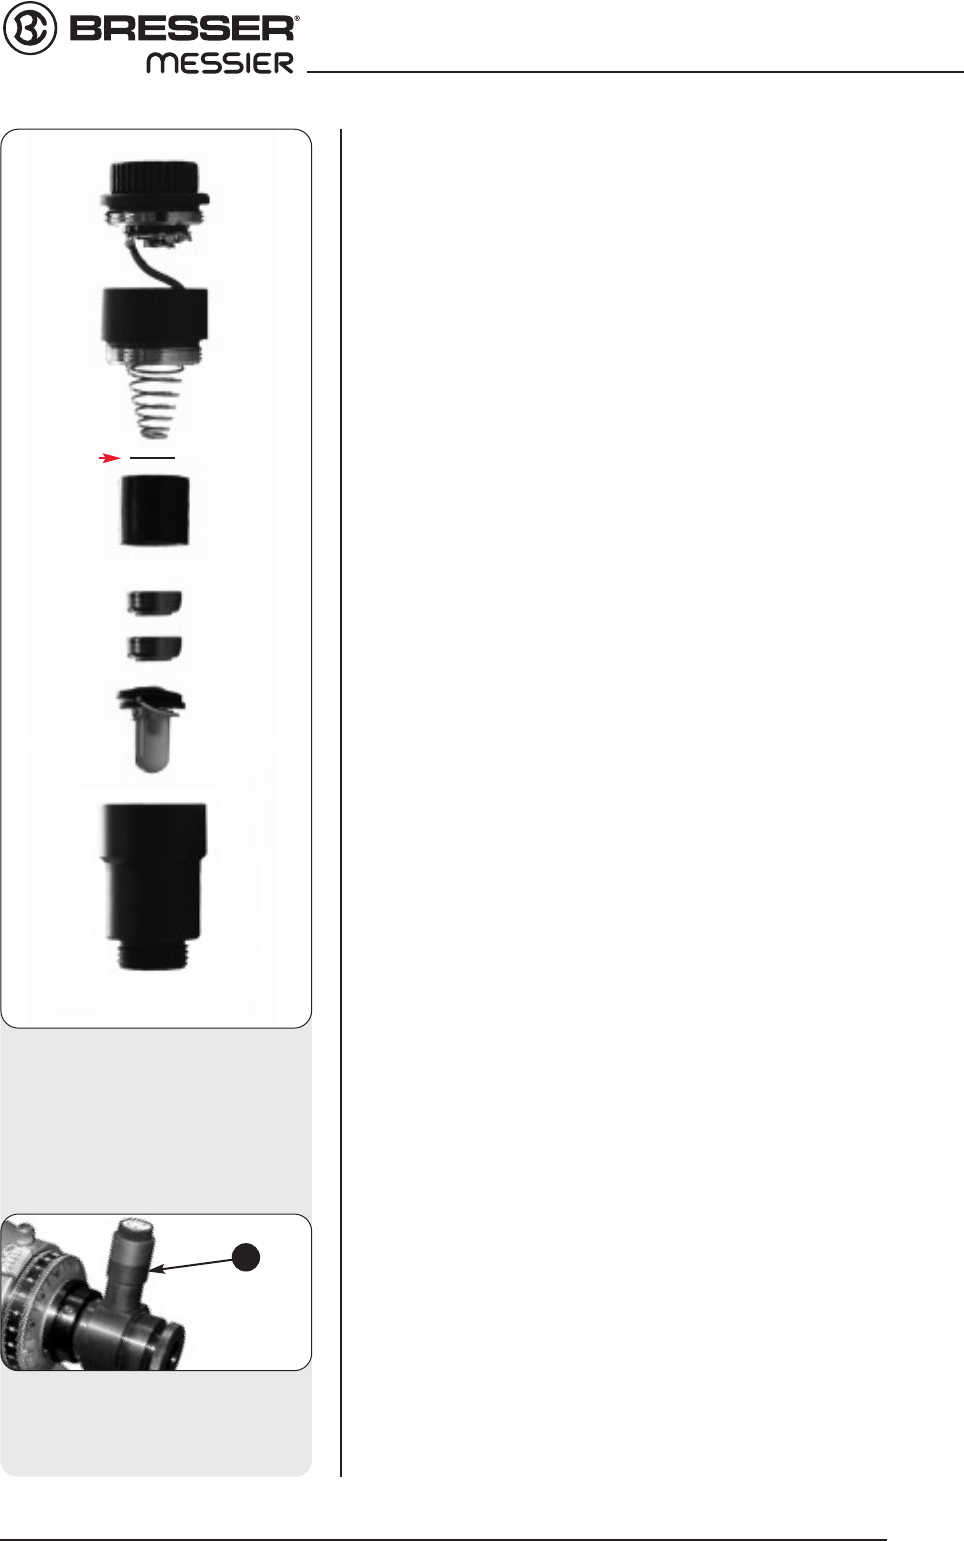
Fig. 13a: Reticle LED assembly:
(A) Reticle container
(B) LED
(C) Batteries
(D) Battery holder
(E) Threaded lid
(F) On/off switch
ấ
Ấ
ả
Ả
ạ
Ạ
Abb. 13b: Before using the illumi-
nation for the first time, remove the
isolation pad (See Fig. 13a) from
the battery holder.
Isolation pad
A