Looking at or near the Sun will cause instant and irreversible damage to your eye!
27
APPENDIX C: POLAR ALIGNMENT
Appendix C: Polar Alignment
The Polar Alignment Viewfinder
Normally, a rough alignment with the celestial pole is sufficient for visual
purposes. However, for those observers who need to meet the more
demanding requirements of astrophotography, the polar alignment
viewfinder allows the telescope mount to be more precisely aligned with
true North. The MON 2’s polar alignment viewfinder contains a reticle, lit by
an LED (Fig. 35 and 36).
Adjusting the polar viewfinder (MON 2 only)
A: Calibrating the month circle at the polar viewfinder
scope (best done while daytime)
1. Point the viewfinder against a bright surface (not in any case at the sun!)
and see the scaled line with the center cross (Fig. 36). Turn the
viewfinder’s eyepiece until the scales are focussed.
2. Now turn the month circle against the viewfinder until the 1st of May hits
the vertical line. The month circle is secured by a counterring; it should
be able to be turned but it should not come loose. Now you can put the
viewfinder back into the RA axis
3. On the month circle, there’s a second scale, marked “E 20 10 0 10 20
W”. Take a white pencil and mark the point on the viewfinder that is right
above the “0”. This can be also done by using a small piece of colored
tape.
B: Aligning the viewfinder’s optical axis to the RA axis
1. Starting at the polar home position (see p. 14), loosen the Dec lock, turn
the Dec axis by 90° and re-engage the Dec lock again. In this position,
the optical axis of the viewfinder is free.
2. Point the viewfinder at a terrestrial objekt like a phone pole, the tip of a
church tower or equiv. so that it lines up with the center cross of the
reticle.
3. Ascertain whether the object moves out of the center cross when the
mount is rotated around its Dec axis.
4. If this is the case, correct 50% of the error by adjusting the hex screw of
the viewfinder holder. Now correct the remaining error by repositioning
the mount. Turn the RA axis by 90 / 180° and repeat this process until
the center cross stays on the desired object.
Polar alignment by using the polar viewfinder
(MON 2 only)
1. Set the polar home position (p. 14). Loosen the Dec lock, turn the Dec
axis by 90° and re-engage the lock.
2. Loosen the RA lock (33, Fig 1 d)
3. Remove the dust caps
4. If not done yet, remove the isolaton pad from the viewfinder’s
illumination (see p. 10, step 13).
5. Turn the illuminator switch clockwise to a comfortable brightness and
look throug the viewfinder. If necessary, focus the viewfinder until reticle
and stars appear sharp.
6. In the following step 7, use the latitude adjustment screws (Fig 1 d, 26)
and the azimuth adjustment screws (Fig 1 d, 27) to do the necessary fine
adjustments
Observers on the northern hemishere:
N-7 a) Determine the rough longitude of your observing site (example:
Munich is 12° E). Now determine the longitude of the time meridian
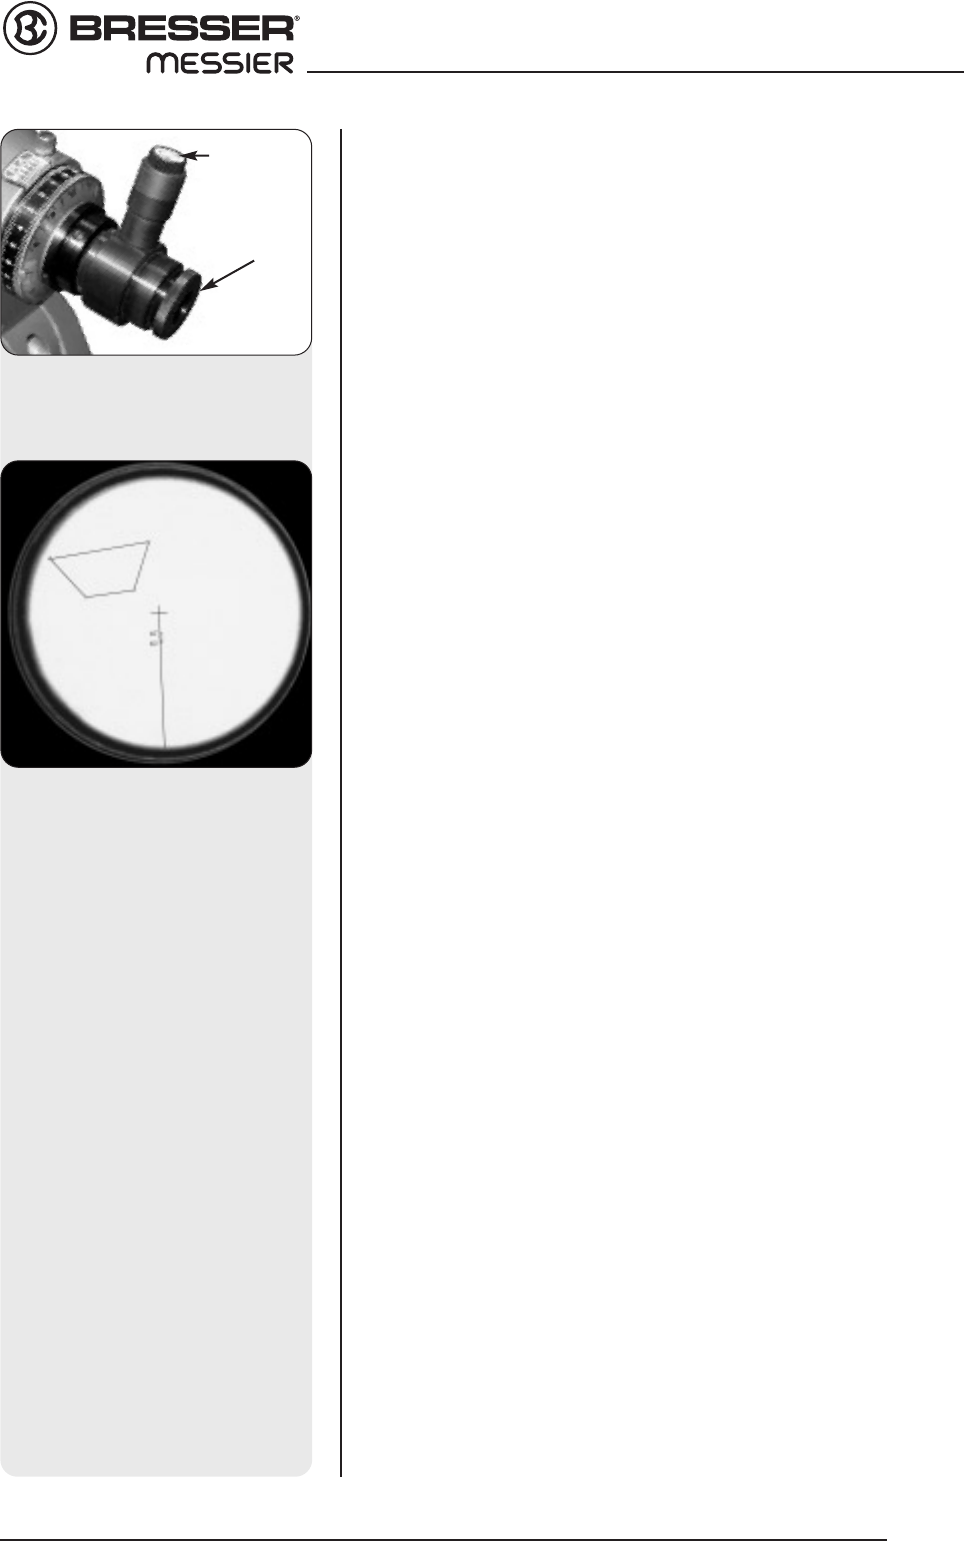
Fig. 35: The polar alignment
viewfinder
Fig. 36: The view inside the polar
alignment viewfinder reticle (the
four stars show an association
near the southern celestial pole)
Reticle LED
knob
Eyepiece