57
Advanced Operation Advanced Operation
ENGLISH
ENGLISH
System call
3
Press the SYSTEM CALL button (1 to 3) you want
to register the system call.
4
Press the button you want to register.
• The IR segment blinks once after each button press.
The mode can be switched by pressing a MODE SELECTOR
button.
5
Repeat steps 4 to register the desired buttons.
Up to 32 signals each can be stored at the SYSTEM CALL 1
~ 3.
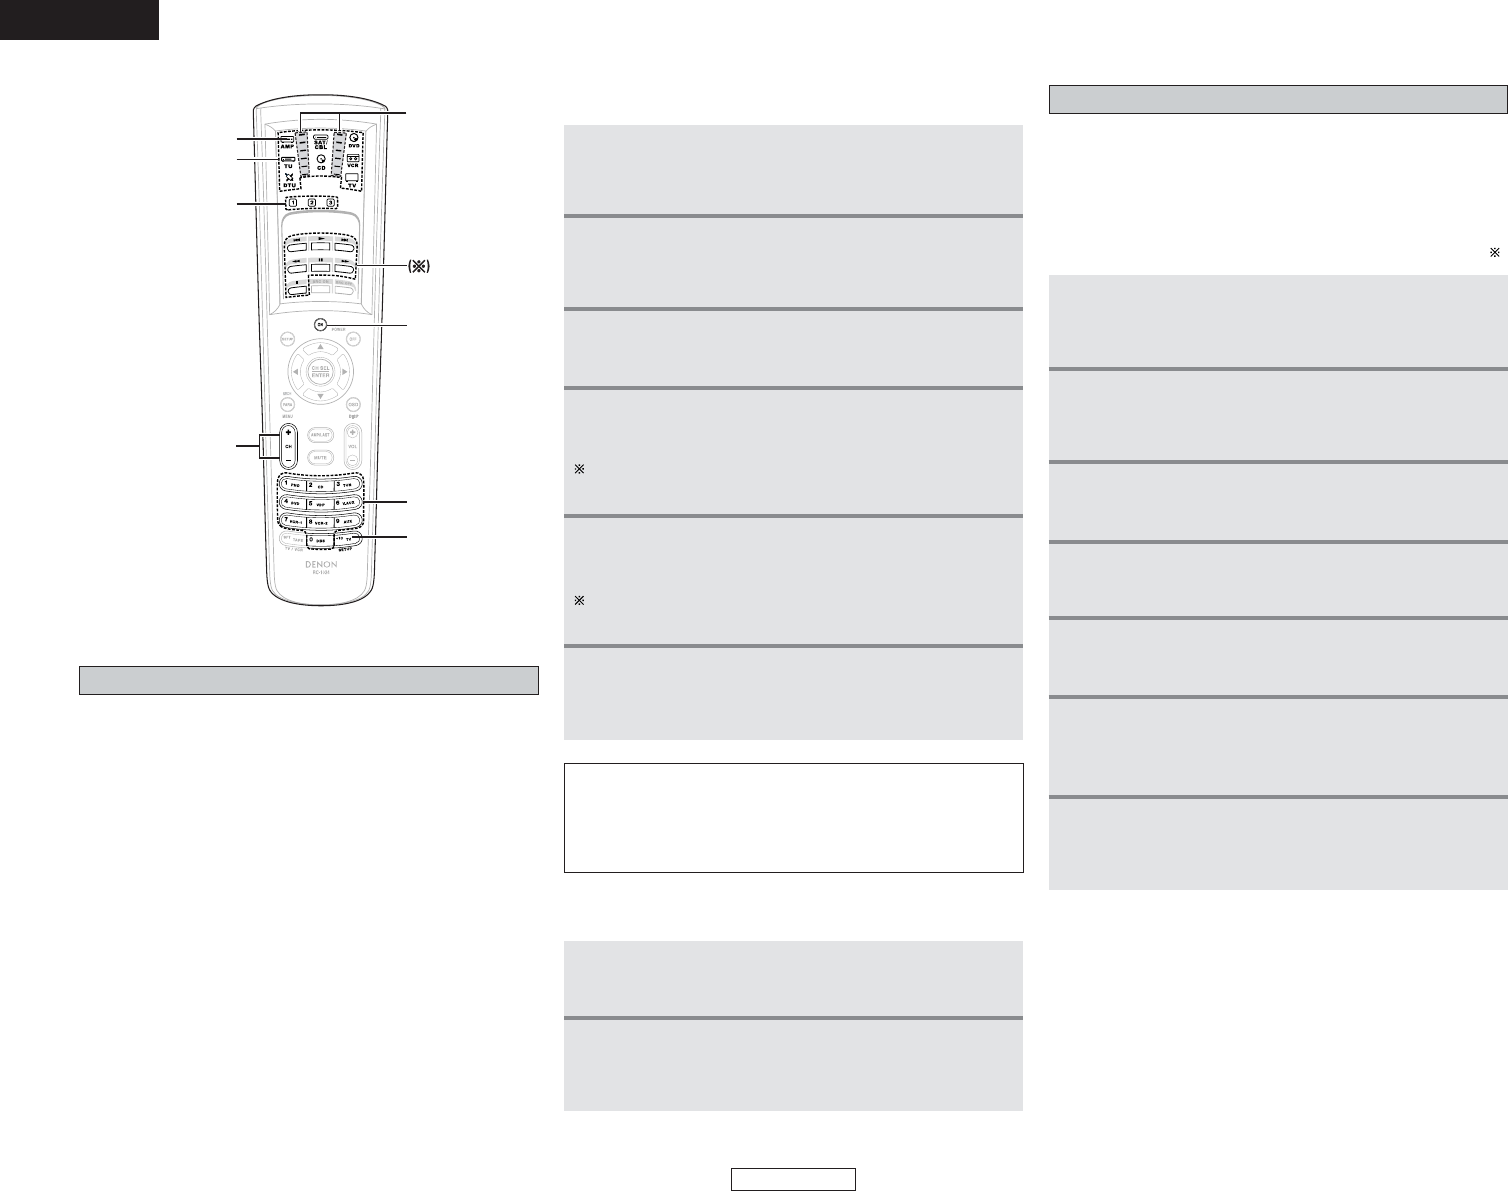
2 System call buttons
• Up to 32 signals each can be stored at the SYSTEM CALL 1 ~ 3
buttons.
• The System Call function can be used in the SYSTEM CALL
mode.
2 Storing system call signals
The accessories remote control unit is equipped with “system
call” function allowing a series of remote control signals to be
transmitted by pressing a single button.
This function can be used for example to turn on the amplifier’s
power, select the input source, turn on the monitor or TV’s
power, turn on the source component’s power and set the
source to the play mode, all at the touch of a single button.
1
Press and hole the SETUP button for at least
three seconds.
• The IR segment blinks twice.
2
Press the 9, 7, 8 button (9
→→
7
→→
8) to select
system call setting.
• The IR segment blinks twice.
2 Using the system call function
1
Press the AMP button to select SYSTEM CALL
mode.
2
Press the SYSTEM CALL button (1 to 3) at which
the system call signals have been stored.
• The stored signals are transmitted successively.
6
Press and hold the SETUP button for at least
three seconds to register the system call.
• The IR segment blinks twice.
NOTE:
• The remote control signals of the buttons pressed while
registering the system call signals are emitted, so be careful
not to operate the components accidentally (cover the
remote sensors, for example).
Punch through
Buttons used in the CD, DVD, and VCR modes can be assigned
to the buttons which are not normally used in the TV and
SAT/CBL modes.
For example, when the DVD mode is set to the punch through
mode in the TV mode, the DVD mode’s PLAY (1), STOP (2),
MANUAL SEARCH (6, 7), AUTO SEARCH (8, 9)
and PAUSE (3) button’s signals are sent in the TV mode. — ( )
1
Press and hole the SET UP button for at least
three seconds.
• The IR segment blinks twice.
2
Press the 9, 7, 8 button (9
→→77→→88))
to select a
setting.
• The IR segment blinks twice.
1
Press and hold the SETUP button for at least
three seconds.
• The IR segment blinks twice.
2
Press the 9, 8, 4 button (9
→→
8
→→
4) to select
punch through setting.
• The IR segment blinks twice.
3
Select the MODE SELECTOR button (CD, DVD
or VCR) you want to punch through.
4
Press the button you want to punch through (1,
2, 6, 7, 8, 9 or 3).
5
Repeat step 4.
6
Press the MODE SELECTOR button (TV or
SAT/CBL) for which you want to set the punch
through.
7
Press and hold the SETUP button for at least
three seconds.
• The IR segment blinks twice.