73
Advanced Setup – Part 1 Advanced Setup – Part 1
ENGLISH
ENGLISH
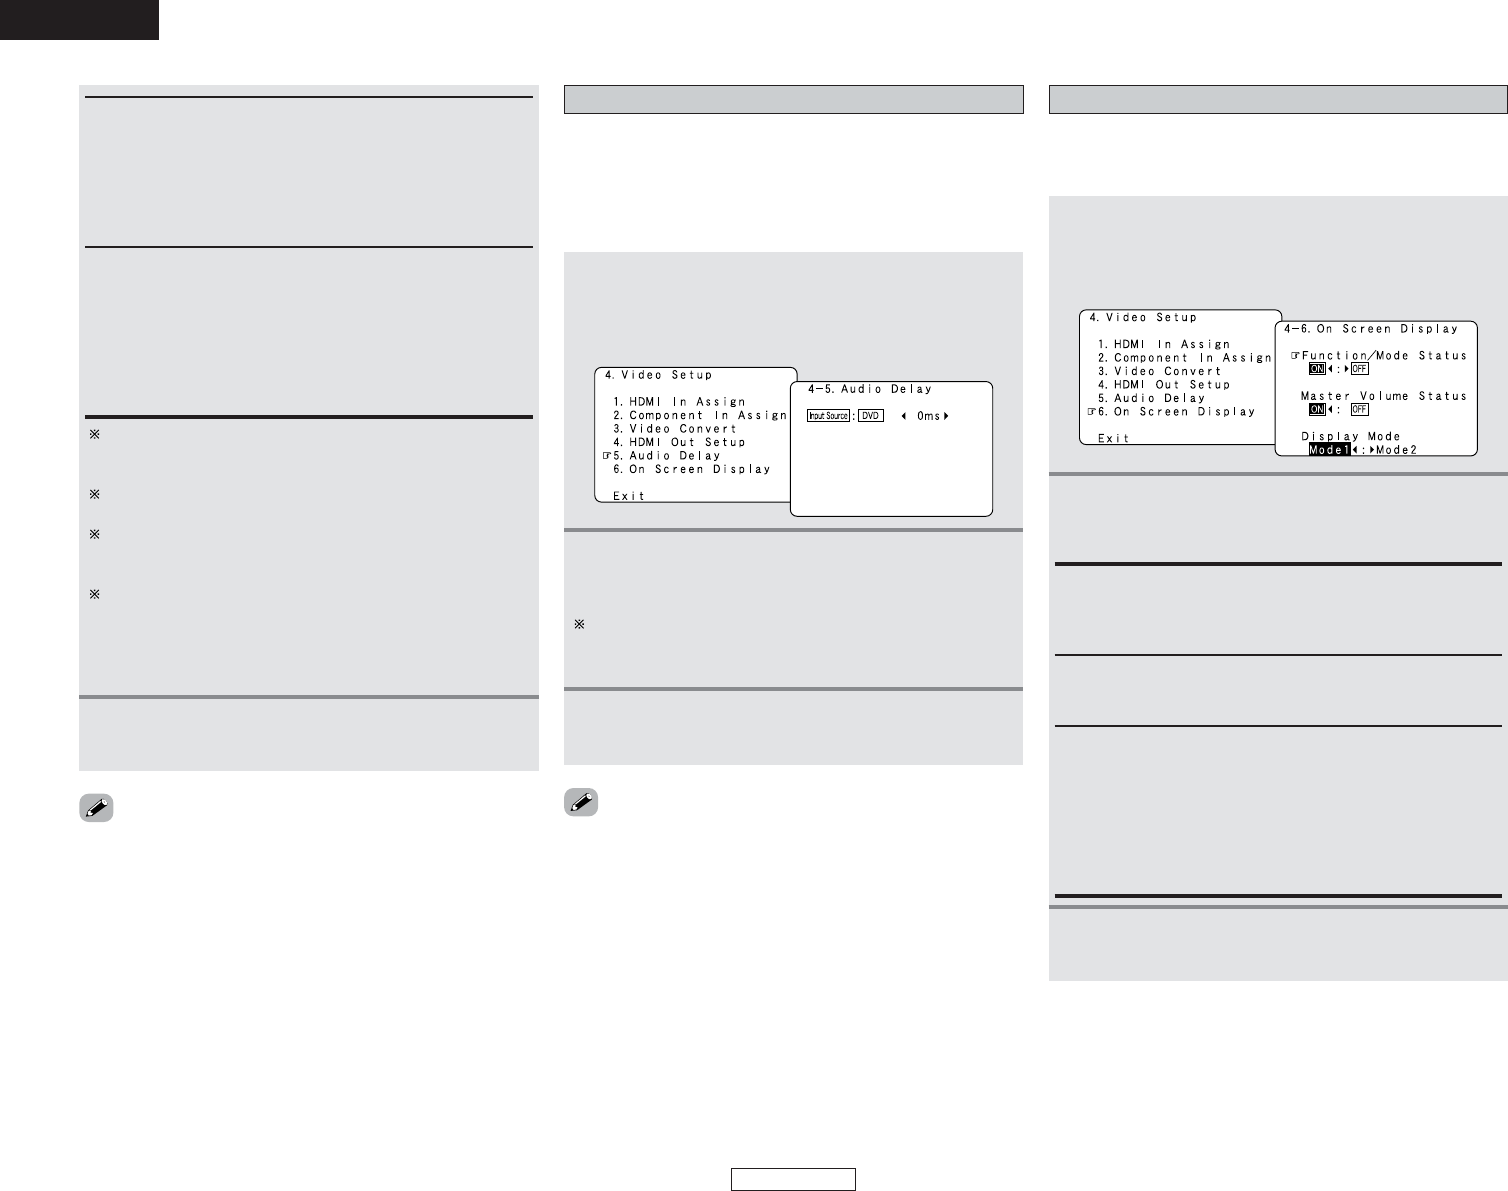
Setting the Audio Delay
• When watching a DVD or other video source, the picture on the
monitor may seem delayed with respect to the sound. In this
case, adjust the audio delay to delay the sound and synchronize
it with the picture.
• The audio delay setting is stored separately for each input
source.
1
Press the CURSOR
DD
or
HH
button to select
“Audio Delay” at the “Video Setup” menu, then
press the ENTER button.
• The “Audio Delay” screen appears.
Setting the On Screen Display (OSD)
• Use this to turn the on screen display (messages other than the
menu screens) on or off.
• Sets the on screen display’s display mode.
1
Press the CURSOR
DD
or
HH
button to select “On
Screen Display” at the “Video Setup” menu, then
press the ENTER button.
• The “On Screen Display” screen appears.
2
Press the CURSOR
DD
or
HH
button to select the
item to be set, then press the CURSOR
FF
or
GG
button to select the parameter.
Function/Mode Status:
Set whether or not to turn on the on screen display of the
input source name and input mode when an input source is
selected signals.
Master Volume Status:
Set whether or not to turn on the on screen display of the
main volume level when the main volume is operated.
Display Mode:
• Mode 1:
Flickering is not prevented.
• Mode 2:
Prevents flickering of the on screen display when there is no
video signal.
Use this mode if the on screen display does not appear in the
Mode 1, as may happen according to the TV being used.
3
Press the ENTER button to enter the setting.
• The “Video Setup” menu reappears.
• The audio delay setting does not apply when playing in the EXT.
IN mode or in the analog input direct mode or stereo mode
(Front speaker setting “Large”, TONE DEFEAT “ON” and
Room EQ “OFF”).
• By default, this menu is not displayed when no digital signals
are being input.
2
Press the CURSOR
FF
or
GG
button to set the delay
time (0 ms ~ 200 ms).
With a movie source, for example, adjust so that the
movement of the actors’ lips is synchronized with the
sound.
3
Press the ENTER button to enter the setting.
• The “Video Setup” menu reappears.
When the HDMI connectors are connected, the black may
seem to stand out, depending on the TV or the monitor. In
this case, set this to “Enhanced”.
When “Y Cb Cr” is selected under “Color Space”, “RGB
Mode Setup” will have no effect.
The aspect ratio setting is valid when the resolution is set to
1080i or 720p. To output with other resolutions, set the
aspect ratio on the TV.
When “Through” is set, the signal is output with the same
resolution as input from the video, S-Video and component
video terminals.
The OSD, however, is output with a resolution of 480i, so
use a monitor compatible with this resolution.
Color Space:
• Y Cb Cr:
The Y Cb Cr format video signals is output via the HDMI
output connector.
• RGB:
The RGB format video signals is output via the HDMI output
connector.
RGB Mode Setup:
• Normal:
Signals are output via the HDMI output connector with a
digital RGB video range (data range) of 16 (black) to 235
(white).
• Enhanced:
Signals are output via the HDMI output connector with a
digital RGB video range (data range) of 0 (black) to 255 (white).
3
Press the ENTER button to enter the setting.
• The “Video Setup” menu reappears.
• “Aspect”, “Resolution”, “Color Space” and “RGB Mode
Setup” are only displayed when “Analog to HDMI Convert” is
set to “ON”.
• When connecting to an HDCP compatible monitor equipped
with DVI-D terminal using an HDMI/DVI-D converter cable, the
signals are output in RGB format, regardless of the “Color
Space” setting.
•To view the on screen display using an HDMI monitor, set
“Analog to HDMI Convert” at “HDMI Out Setup” to “ON”
(default).