9
Ⅲ Press the Rotary Switch (1) to confirm the required level.
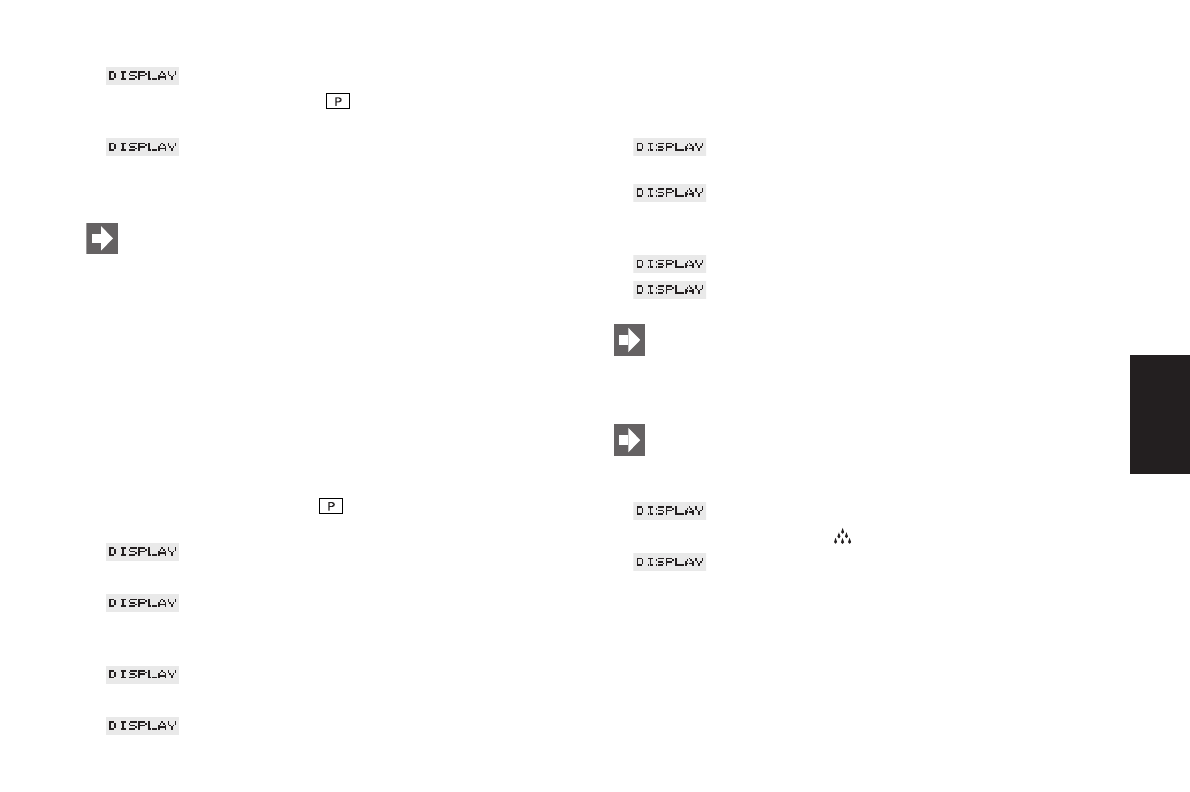
Ⅲ HARDNESS
Ⅲ Press the programming key (3) to quit the programming
mode.
Ⅲ READY
5. Installation of CLARIS plus filter cartridges
If the CLARIS plus filter cartridge is installed properly,
de-scaling of the coffee machine is no longer required. For
more information on the CLARIS plus filter cartridge refer
to brochure «CLARIS plus. Hard on limescale. Gentle on
your coffee machine.»
5.1 Installing the filter
Ⅲ Fold up the cartridge holder. Install the filter cartridge in the
water tank (11), applying a gentle pressure (Fig. 1).
Ⅲ Fold down the cartridge holder again until it engages audibly.
Ⅲ Fill the water tank (11) with cold, fresh tap water and install it
again.
Ⅲ Press the programming key (3), the illuminated ring (2) is
active.
Ⅲ FILTER –
Ⅲ Press the Rotary Switch (1) to start the programming.
Ⅲ NO –
Ⅲ Turn the Rotary Switch (1) until the following message is dis-
played:
Ⅲ YES
ߛ
Ⅲ Press the Rotary Switch (1) to activate the filter cartridge.
Ⅲ INSERT
OPEN TAP
Ⅲ Put a sufficiently large container (approx. 1 litre) under the
replaceable hot water nozzle (17).
Ⅲ If not installed already, insert the CLARIS plus filter.
Ⅲ Open the steam / hot water draw-off valve (15) (Fig. 13)
Ⅲ RINSING
FILTER
Ⅲ SHUT TAP
Ⅲ Close the steam/hot water draw-off valve (15), now the
IMPRESSA E80/85 will heat up to coffee temperature.
Ⅲ HEATING
Ⅲ READY
Now you have activated the filter. In Programming Mode the
water hardness selection function is no longer displayed.
5.2 Replacing the filter upon display request
After drawing off 50 liters of water the filter cartridge will
be used up. A message requesting you to replace the filter
will appear on the display
Ⅲ CHANGE FILTER / MACHINE READY
Ⅲ Press the maintenance key (9).
Ⅲ REPLACE
OPEN TAP
Ⅲ Remove the water tank (11) from the machine and empty it.
Ⅲ Fold up the cartridge holder. Install the filter cartridge in the
water tank (11), applying a gentle pressure (Fig. 1).
Ⅲ Fold down the cartridge holder again until it engages audibly.
Ⅲ Fill the water tank (11) with cold, fresh tap water and reinstall it.
Ⅲ Place a sufficiently large jug (approx. 1 litre) under the replace-
able hot water nozzle (17) and open the steam/hot water tap (15)
(Fig. 13).
E