9
Pos: 18.7 /Inne87 @
NOTE
Before every mowing job, make sure that the safety control bar for the engine
brake and the engine drive control bar ar
– when the safety control bar is released, the engine and cutter bar must come
to a standstill wit
– when the engine drive control bar is released, the machi
standstill immedia
If this is not the case, please consult your nearest authorised workshop.
Pos: 19.1 /----
Pos: 19.2 /Inne
13 MOVEMENT DRIVE
Pos: 19.3 /mod_13342
Operating the rear wheel drive (onl
(Illustration G )
Pos: 19.4 /Inne@ @
The rear wheel drive is switched on and off by means of the drive control handle (1) on
the top guide bar (2) when the motor is running:
– Pull and hold the drive control handle = mower moves
– Release the drive control handle = mower stops (0-position).
The drive control handle must always be pulled firmly up against the top bar. Improper
activation will cause wear on the gearbox. The increased resist
starting position is deliberate to make accidental operation more difficult.
NOTE
The rear wheels click when the mower is pushed forwar
Pos: 19.5 /99
Speed adjustment (only for VARIO
Pos: 19.6 /Inne
IMPORTANT
The speed may only be adjusted when the engi
damage!
Pos: 19.7 /Inne @
The driving speed is set using the rotary knob mounted on the left.
– The knob can be turned in both directions for speed adjustment, so that t
required driving speed can be set. The arrow on the knob indicates the driving
speed.
– Position “Hare” = fast (max. speed)
– Position “Tortoise” = slow (min. speed)
NOTE
Mowing at high speed leads to poor cutt
adapt the speed to the prevailing conditions.
driving speed should be sel
Pos: 20.1 /----
Pos: 20.2 /Inne
14 GRASS COLLECTOR
Pos: 20.3 /Inne1.
Safety instruction!
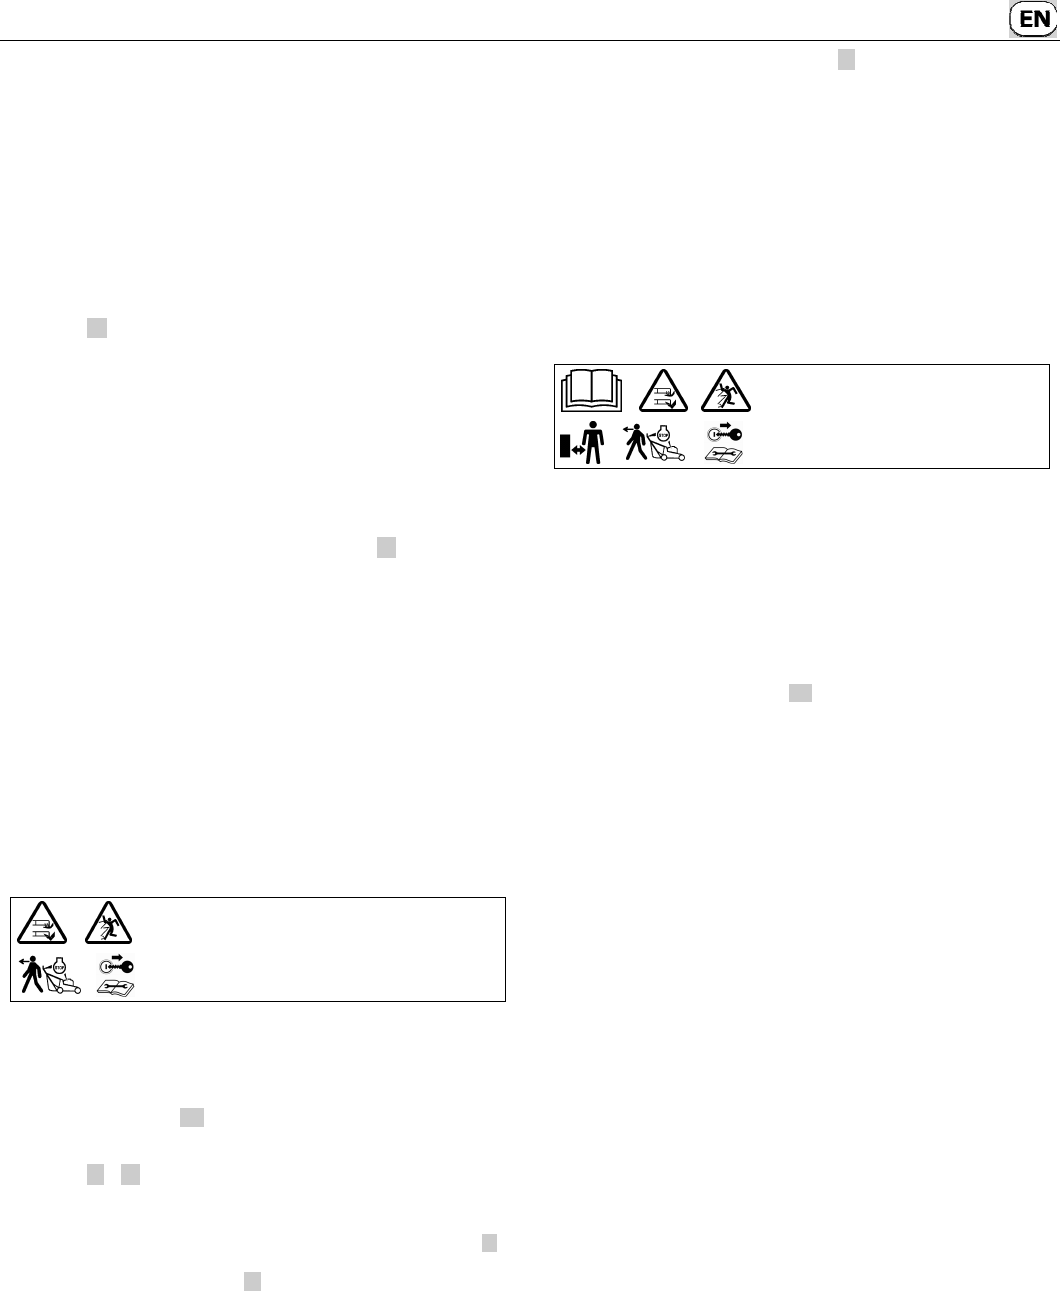
See table for explanation of symbols page 3
Pos: 20.4 /Inne
Operation with grass collector
Pos: 20.5 /Inne
While mowing, ensure that the collector is emptied in good time. The turbo signal on the
collector will indicate when the collector should be emptied.
Pos: 20.6 /Inne
IMPORTANT
Make sure that the chute (1) R1 is not bent when handling the collector.
Pos: 20.7 /Inne41_15
Turbo signal (shows when th
(Illustration J + K )
Pos: 20.8 /Inne
There is an indicator on the top of the collector that shows whether the collect
empty or full:
– The collector indicator inflates if the collector is empty and during the mowing J .
– If the collector is full, the indicator collapses; once this happens, st
immediately and empty the collector K .
Pos: 20.9 /Inne
IMPORTANT
If the fabric of the grass collector is very dirty the turbo indicator wil
in this case, clean the fabric immediately.
grass perfectly if it is permeable to air.
Pos: 20.10 /In
IMPORTANT
Do not clean the grass collector with hot water!
Pos: 20.11 /In@ 2 @ 1
Emptying the grass coor (Illustration L )
Pos: 20.12 /In
– Switch off engine.
– Lift ejection flap.
– Unhinge the full grass collector from the mower at the carrying strap – the ejection
flap closes automatically.
– Empty the collector thoroughly whilst holding it by the carrying strap and the
moulded handle on the bottom.
Pos: 20.13 /In
Operation without grass collector
Pos: 20.14 /In
WARNING
When mowing without grass collector the ejection flap on the mower housing
must always be closed (flap down).
Pos: 21.1 /----
Pos: 21.2 /Inne
15 MOWING
Pos: 21.3 /Inne4470
Safety instruction!
See table for explanation of symbols page 3
Pos: 21.4 /Inne
Mowing on slopes
Pos: 21.5 /Inne 1
NOTE
The mower can be used on banks and slopes with a gr
angle). Any steeper slopes can lead to engine damage.
For safety reasons, however, we urgently recommend you
theoretical performance potential. Always make sure you have a fir
Manually guided lawnmowers should never
excess of 26% (15° angle of slope). Stability may be lost
Pos: 21.6 /Inne
Checking the oil level
Pos: 21.7 /Inne
Check oil level each time prior to mowing Y1 . Never let
or too much oil. Irreparable damages could occur.
Pos: 21.8 /Inne
Checking operating saf
Pos: 21.9 /Inne01111
The lawnmower is equipped with a motor stop device.
Before every mowing job, make sure that the motor stop safety cont
perfectly. When the control bar is released, the motor and cutter bar must come to a
standstill within three seconds.
After release, the bar must always return to the position shown in the "component
description" diagram.
If this is nohecked immediately by an authorised workshop.
Risk of inju
If the blade run-on time is longer, stop using the equipment and take it to an authorised
workshop.
Measuring run-on time
After the engine has been started, the blade rotates and a wind-like noise can be heard.
The run-on time corresponds to the duration of the wind-like noise after the engine has
been stopped, it can be measured using a stopwatch.
Machine safety and protective devices must not be manipulated or disabled.
The perfect function of the motor drive control bar must be checked before every
mowing job too. When the motor drive control bar is released, the machine must come
to a standstill immediately. If t
authorised workshop.
Make sure that all protective devices have been attached properly and are not
damaged.
To avoid risk, check the condition and firm at
mowing job. The blade attachment screw must always be ti
workshop. If the blade screw is too tight or too loose, the blade coupling and cutt
can become damaged or loose which can lead to serious injuries. A worn or damaged
blade must always be replaced. (Refer here to the chapter "Cutter blade care").
In addition, check the fan, blade coupling and fan housing eve
wear and a tight fit. Also check equipment screws and nuts for a f
necessary.
Make sure the spark plug connector is fitted tightly.
plug connector has not been installed correctly.
the engine running. Danger: electric shock.
If the mower mechanism becomes blocked e.g. by colliding with an obstacle, have an
authorised workshop check whether any parts of
Always have any necessary repairs done by an authorised workshop t