Front panel operation
Rotate the VOLUME control clockwise to increase the
volume, and counterclockwise to decrease the volume.
Remote control operation
Press the “ ” side of the VOLUME button to increase the
volume and the “ ” side to decrease the volume.
* The current volume level can be seen at a glance on the
display.
Before setting the clock, if the built-in tuner is selected as the
input source, press the DISPLAY button to change the
station frequency display to the time display, and proceed to
the next steps immediately before the station frequency
display is restored.
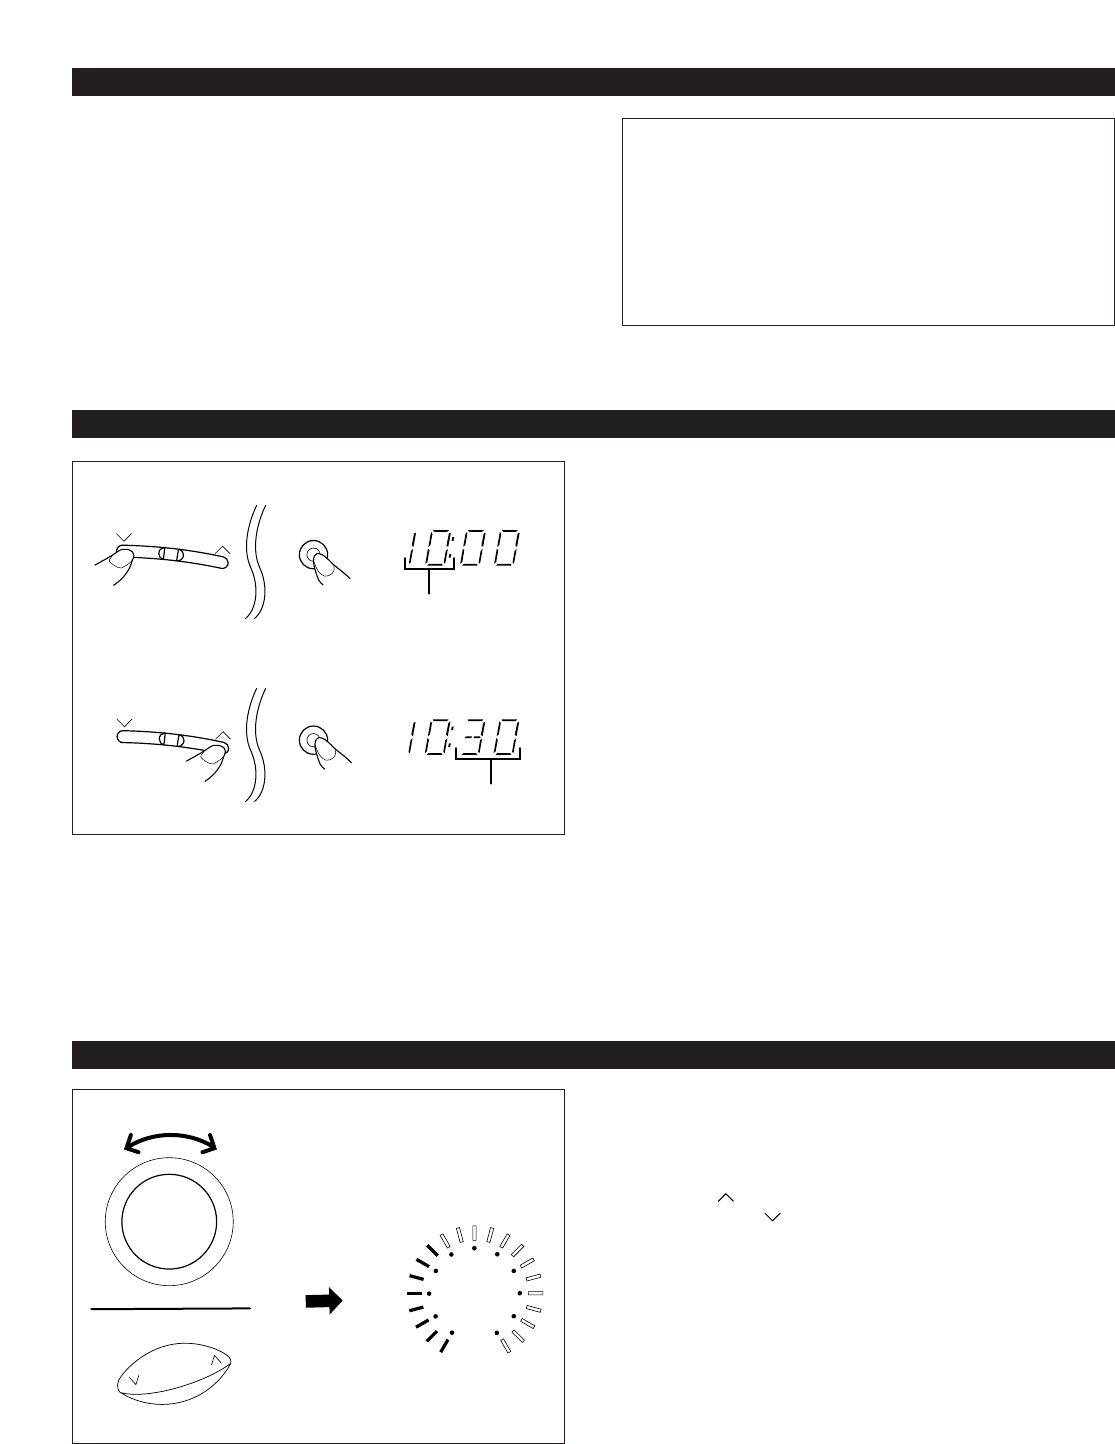
1 While pressing the TIME ADJ button, press the HOUR
button and set the hour.
* Press the HOUR button once to advance the time by 1
hour. Press and hold to advance continuously.
2 While pressing the TIME ADJ button, press the MIN
button and set the minute.
* Press the MIN button once to advance the time by 1
minute. Press and hold to advance continuously.
* The hour setting will not advance even if minute is
advanced from “59” to “00”.
In the event of a power failure or when the AC supply
lead is disconnected.
The time display will go out and the time which you had set
will be cleared. So set the time again if the AC power supply
is resumed.
SETTING THE CLOCK
Changes.
Changes.
1
2
STANDBY mode
While the power is on, pressing the POWER switch (or the
POWER switch on the remote control transmitter) switches
the system to the STANDBY mode. (In this mode, the
display shows only the time and the STANDBY indicator
on the front panel is illuminated.) In this mode, main
voltage is still present inside the system. If you want to
switch off the system completely, disconnect the AC power
plug from the AC outlet.
TURNING THE POWER ON/OFF TO THIS SYSTEM
(See figure 0 on page 66.)
If the AC supply lead is connected to the AC outlet, this
system can be turned ON and OFF (STANDBY mode) by
pressing the POWER switch on the front panel of TCD-GX3
or the POWER switch on the remote control transmitter.
VOLUME CONTROL