back up to another SCSI device), and press the
[ENTER] key.
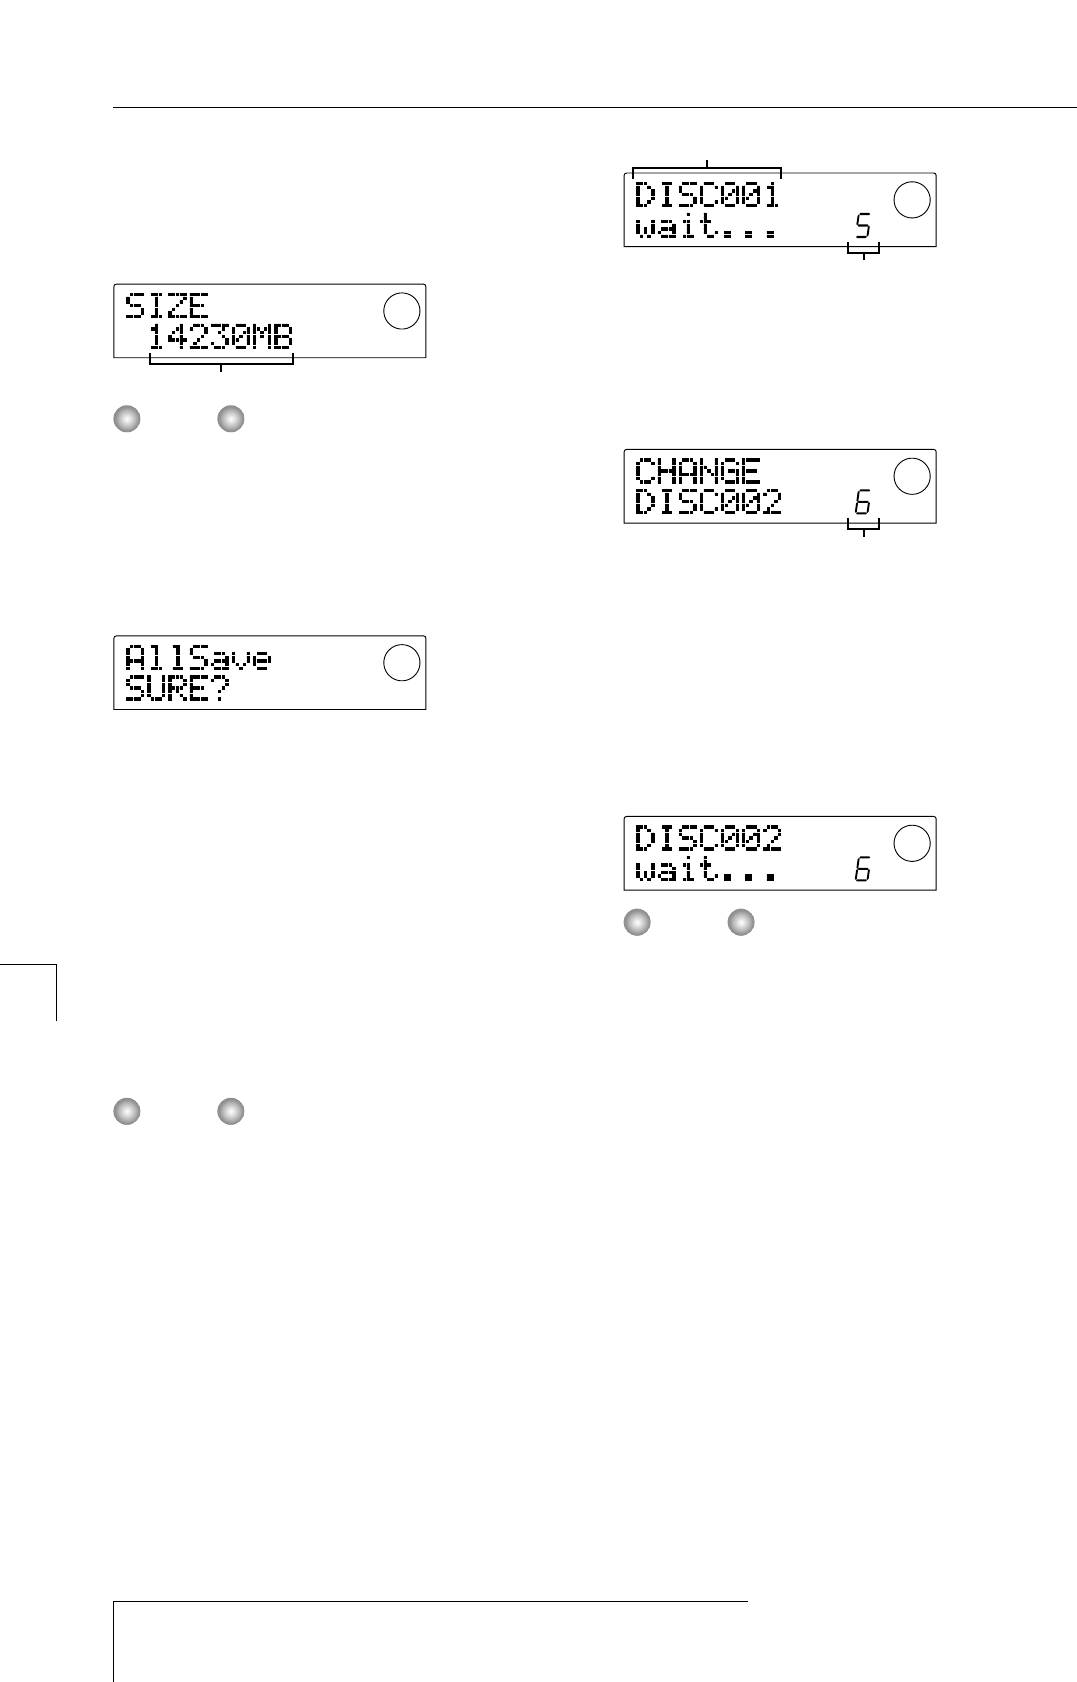
The required storage capacity for backing up all projects is
shown on the display (in MB).
When the target device is a hard disk and the size of the
hard disk is smaller than the capacity indicated here,
backup cannot be carried out.
7.
Press the [ENTER] key.
The screen changes as follows.
The subsequent screens and operation steps are slightly
different, depending on which kind of drive is selected as
backup target.
■
Backing up to a hard disk
8.
To execute the backup, press the [ENTER] key. If
you wish to cancel the process, press the [EXIT]
key instead.
While the backup is in progress, the indication "AllSave
wait..." is shown on the display. When the backup is
finished, the display indication changes to "AllSave
COMPLETE".
If the hard disk becomes full before the end of the backup
process, the indication "SAVE FULL" appears on the
display and the backup is aborted. Press the EXIT] key to
return to the previous screen.
9.
To return to the main screen, press the [EXIT] key
several times.
■
Backing up to CD-R/RW drive
8.
To execute the backup, press the [ENTER] key. If
you wish to cancel the process, press the [EXIT]
key instead.
When you press the [ENTER] key, backup starts from the
project with the lowest number and continues towards
higher numbers. The current project number and the
indication "wait..." appear on the display.
When the backup size is larger than the capacity of one
CD-R/CD-RW media volume, the disc will be ejected after
it has been filled up, and a message prompting the user to
insert the next CD-R/CD-RW disc appears.
The number shown at bottom right indicates how many
projects have been stored on that disc.
9.
When the above message appears, insert a new
CD-R/CD-RW disc, and press the [ENTER] key.
The backup operation resumes. The new disc number and
the indication "wait..." appear on the display.
• When a backup spans several media volumes, be sure to
note the disc number and the stored projects on the case
and label of the disc.
• During restore, discs must be inserted in the same order
as during backup. Otherwise correct restore is not
possible. Proceed with care.
• Also when the entire hard disk was backed up, the
restore operation is performed for individual projects.
10.
Repeat the above steps until all projects are
backed up.
When the backup is finished, the display indication
changes to "SAVE COMPLETE".
11.
To return to the main screen, press the [EXIT] key
several times.
■
Backing up to ZIP or MO drive
8.
To execute the backup, press the [ENTER] key. If
you wish to cancel the process, press the [EXIT]
key instead.
When you press the [ENTER] key, backup starts from the

