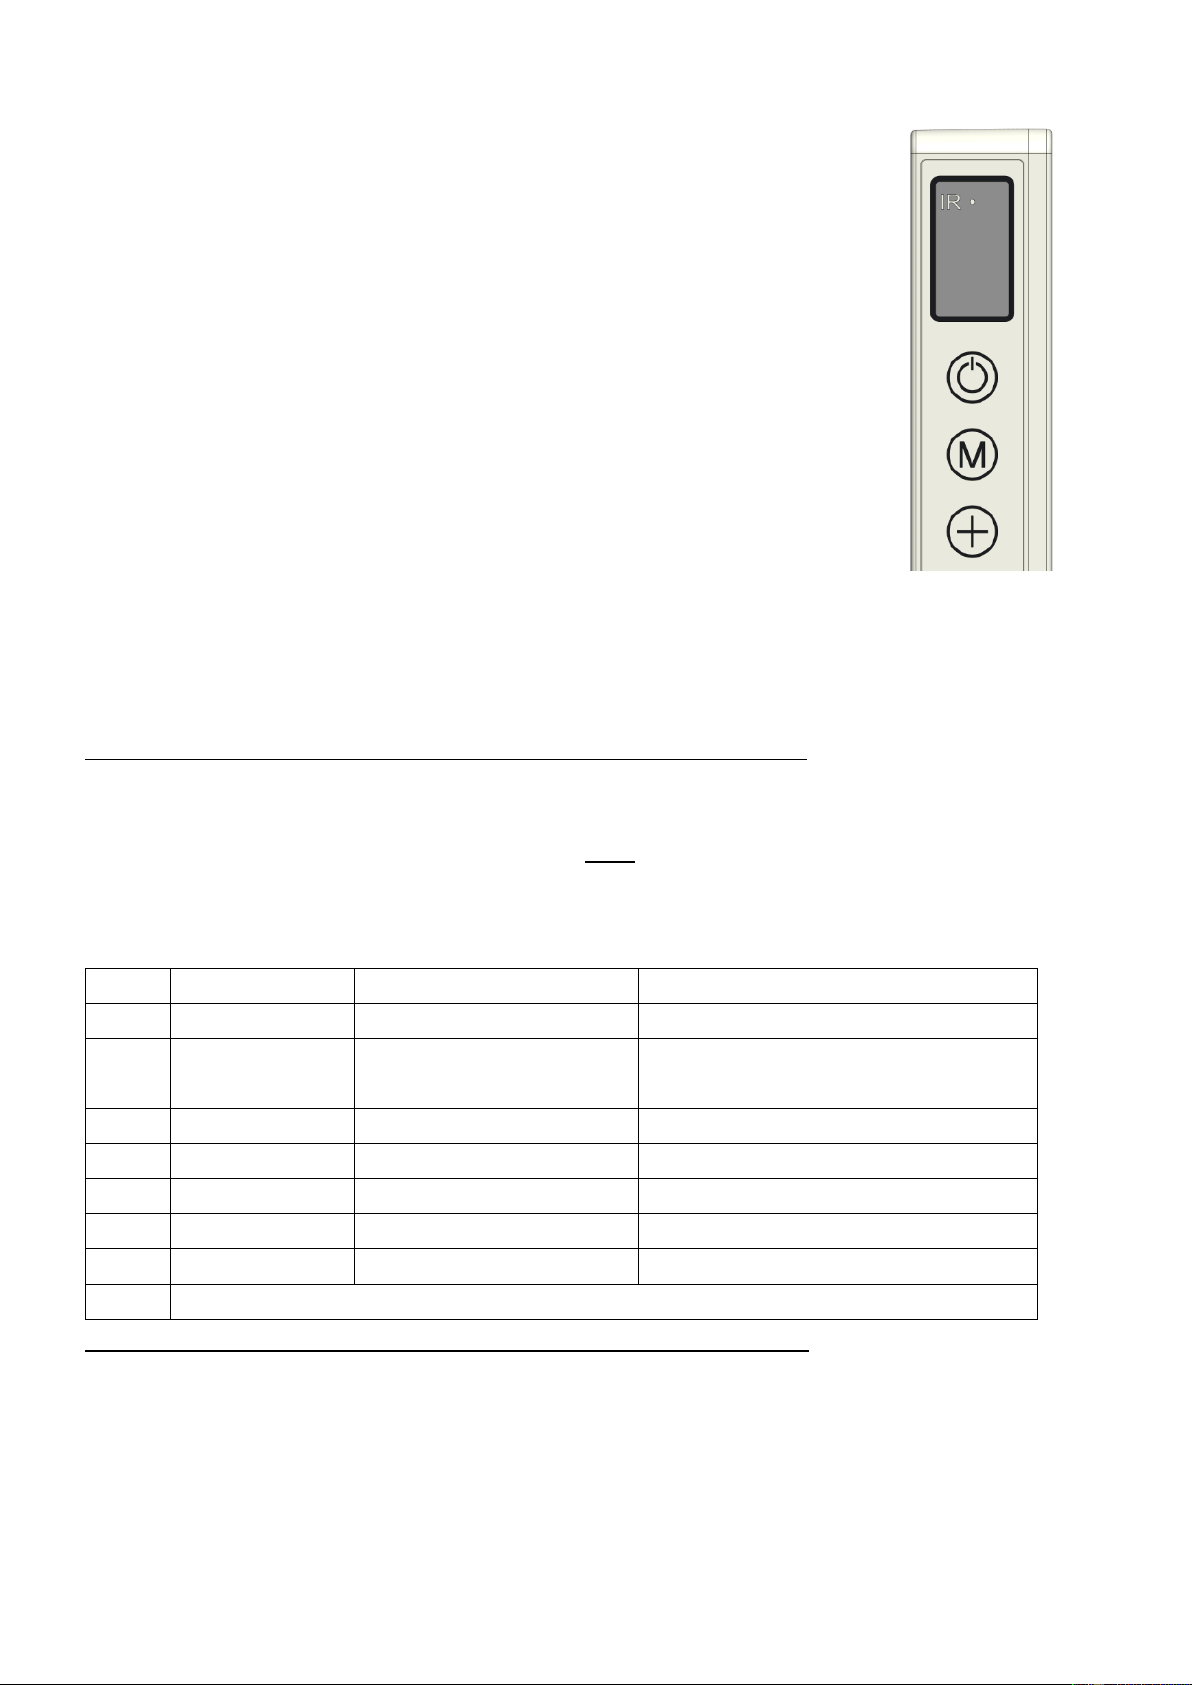
2. Press the red ON/OFF button on the remote control.
First the heater’s display shows the set temperature for 3
seconds and subsequently, the ambient temperature. (The set
temperature is the most recently set temperature or 20 °C in case
of first use.) If the set temperature is higher than the ambient
temperature, the heater will start to heat and the heating symbol
will appear.
3. Using the + and – buttons, the set temperature can be adjusted
from 0°C to 37°C). If the set temperature is higher than the
ambient temperature, the heater will start to heat and the
heating symbol will appear.
When the set temperature is reached, the heater will
automatically switch OFF and will switch ON again when the
room cools down.
The heating symbol will disappear and re-appear accordingly.
If no button is pressed during two (2) minutes, the ambient temperature will disappear
from the display. Pressing any button will make the ambient temperature re-appear.
Setting the time and day on the heater using the remote control
First, the day of the week and time should be entered in order to be able to use the timer
function.
The heating panel should be ON, but should NOT heat and therefore, there is no heating
symbol visible on the heater’s display. (Do this by setting the temperature lower than the
ambient temperature, for example.)
Checking the day of the week and time using the remote control
The heater should be ON and should heat. Therefore, the heating symbol is visible on the
heater’s display. (Do this by setting the temperature higher than the ambient
temperature, for example.)
Briefly and consecutively press the SET button on the remote control in order to check the
day and time: HH = day of the week, H1 = hour and H2 = minute